
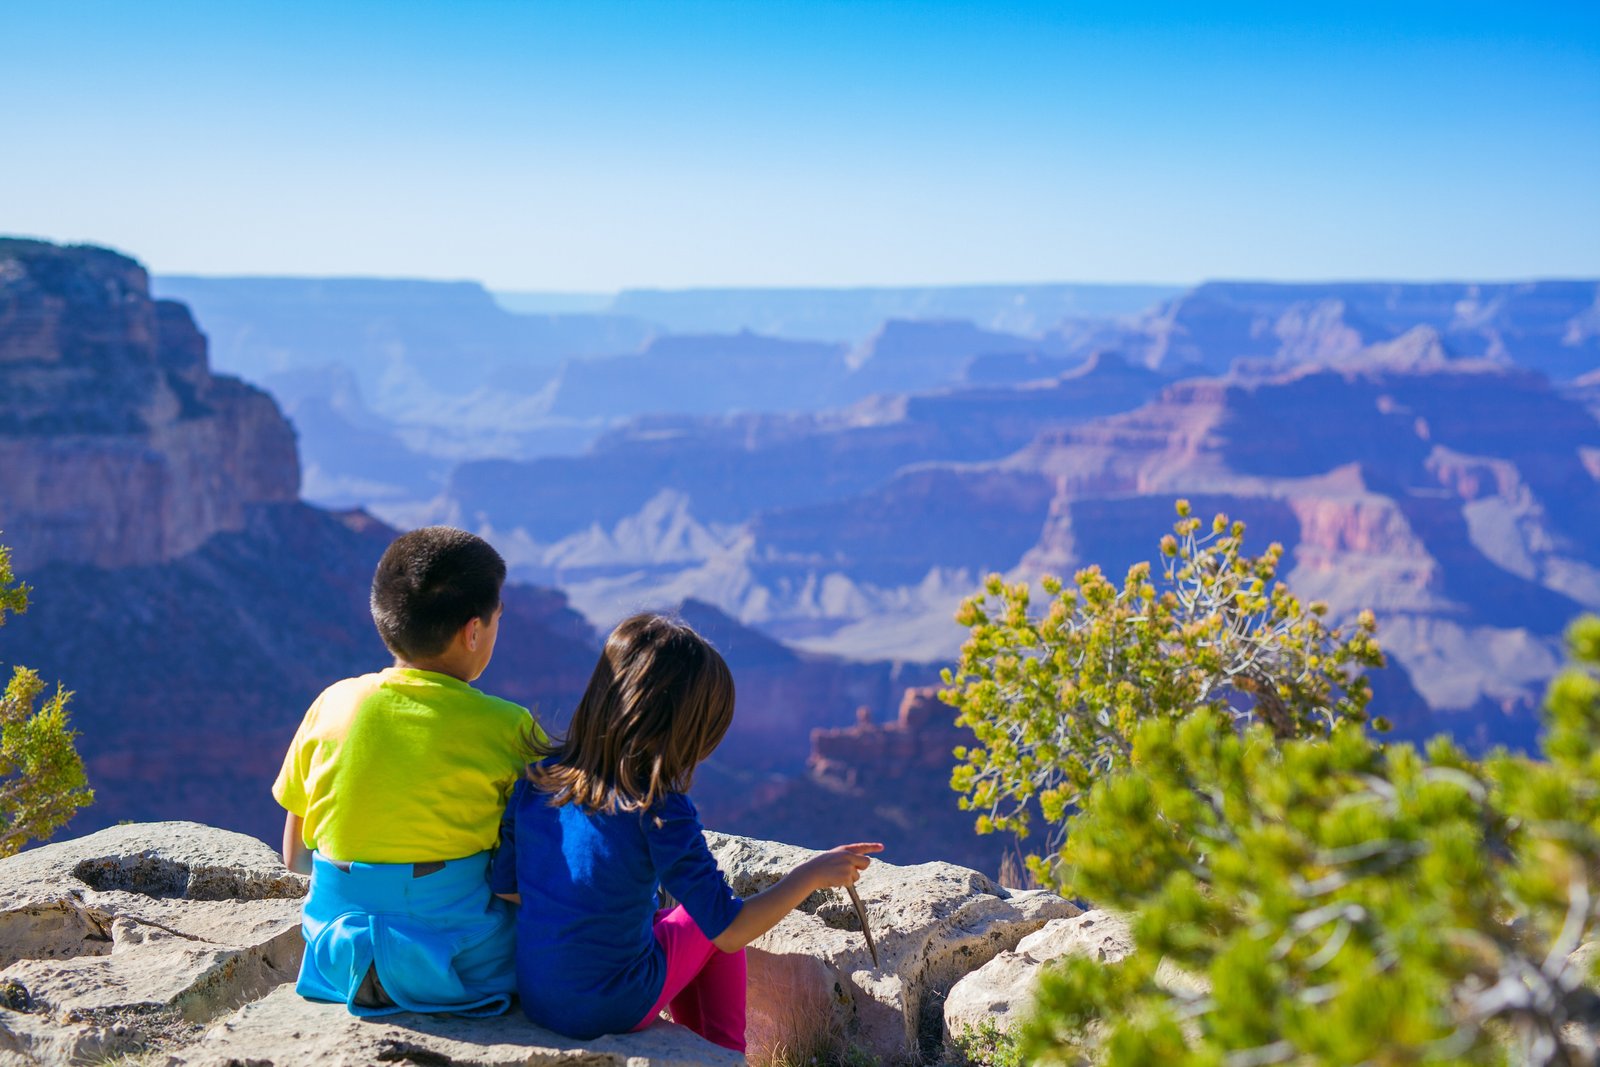
Hiking the Grand Canyon doesn’t have to mean long miles, steep switchbacks, or full‑day treks. Some of the most beautiful views in the entire park are found on short, simple trails that anyone can enjoy — whether you’re visiting for the first time, traveling with family, or just looking for an easy way to experience the canyon’s incredible depth and color. The South Rim and North Rim both offer gentle routes with big scenery, quiet overlooks, and plenty of opportunities for photography without committing to a strenuous descent. In this guide, we’re sharing the best easy hikes in the Grand Canyon, what to expect on each trail, and tips to help you make the most of your time on the rim.
This post contains affiliate links, so we may earn a small commission when you make a purchase through links on our site at no additional cost to you.
Quick List: Best Easy Hikes in the Grand Canyon
South Rim
- Rim Trail – Flat, scenic, perfect for sunrise and sunset
- Ooh Aah Point (South Kaibab Trail) – Short hike with a huge payoff
- Bright Angel Trail to First Tunnel – Shaded, family‑friendly, water at the trailhead
- Mather Point to Yavapai Point – Easy paved walk with classic canyon views
- Trail of Time – Gentle, educational walk along the rim
North Rim
- Bright Angel Point – Short walk to one of the most dramatic viewpoints
- Transept Trail – Quiet forest trail with canyon overlooks
- Cape Royal Short Walks – Easy paths to stunning views, including Angel’s Window
- Cape Final (Easy‑Moderate) – Longer but gentle trail with incredible panoramic views
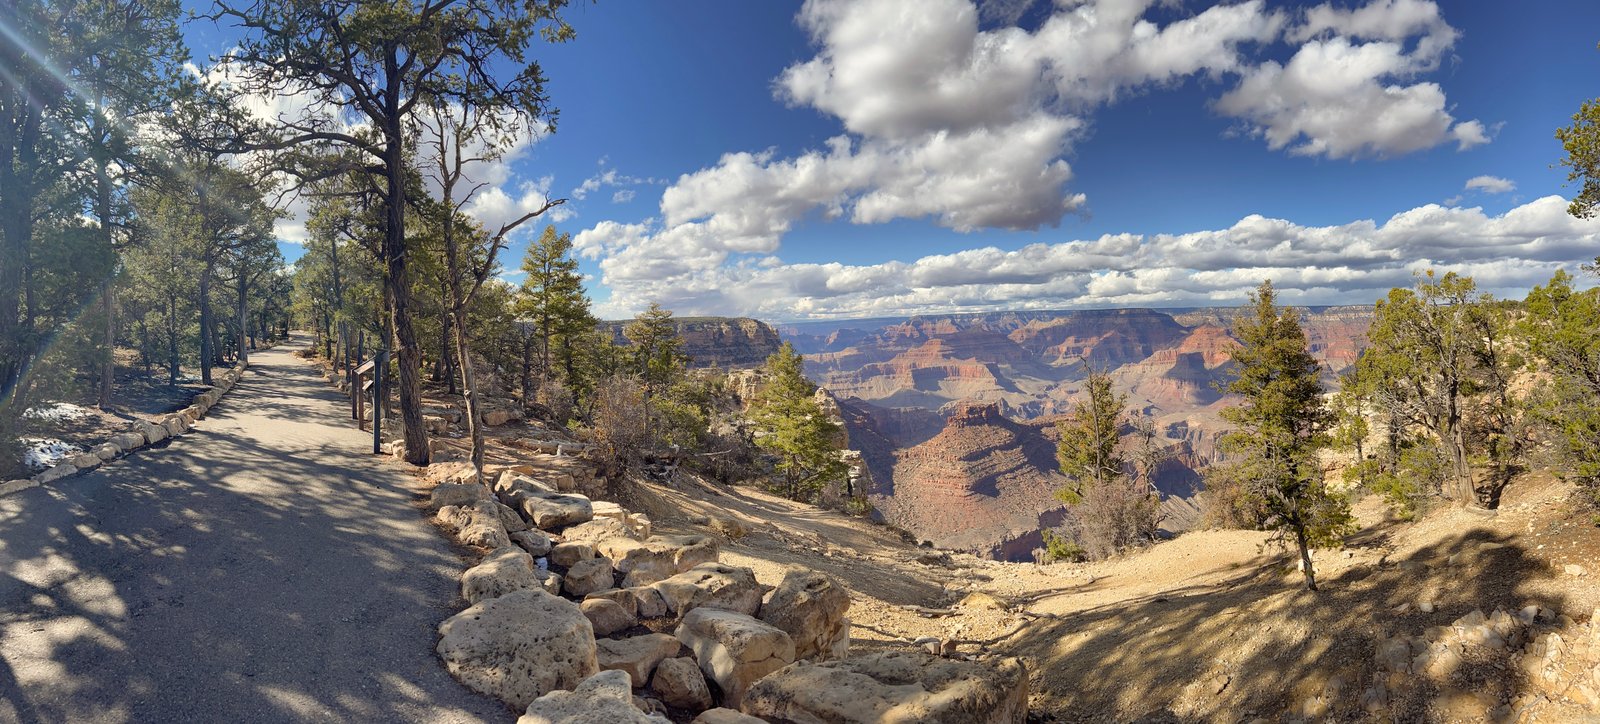
Best Easy Hikes — South Rim
Rim Trail
The Rim Trail is one of the easiest and most rewarding ways to experience the Grand Canyon. This mostly flat path follows the edge of the canyon from the South Kaibab area all the way to Hermit’s Rest, and you can choose any short section depending on how much time you have. It’s perfect for sunrise and sunset, with wide‑open views and plenty of places to stop for photos. Portions of the trail are paved and wheelchair‑friendly, and the park shuttle makes it easy to hop on and off at different viewpoints.
Here’s what to know before you go:
- Length: choose any section
- Difficulty: very easy
- Why it’s great: flat, scenic, perfect for sunrise/sunset
- Photography notes: golden hour brings out rich color and depth along the rim.
- Tips: use shuttle access to explore the best segments without backtracking
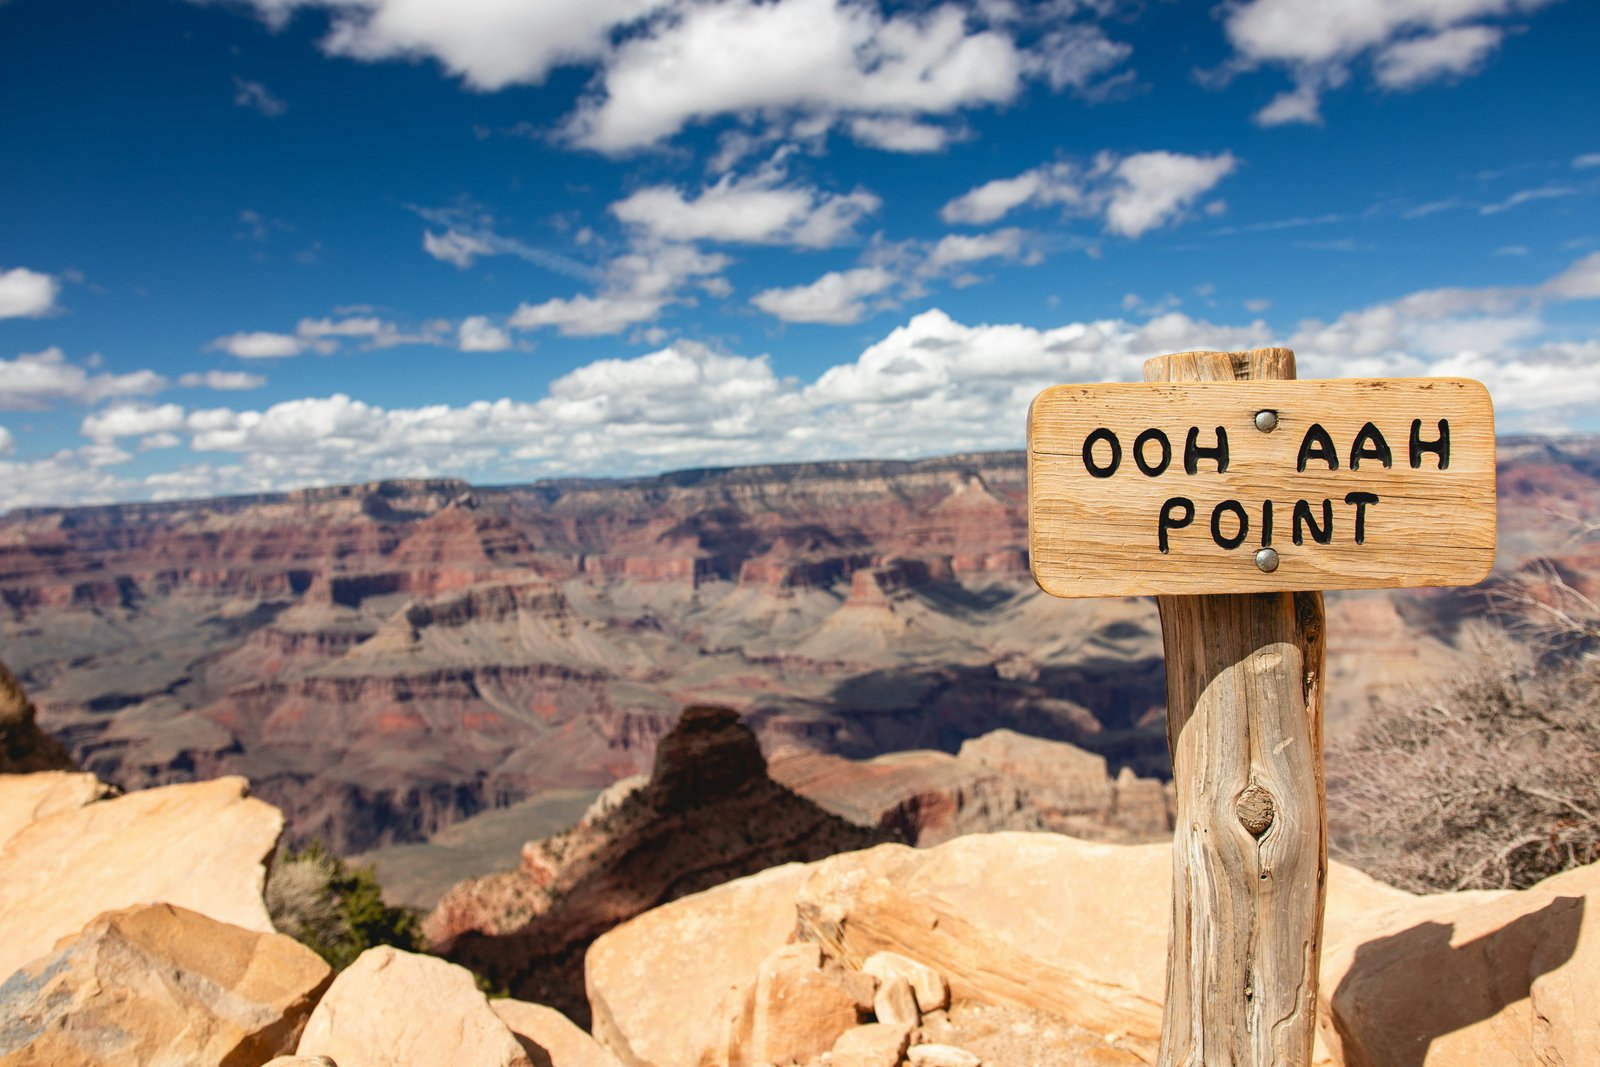
Ooh Aah Point (South Kaibab Trail)
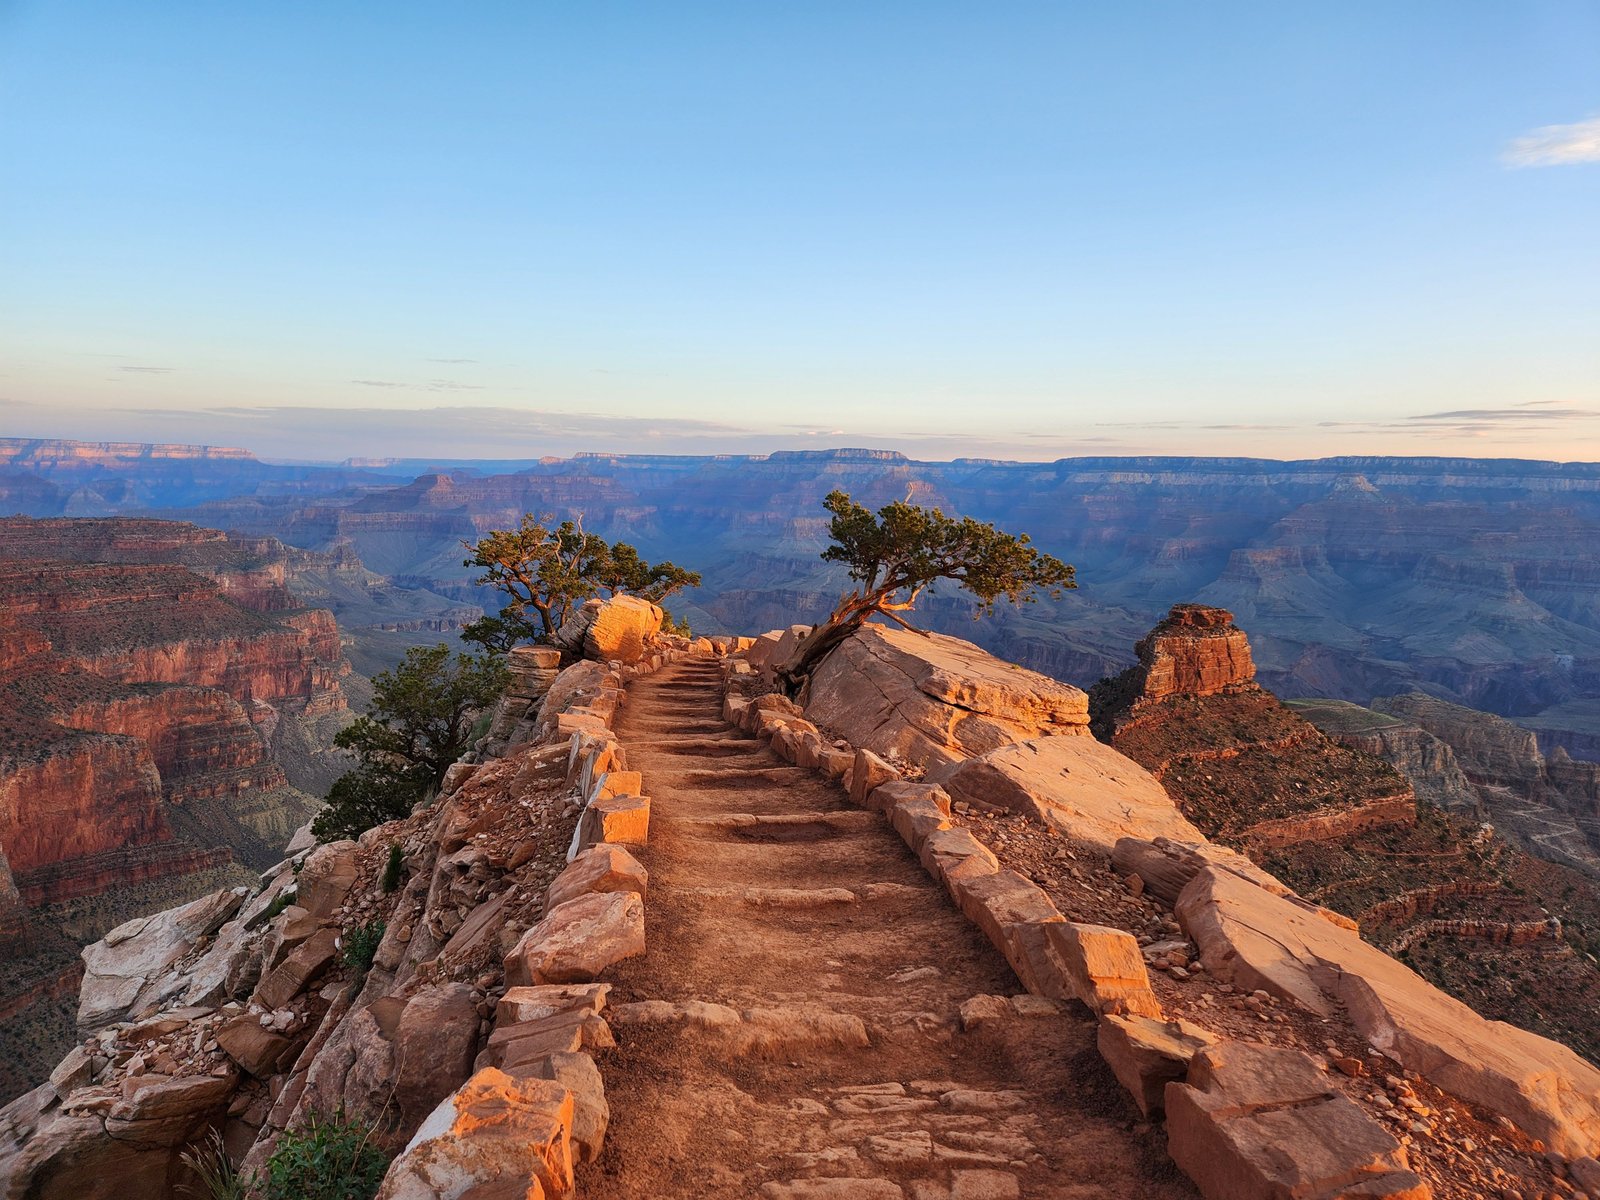
Ooh Aah Point is one of the best short hikes in the Grand Canyon, especially if you want a big payoff without committing to a long descent. This 1.8‑mile round‑trip trail drops gently below the rim before opening up to a wide, panoramic viewpoint that truly earns its name. It’s a great option for beginners who want to experience the canyon from inside the walls rather than just from the top. Go early for cooler temperatures and softer light, and remember that there’s no water on the South Kaibab Trail. This trail can also only be accessed via the parks shuttle.
Here’s what to know before you go:
- Length: 1.8 miles round‑trip
- Difficulty: easy‑moderate
- Why it’s great: huge views with minimal effort
- Photography notes: sunrise light fills the canyon and adds warm color to the rock layers
- Tips: no water on the trail, shuttle‑only access, best early in the day
If you’re planning a full day on the South Rim, you can see how Ooh Aah Point fits into our South Rim itinerary.
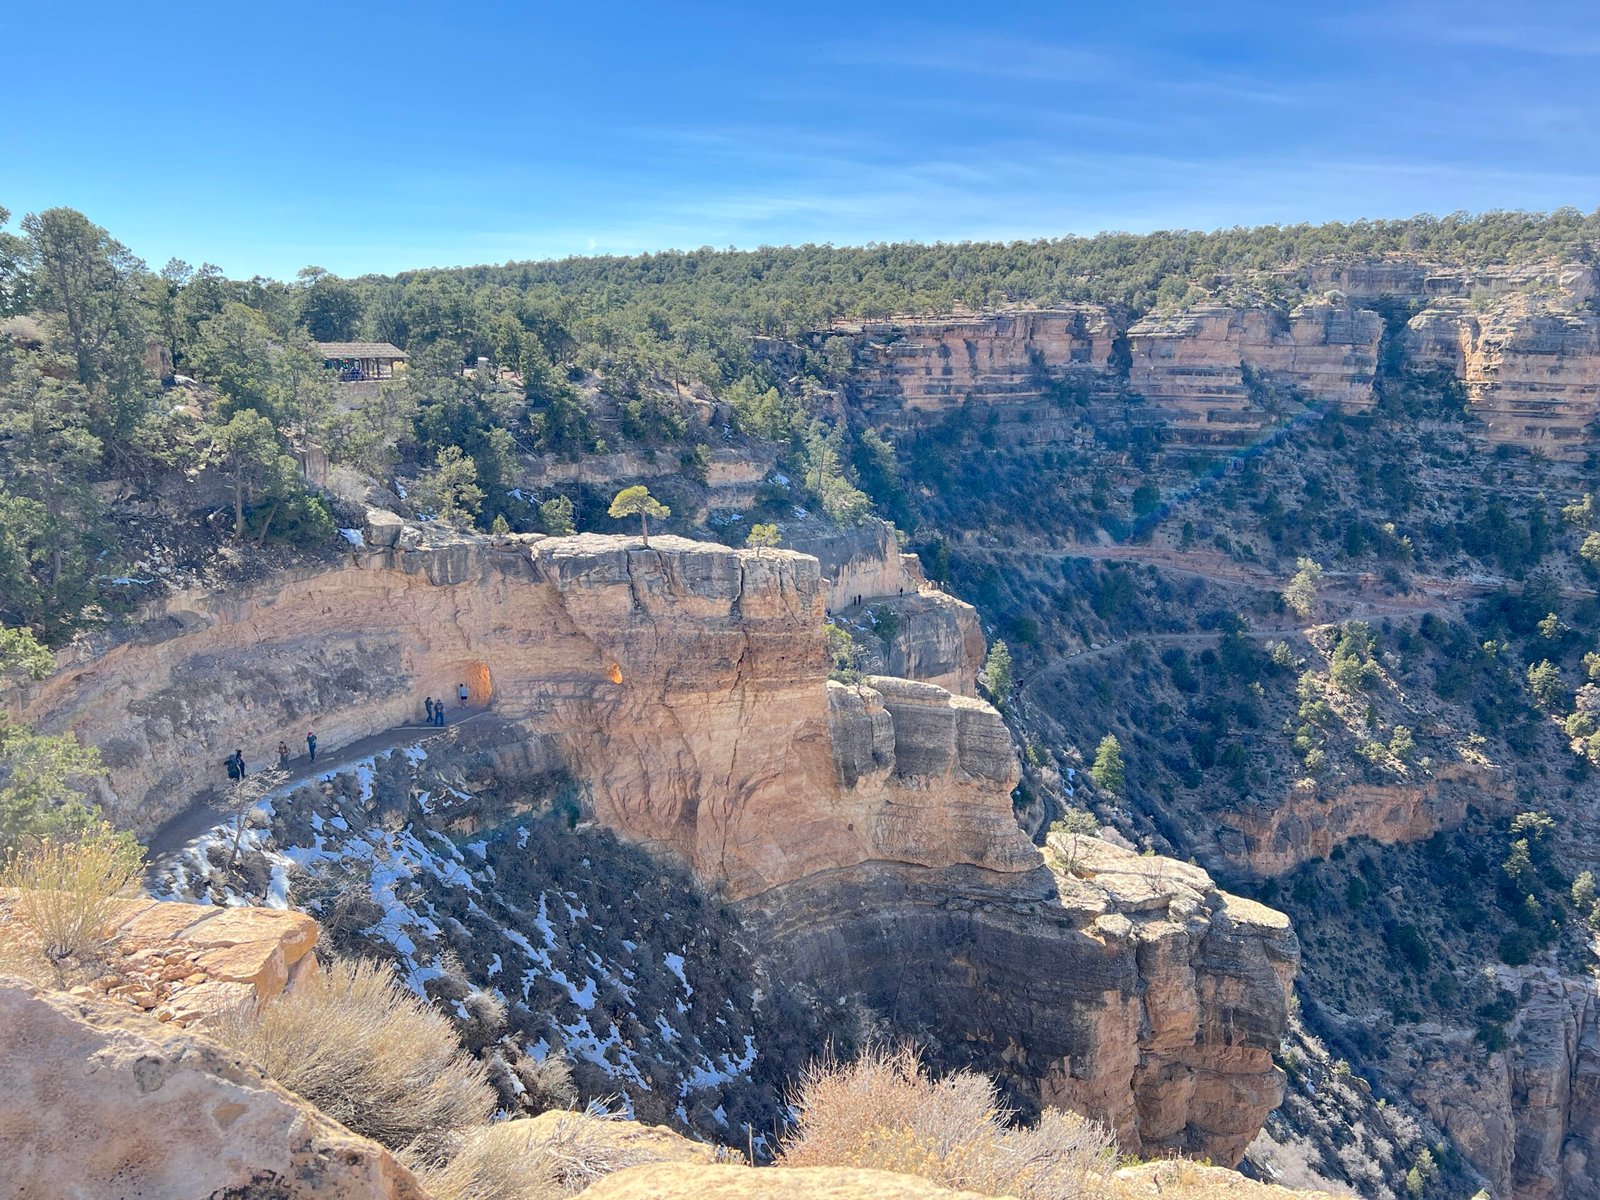
Bright Angel Trail to First Tunnel
Bright Angel is the most popular trail on the South Rim, but you don’t have to hike far to enjoy it. The short walk to the First Tunnel is easy, shaded, and perfect for beginners or families who want a quick taste of the canyon without committing to a long descent. The trail starts right in Grand Canyon Village, with water, restrooms, and plenty of amenities at the trailhead. As you walk, the canyon walls rise around you, and the tunnel itself frames the landscape beautifully for photos. It’s a great option on hot days thanks to the shade and steady grade.
Here’s what to know before you go:
- Length: ~1 mile round‑trip
- Difficulty: easy
- Why it’s great: shaded, family‑friendly, water at the trailhead
- Photography notes: the tunnel creates a natural frame for canyon shots
- Tips: good option for hot afternoons, watch for mule traffic, easy turnaround point
After this short hike, you can explore more viewpoints in our Best Grand Canyon Viewpoints guide.
Mather Point to Yavapai Point
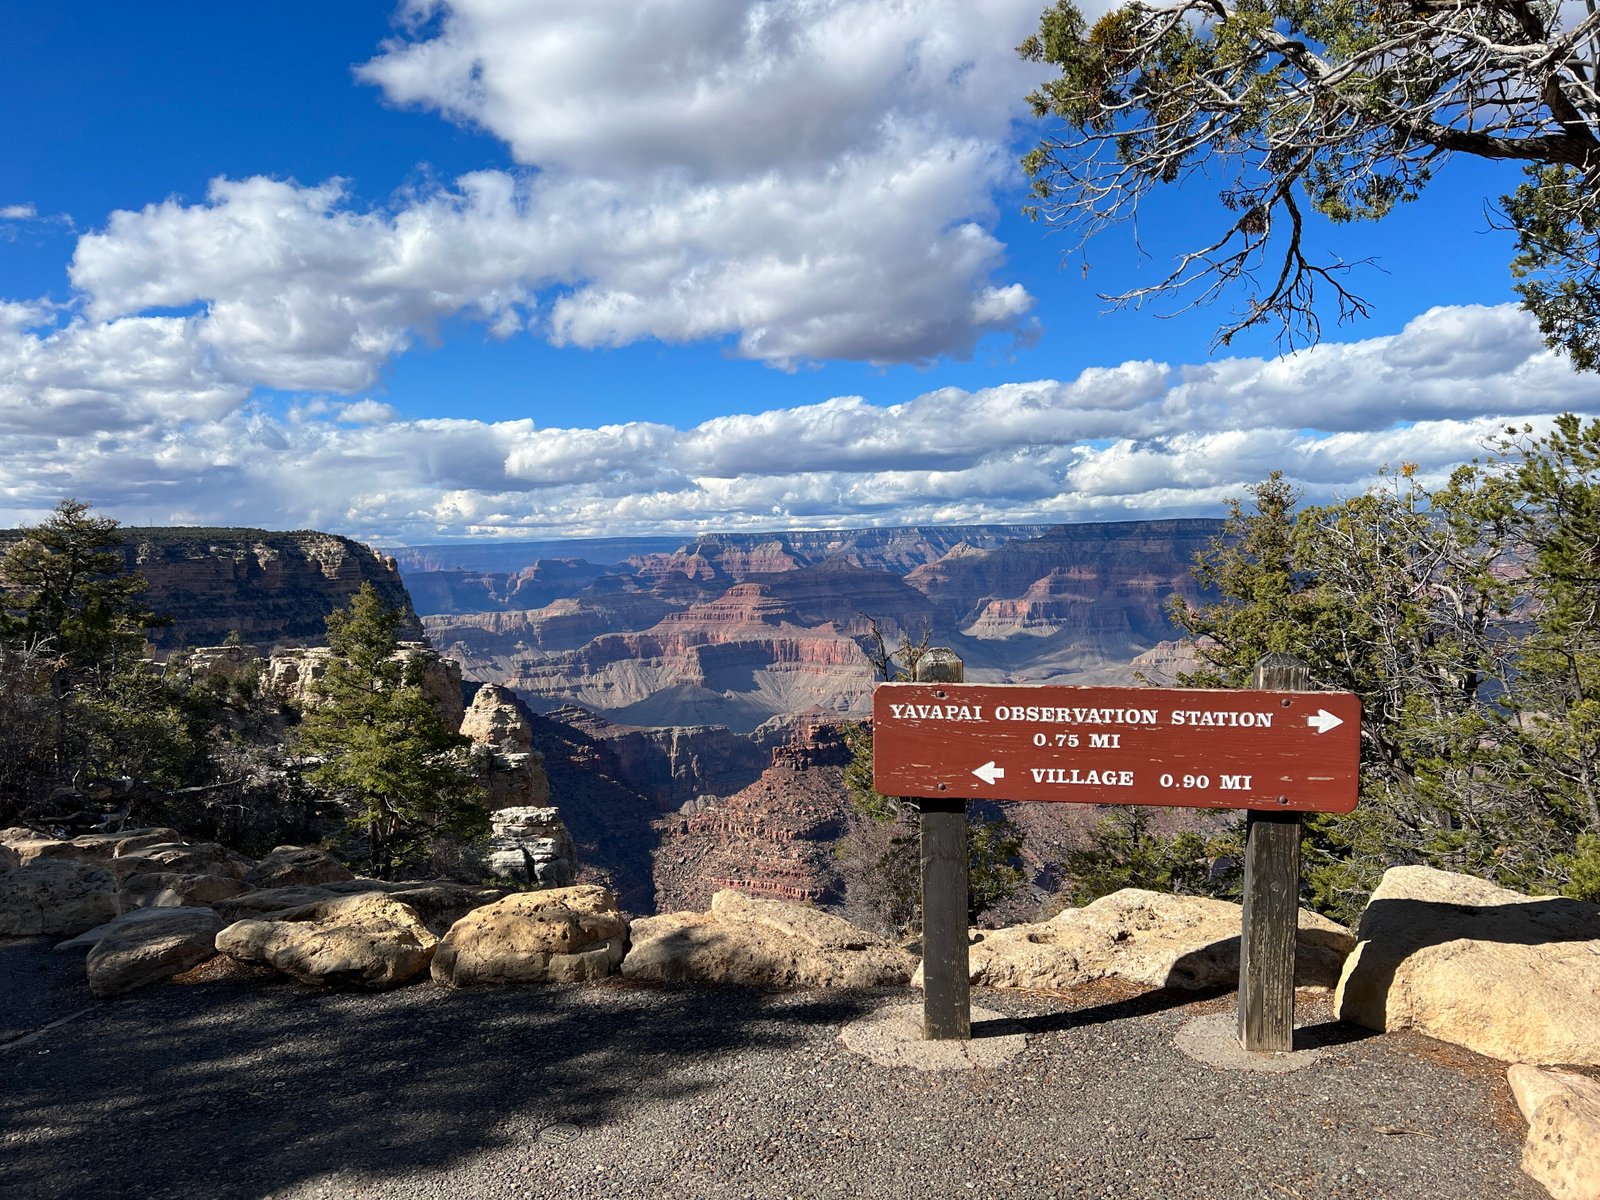
This easy, paved walk connects two of the most popular viewpoints on the South Rim and offers classic Grand Canyon scenery the entire way. Starting at Mather Point near the Visitor Center, the trail gently follows the rim toward Yavapai Point, where you’ll find some of the best panoramic views of the canyon’s depth and geology. It’s a great option for beginners, families, or anyone wanting a simple, scenic stroll without elevation changes. Sunrise at Mather Point is especially beautiful, and the paved trail makes it easy for the whole family to explore.
Here’s what to know before you go:
- Length: ~1 mile
- Difficulty: easy
- Why it’s great: paved, accessible, consistently beautiful views
- Photography notes: sunrise at Mather Point gives soft light and glowing canyon color
- Tips: start at the Visitor Center, combine with Yavapai Geology Museum, very busy mid‑daypath makes this route accessible for most visitors.
If you’re still choosing where to stay, our Grand Canyon lodging guide breaks down the best options on the South Rim.
Trail of Time
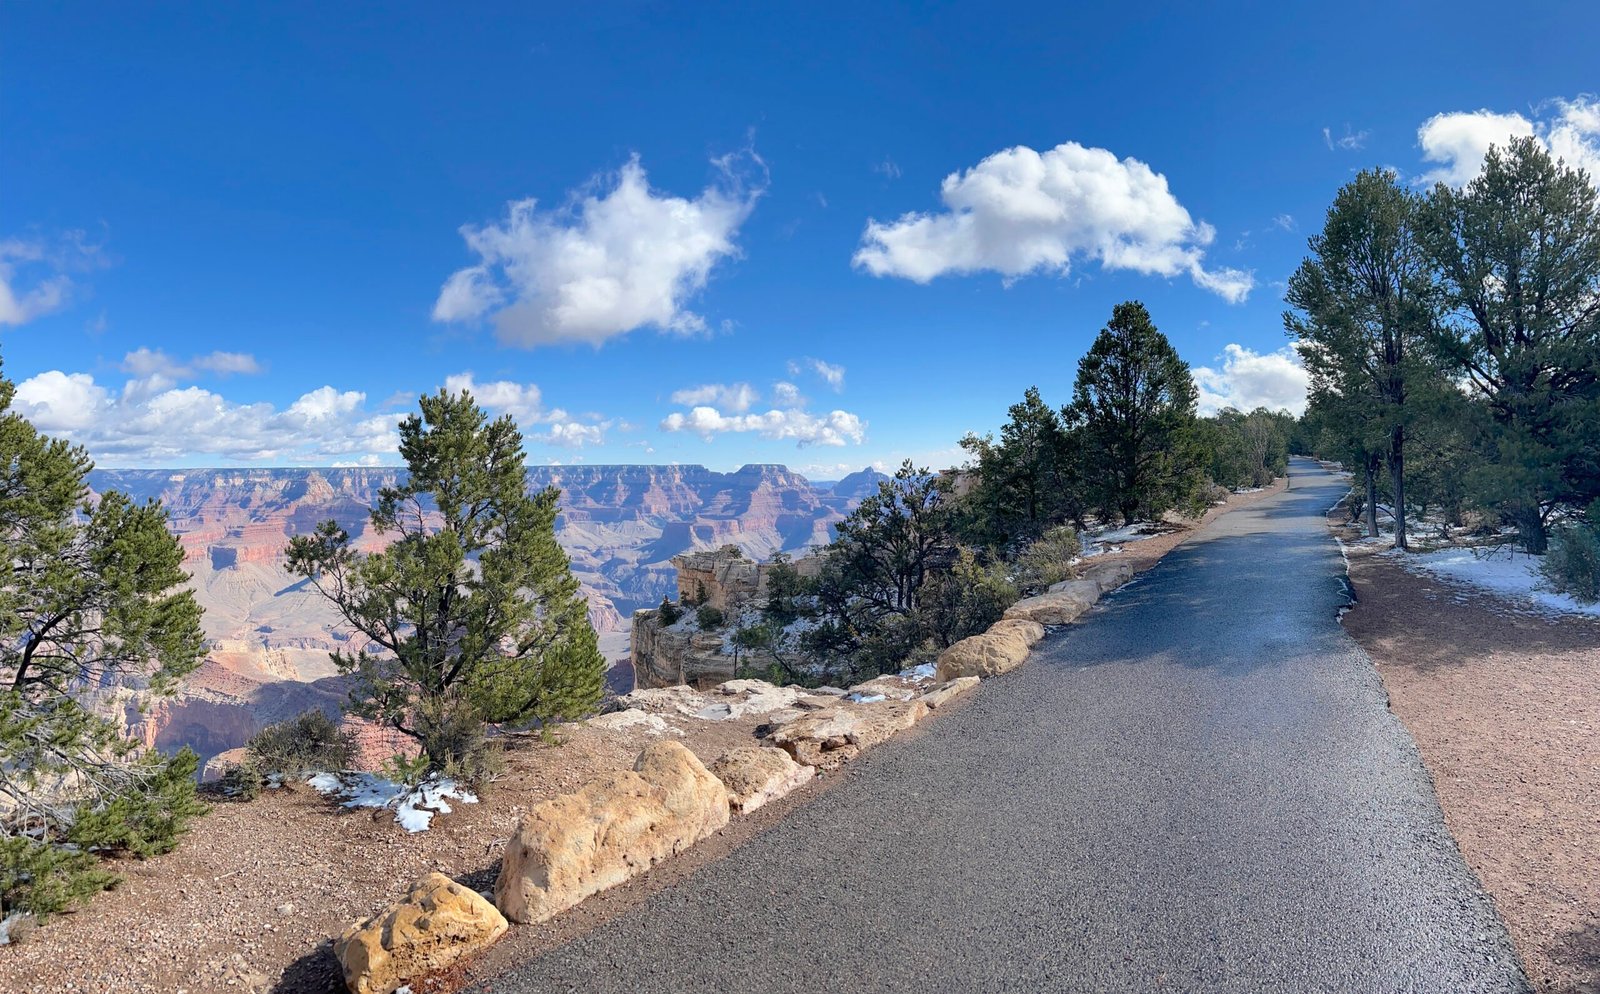
The Trail of Time is one of the most relaxed and educational walks along the South Rim. This gentle, mostly paved path follows the edge of the canyon between Yavapai Point and Grand Canyon Village, with interactive markers that explain the canyon’s geologic history in a simple, engaging way. It’s a great choice for families, casual walkers, or anyone who wants beautiful views without elevation changes. The scenery stays wide‑open the entire way, and the mix of canyon overlooks and geology displays makes this an easy, enjoyable stroll at any time of day.
Here’s what to know before you go:
- Length: 2.8 miles
- Difficulty: easy
- Why it’s great: flat, educational, consistently scenic
- Photography notes: wide canyon views with soft light in the morning and late afternoon
- Tips: start at Yavapai Point for the best flow, paved sections make it accessible, great for families
You can pair this walk with other easy activities from our Best Things to Do at the Grand Canyon guide.
Best Easy Hikes — North Rim
Bright Angel Point
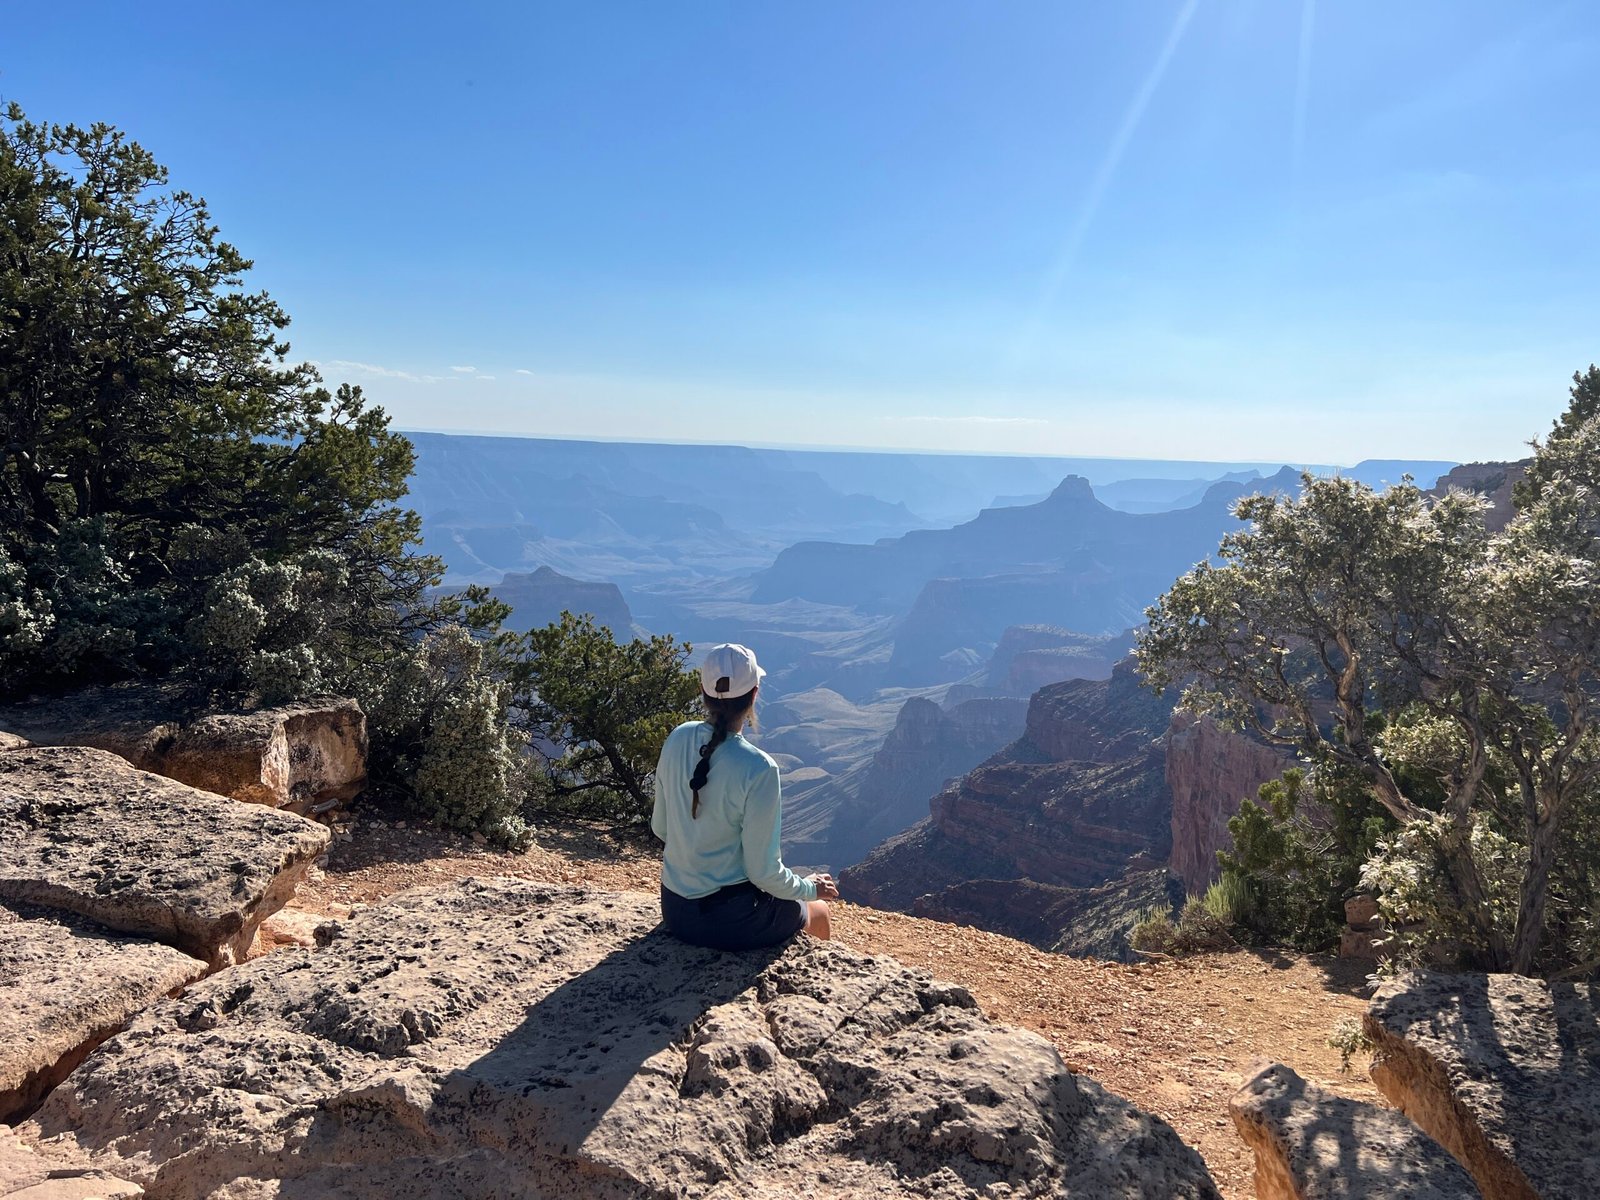
Bright Angel Point is the signature viewpoint of the North Rim and one of the easiest walks in the entire park. The short, paved path leads out to a dramatic overlook where the canyon drops away in every direction. It’s a perfect choice for beginners, families, or anyone wanting a quick but unforgettable view. Because the North Rim sits higher in elevation, the colors and shadows here feel different than the South Rim — especially at sunset, when the light softens across the canyon.
Here’s what to know before you go:
- Length: 0.5 miles
- Difficulty: easy
- Why it’s great: huge views with almost no effort
- Photography notes: sunset creates beautiful depth and color across the canyon
- Tips: narrow path, go early or late for fewer crowds
Transept Trail
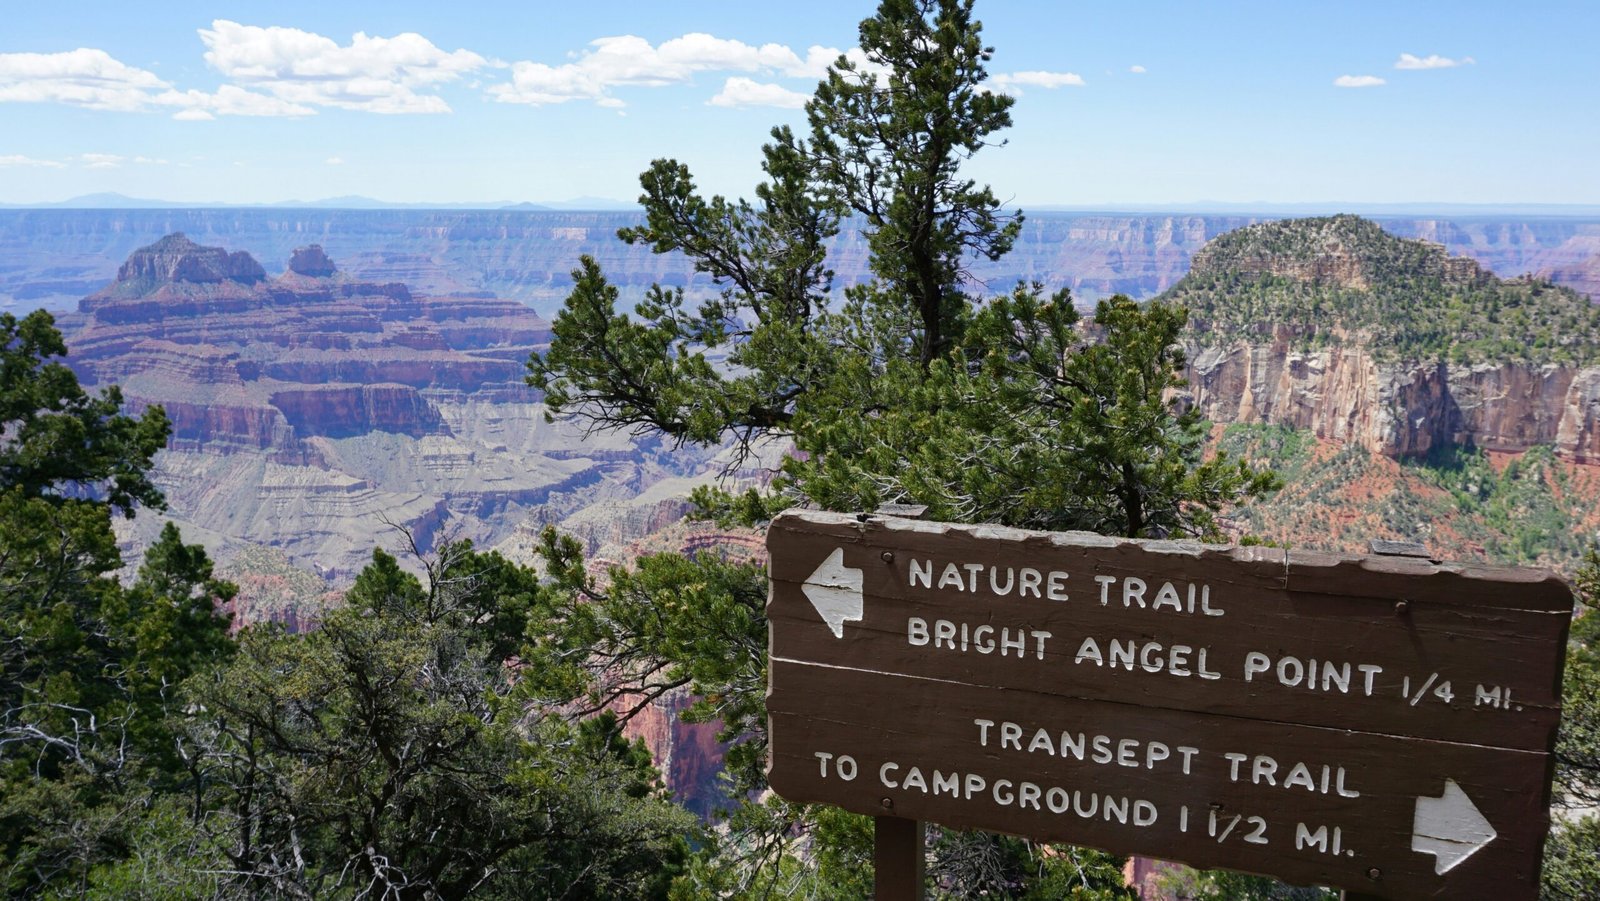
The Transept Trail is a peaceful forest walk that connects Grand Canyon Lodge with the campground, offering quiet overlooks along the way. It’s a gentle, shaded route with a mix of pine, fir, and aspen — a very different feel from the South Rim. The canyon views appear in intervals, giving you a blend of forest and rim scenery that’s perfect for a relaxed morning hike.
Here’s what to know before you go:
- Length: ~3 miles
- Difficulty: easy
- Why it’s great: quiet, shaded, beautiful mix of forest and canyon
- Photography notes: soft morning light filters through the trees and opens to canyon overlooks
- Tips: great early in the day, watch for wildlife, easy to combine with lodge viewpoints
Cape Royal Short Walks
Cape Royal offers some of the best views on the North Rim, and the short walks to the overlooks are perfect for beginners. The path to Angel’s Window is especially easy and leads to a stunning natural arch framing the canyon below. The main Cape Royal viewpoint delivers sweeping, wide‑open scenery that’s incredible at sunset. These are some of the most rewarding low‑effort views in the entire park.
Here’s what to know before you go:
- Length: very short walks
- Difficulty: easy
- Why it’s great: top‑tier North Rim views with minimal effort
- Photography notes: Angel’s Window is perfect for framing shots; sunset is exceptional
- Tips: remote drive, bring water, stay for sunset if possible
Cape Royal is part of the scenic drive — you can see the full route in our North Rim itinerary.
Cape Final (Easy‑Moderate)
Cape Final is a longer but gentle trail that leads to one of the most breathtaking viewpoints on the North Rim. The route is mostly flat with light forest cover before opening up to a wide, panoramic overlook that feels quiet and remote. It’s an excellent choice if you want a slightly longer hike that still stays beginner‑friendly.
Here’s what to know before you go:
- Length: 4 miles round‑trip
- Difficulty: easy‑moderate
- Why it’s great: quiet trail with incredible panoramic views
- Photography notes: late afternoon light brings out rich color and long shadows
- Tips: limited shade, bring water, great for hikers wanting a bit more distance
Best Time of Year to Visit the Grand Canyon
The best time of year to enjoy easy hikes in the Grand Canyon is fall through spring, when temperatures are cooler and conditions are safer for beginners. Both rims offer incredible scenery year‑round, but the experience changes dramatically with the seasons — especially if you’re planning short, simple hikes.
Fall (September–November)
Fall is one of the most comfortable times to hike the Grand Canyon. Daytime temperatures are mild, crowds begin to thin, and the lighting is beautiful for photography. The South Rim stays fully accessible, and the North Rim remains open until mid‑October.
- Why it’s great: perfect hiking weather, fewer crowds, warm canyon color
- Best for: Rim Trail, Ooh Aah Point, Cape Royal
Winter (December–February)
Winter brings quiet trails, crisp air, and dramatic snow‑dusted canyon views. The South Rim is open year‑round, but the North Rim closes for the season. Easy hikes are still accessible, though mornings can be cold and icy in shaded areas.
- Why it’s great: peaceful, photogenic, no summer heat
- Best for: Rim Trail, Trail of Time, Bright Angel to First Tunnel
Spring (March–May)
Spring is one of the very best seasons for beginners. Temperatures warm up, wildflowers begin to appear, and the canyon’s colors look especially vibrant. Crowds increase later in the season, but early spring is ideal.
- Why it’s great: mild temps, great visibility, early wildflowers
- Best for: Ooh Aah Point, Mather to Yavapai, Transept Trail
Summer (June–August)
Summer is the most challenging season for hiking, especially below the rim. Temperatures can exceed 100°F, and monsoon storms bring lightning and sudden downpours. Easy rim hikes are still doable, but early mornings and late evenings are essential.
- Why it’s great: long daylight, vibrant sunsets
- Best for: short rim walks only
- Avoid: mid‑day hiking, South Kaibab during peak heat
Safety Tips for Easy Hikes in the Grand Canyon
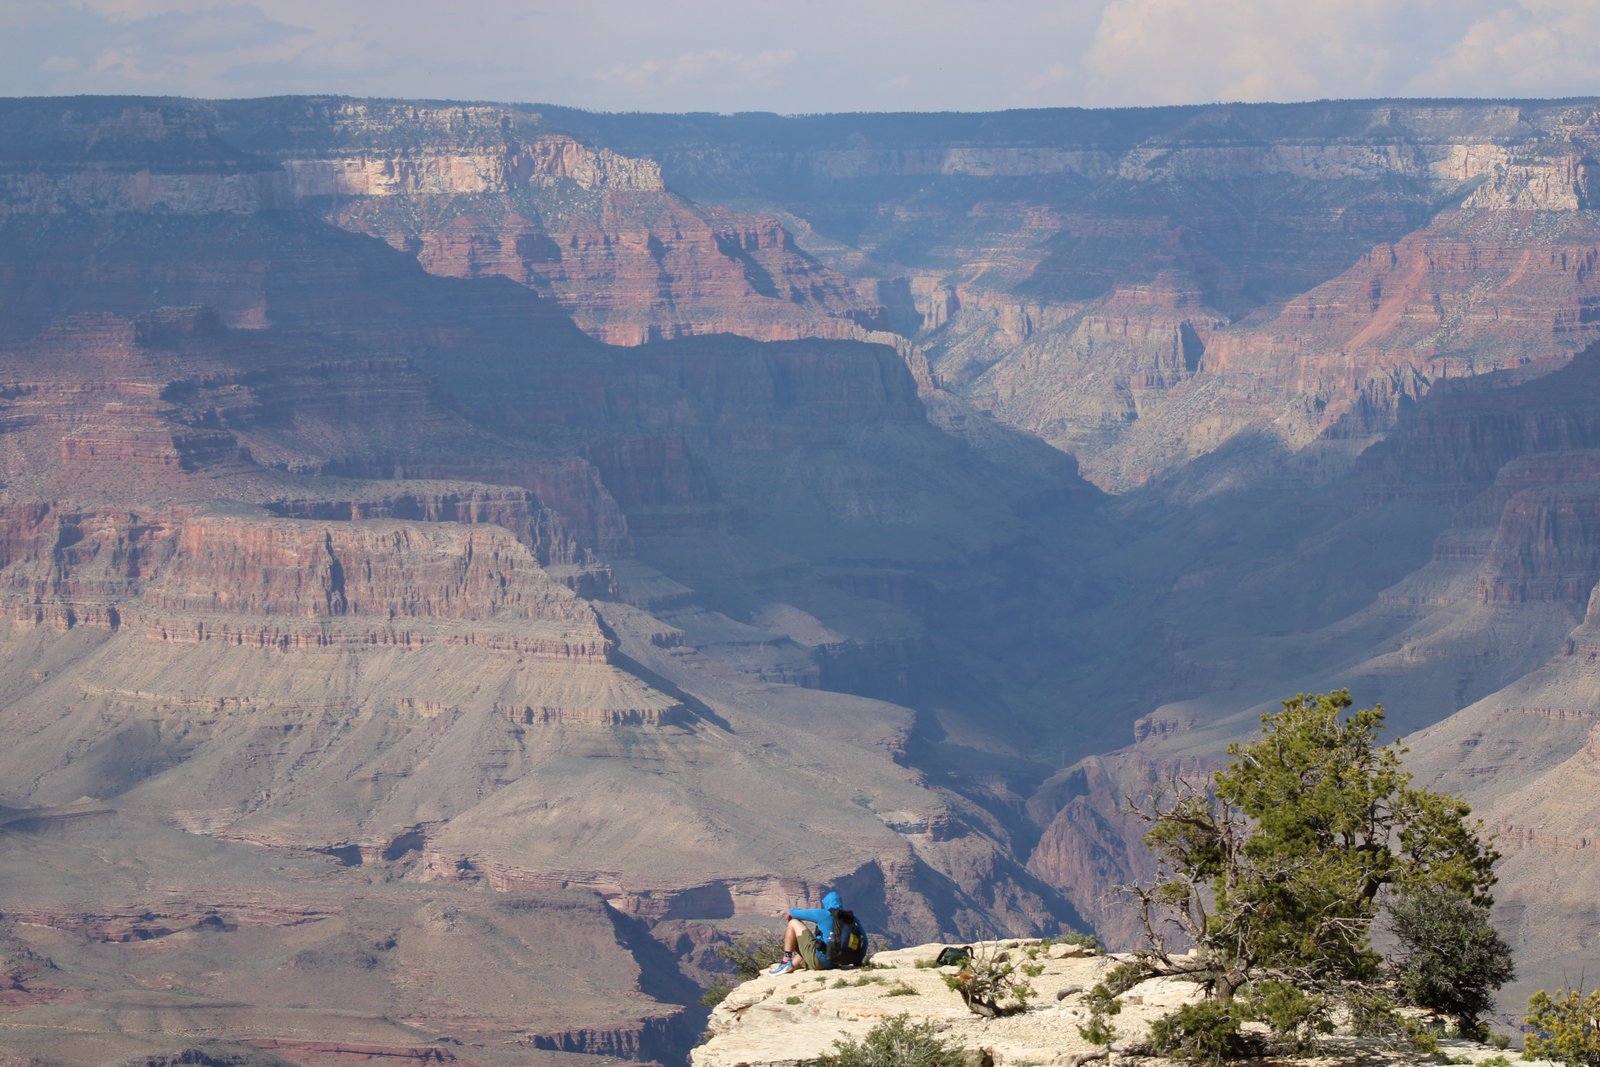
Even the easiest hikes in the Grand Canyon can feel more challenging than expected, especially with heat, elevation, and dry desert conditions. These simple safety tips help keep short hikes comfortable and enjoyable for beginners.
Start Early or Late
Temperatures rise quickly, especially on the South Rim. Early mornings and late afternoons offer cooler weather, softer light, and fewer crowds — ideal for easy hikes.
Carry More Water Than You Think
Even short rim walks can feel dehydrating in the dry desert air. Bring water for every hike, and electrolytes if you’re out during warmer parts of the day.
Watch the Weather
Summer monsoon storms can bring lightning, heavy rain, and sudden wind. Winter can create icy patches in shaded areas. Check conditions before you head out.
Stay on Marked Trails
The canyon’s edges can be unstable, and off‑trail areas often have loose rock or steep drop‑offs. Stick to designated paths, especially near viewpoints.
Know Your Turnaround Point
For trails that dip below the rim — like Ooh Aah Point or Bright Angel to First Tunnel — remember that the hike back is uphill. Turn around as soon as you feel warm or tired.
Use Shuttle Access When Available
Many easy hikes connect to shuttle stops, making it simple to explore without backtracking. This is especially helpful on the Rim Trail and South Kaibab.
Protect Yourself From the Sun
UPF clothing, sunscreen, hats, and sunglasses go a long way in the desert. Even short hikes can feel intense under full sun.
Let Someone Know Your Plans
Cell service can be spotty, especially on the North Rim and along less‑traveled paths. Share your hiking plan if you’re exploring solo.
What to Pack for Easy Hikes
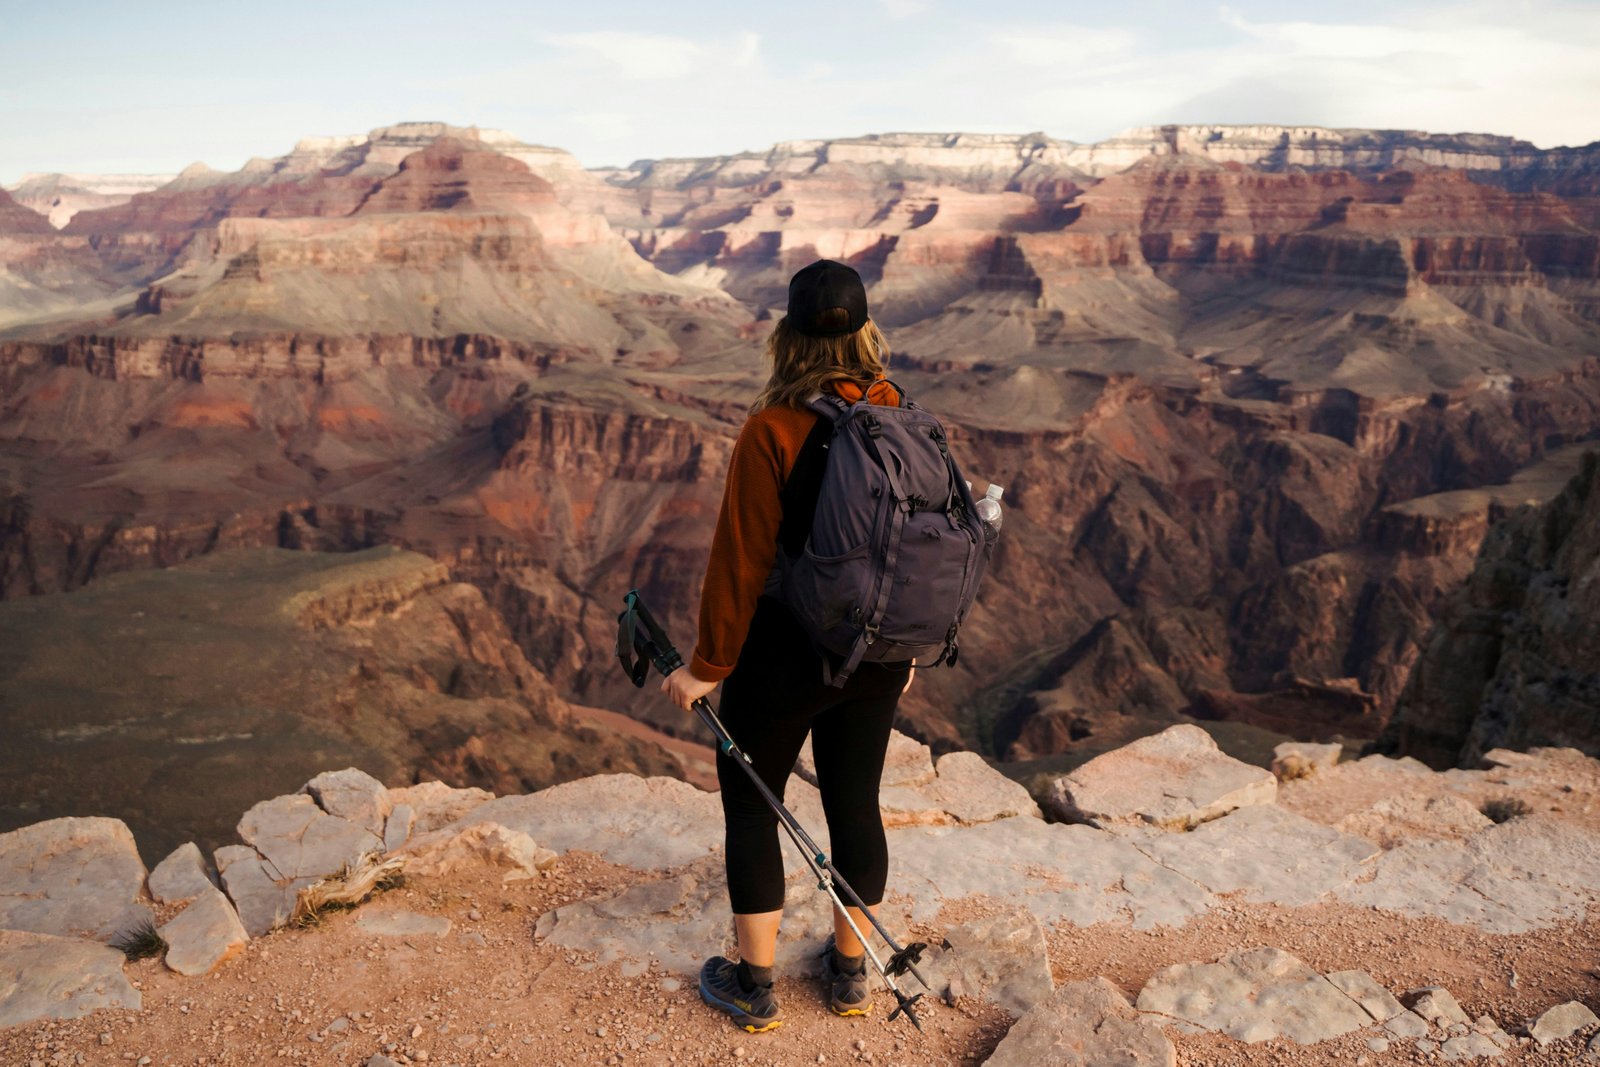
Even the easiest Grand Canyon trails feel more comfortable when you bring a few essentials. The desert is dry, sunny, and often windy, so having the right gear makes short hikes safer and more enjoyable.
Water + Electrolytes
The canyon’s dry air can dehydrate you quickly, even on short rim walks. Bring a reusable water bottle and add electrolytes if you’re hiking during warmer parts of the day. We have been using Simple Modern Insulated Water Bottles for years and love that they keep water ice cold and come in various sizes. For longer days or warmer afternoons, adding electrolytes helps a lot — we personally use LMNT electrolyte packets and always keep a few in our daypack.
Sun Protection
The Grand Canyon has very little shade. Pack sunscreen, a hat, sunglasses, and lightweight UPF clothing to stay comfortable in the sun. A lightweight sun‑protection jacket is a must to stay comfortable and protected from the sun, especially in the summer. We always bring a wide‑brimmed hat and high‑SPF mineral sunscreen, and we reapply throughout the day — especially if we’re walking the Rim Trail or spending time at overlooks where the sun and wind can be constant.
Comfortable Footwear
You don’t need heavy boots for easy hikes, but supportive shoes with good traction make a big difference on rocky or uneven paths. We use Columbia hiking boots (they come in both men’s and women’s versions), and they’ve been great for traction and support on uneven terrain. Hiking poles can also be helpful for balance on uneven sections of trail or when walking longer distances along the Rim Trail.
Snacks
Salty snacks help maintain energy and hydration, especially if you’re out during midday heat or exploring multiple viewpoints.
Light Jacket
Evenings and early mornings can be cool, especially on the North Rim or during shoulder seasons. A lightweight layer is usually enough.
Headlamp or Small Flashlight
Sunset hikes are popular, and a small light helps you navigate safely if you’re out past dusk.
Portable Charger
Cell service is limited, but your phone is still your map, camera, and emergency contact tool. A small charger keeps it powered.
Offline Maps
Download trail info or maps before you arrive. Service can drop unexpectedly, especially on the North Rim and below the rim.
Small First‑Aid Kit
Band‑aids, blister care, and basic supplies are helpful for short hikes — especially if you’re exploring multiple trails in one day.
Photography Tips for Easy Hikes
- Shoot at sunrise or sunset for soft, warm canyon light
- Use the rim’s viewpoints as natural frames for your shots
- Turn around often — some of the best views are behind you
- Keep your horizon straight for cleaner landscape photos
- Step a few feet to the side of busy viewpoints for quieter angles
- Use shadows and layers to show depth in wide canyon scenes
- Bring a microfiber cloth — dust and wind are common on the rim
FAQ: Easy Hikes in the Grand Canyon
Are easy hikes safe for beginners?
Yes — rim trails and short below‑the‑rim hikes are very beginner‑friendly as long as you start early, carry water, and avoid mid‑day heat.
Can I hike below the rim if I’m new to hiking?
Absolutely. Ooh Aah Point and Bright Angel to First Tunnel are great starter options with big views and manageable elevation.
Is the Rim Trail paved?
Parts of it are paved and wheelchair‑friendly, especially near the Visitor Center and popular viewpoints.
Do I need hiking boots for easy trails?
No — comfortable shoes with good traction are enough for rim walks and short descents.
Is the North Rim easier or harder than the South Rim?
The North Rim has fewer trails but many easy, scenic walks. The South Rim offers more options and year‑round access.
What’s the best time of day for photos?
Sunrise and sunset give the canyon warm, soft light and long shadows — perfect for easy hikes and rim viewpoints.
Can I bring my dog?
Dogs are allowed on paved South Rim trails but not below the rim. The North Rim has more restrictions.
Is there cell service on the trails?
Service is spotty, especially on the North Rim and below the rim. Download maps before you go.
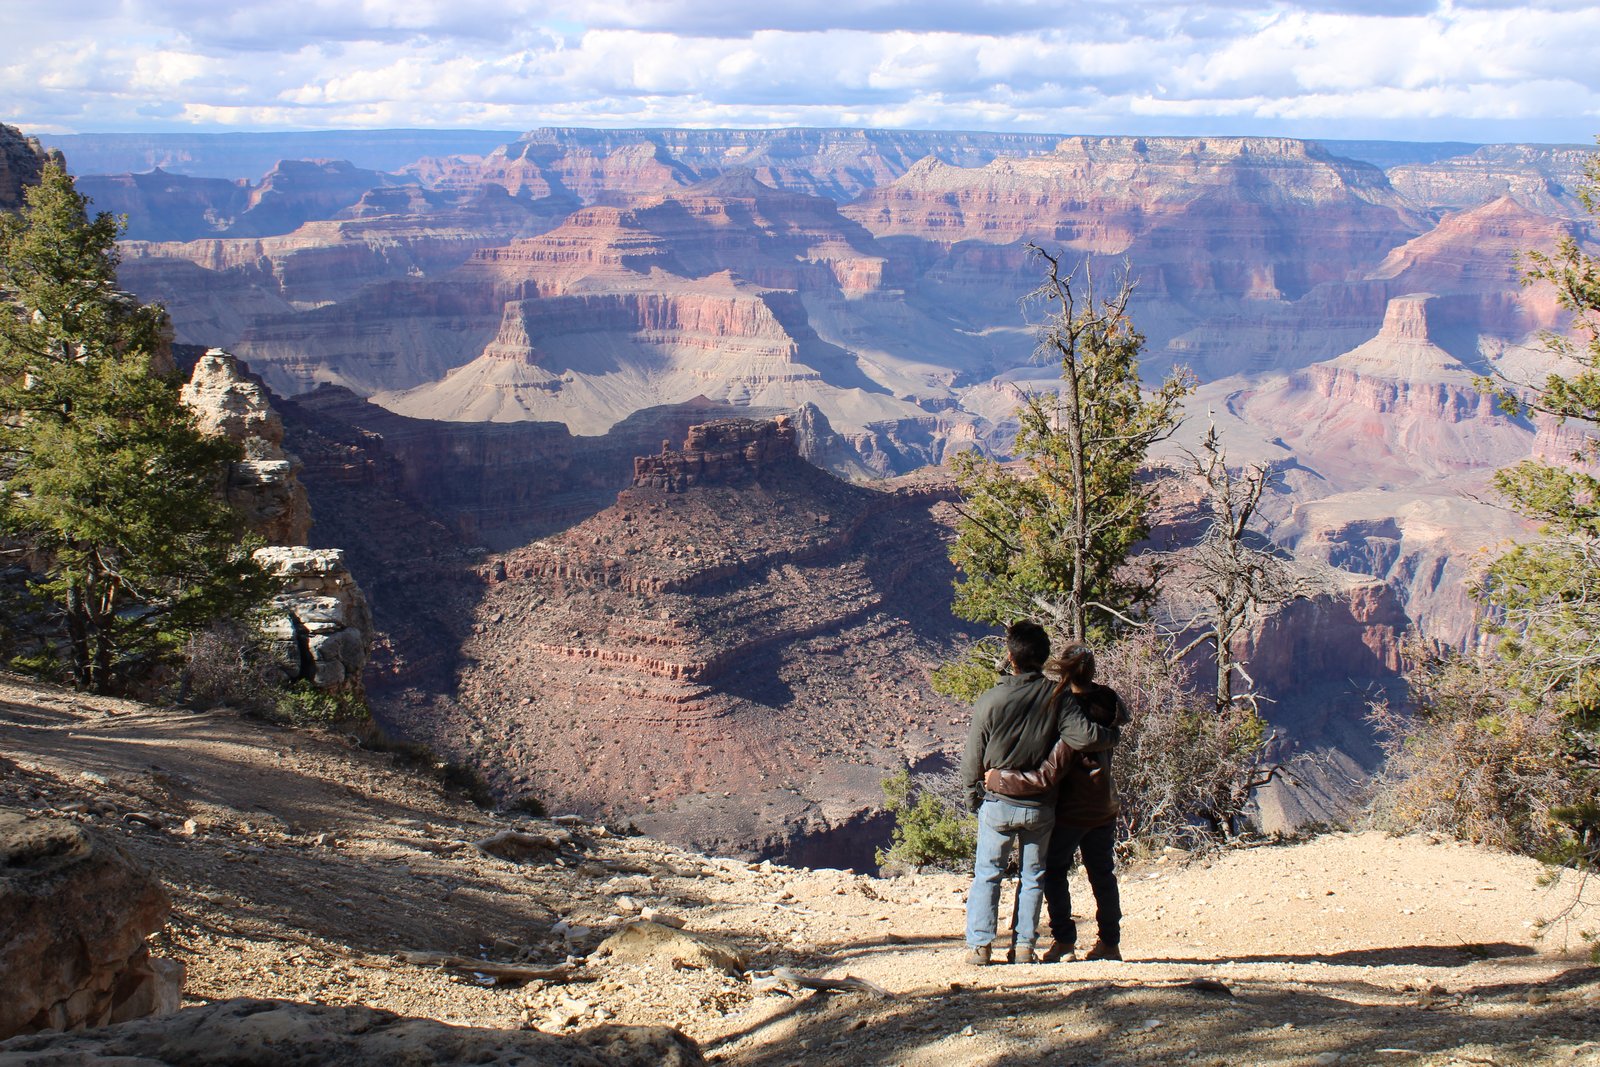
Easy hikes are one of the best ways to experience the Grand Canyon, whether you’re visiting for the first time or returning to see it from a new angle. With wide‑open views, gentle trails, and plenty of beginner‑friendly options on both rims, you can enjoy the canyon at your own pace and still take in some of its most unforgettable scenery. If you’re planning a longer trip or want to explore more viewpoints, feel free to check out my other Grand Canyon guides for deeper tips, lodging ideas, and more ways to make the most of your visit.
Helpful Links
- Grand Canyon National Park Official Website – https://www.nps.gov/grca/index.htm
- South Rim Trail Maps – https://www.nps.gov/grca/planyourvisit/maps.htm
- South Rim Shuttle Bus Information – https://www.nps.gov/grca/planyourvisit/shuttle-buses.htm
- South Kaibab Trail Details (Ooh Aah Point) – https://www.nps.gov/grca/planyourvisit/south-kaibab-trail.htm
- Bright Angel Trail Details – https://www.nps.gov/grca/planyourvisit/brightangeltrail.htm
- North Rim Information & Seasonal Access – https://www.nps.gov/grca/planyourvisit/north-rim.htm
- North Rim Scenic Drives (Cape Royal & Cape Final) – https://www.nps.gov/grca/planyourvisit/driving-the-scenic-roads.htm
- Current Conditions & Alerts – https://www.nps.gov/grca/planyourvisit/conditions.htm