

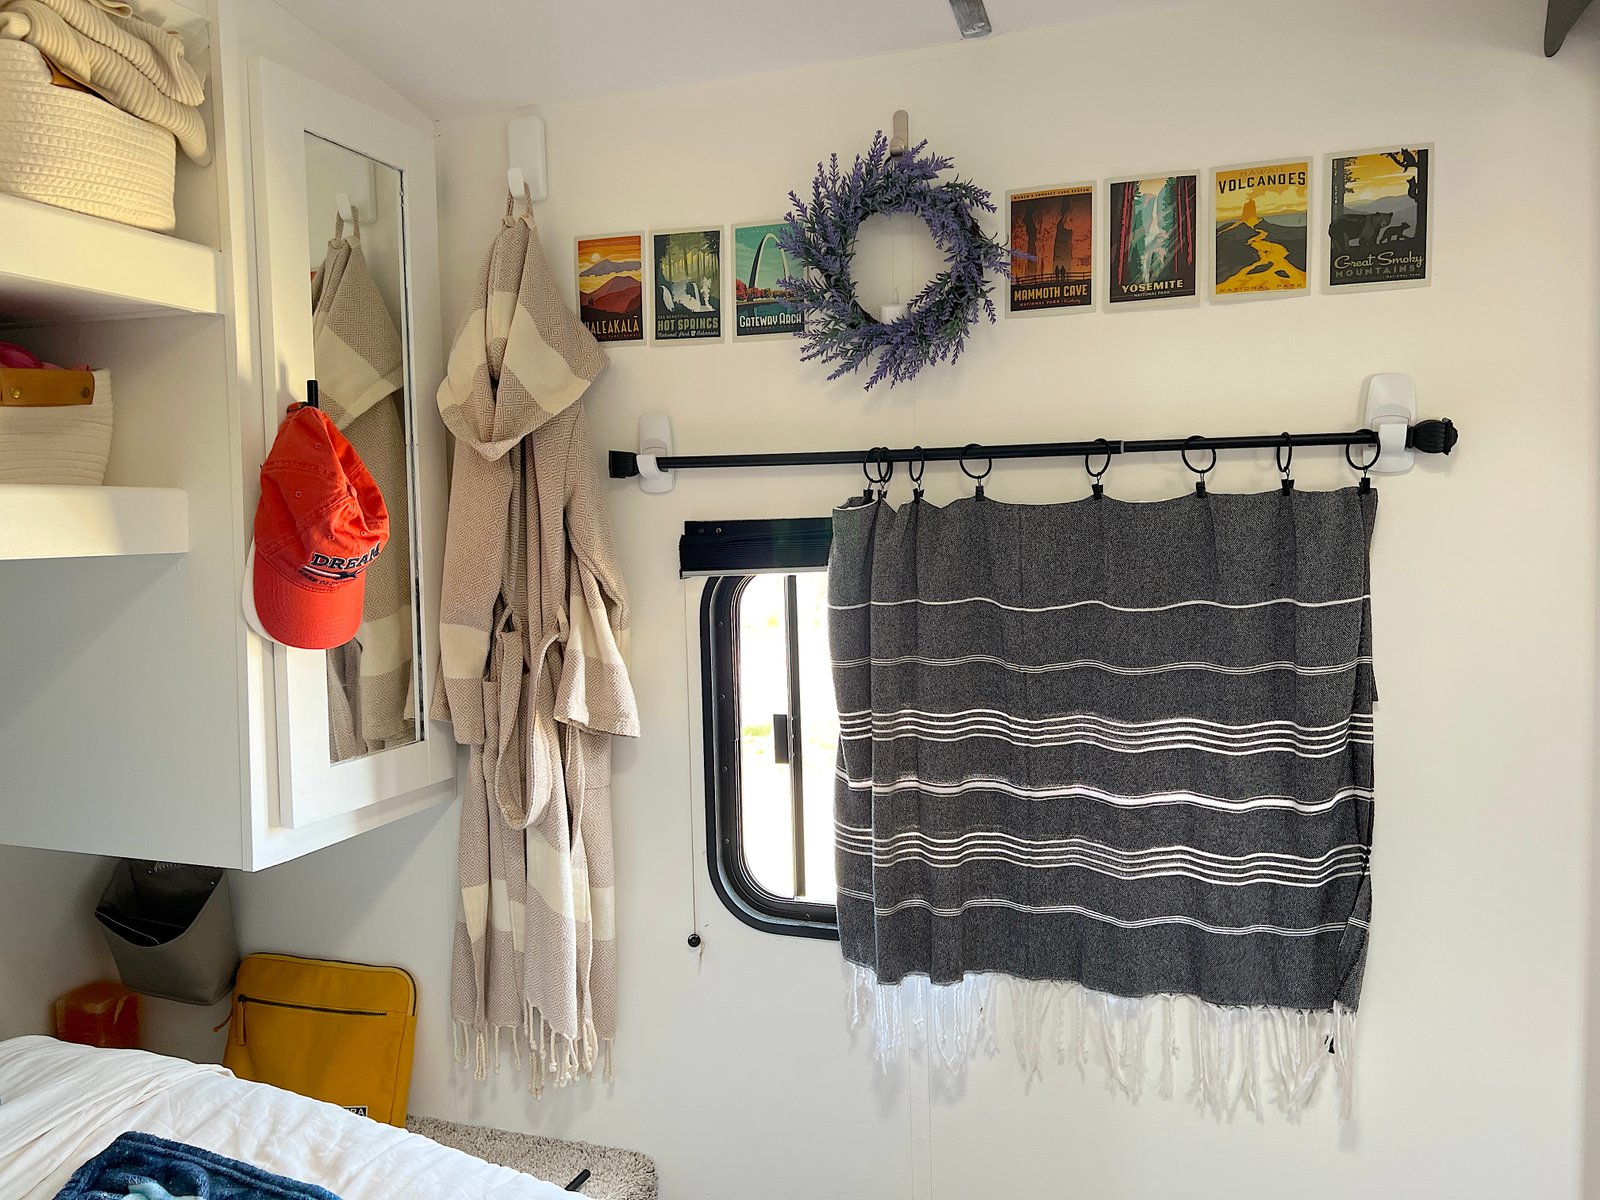
Looking to spruce up your RV, block out the sun, or help with insulation? There is nothing quite like breathing new life into your rig to make it truly feel like home on wheels.
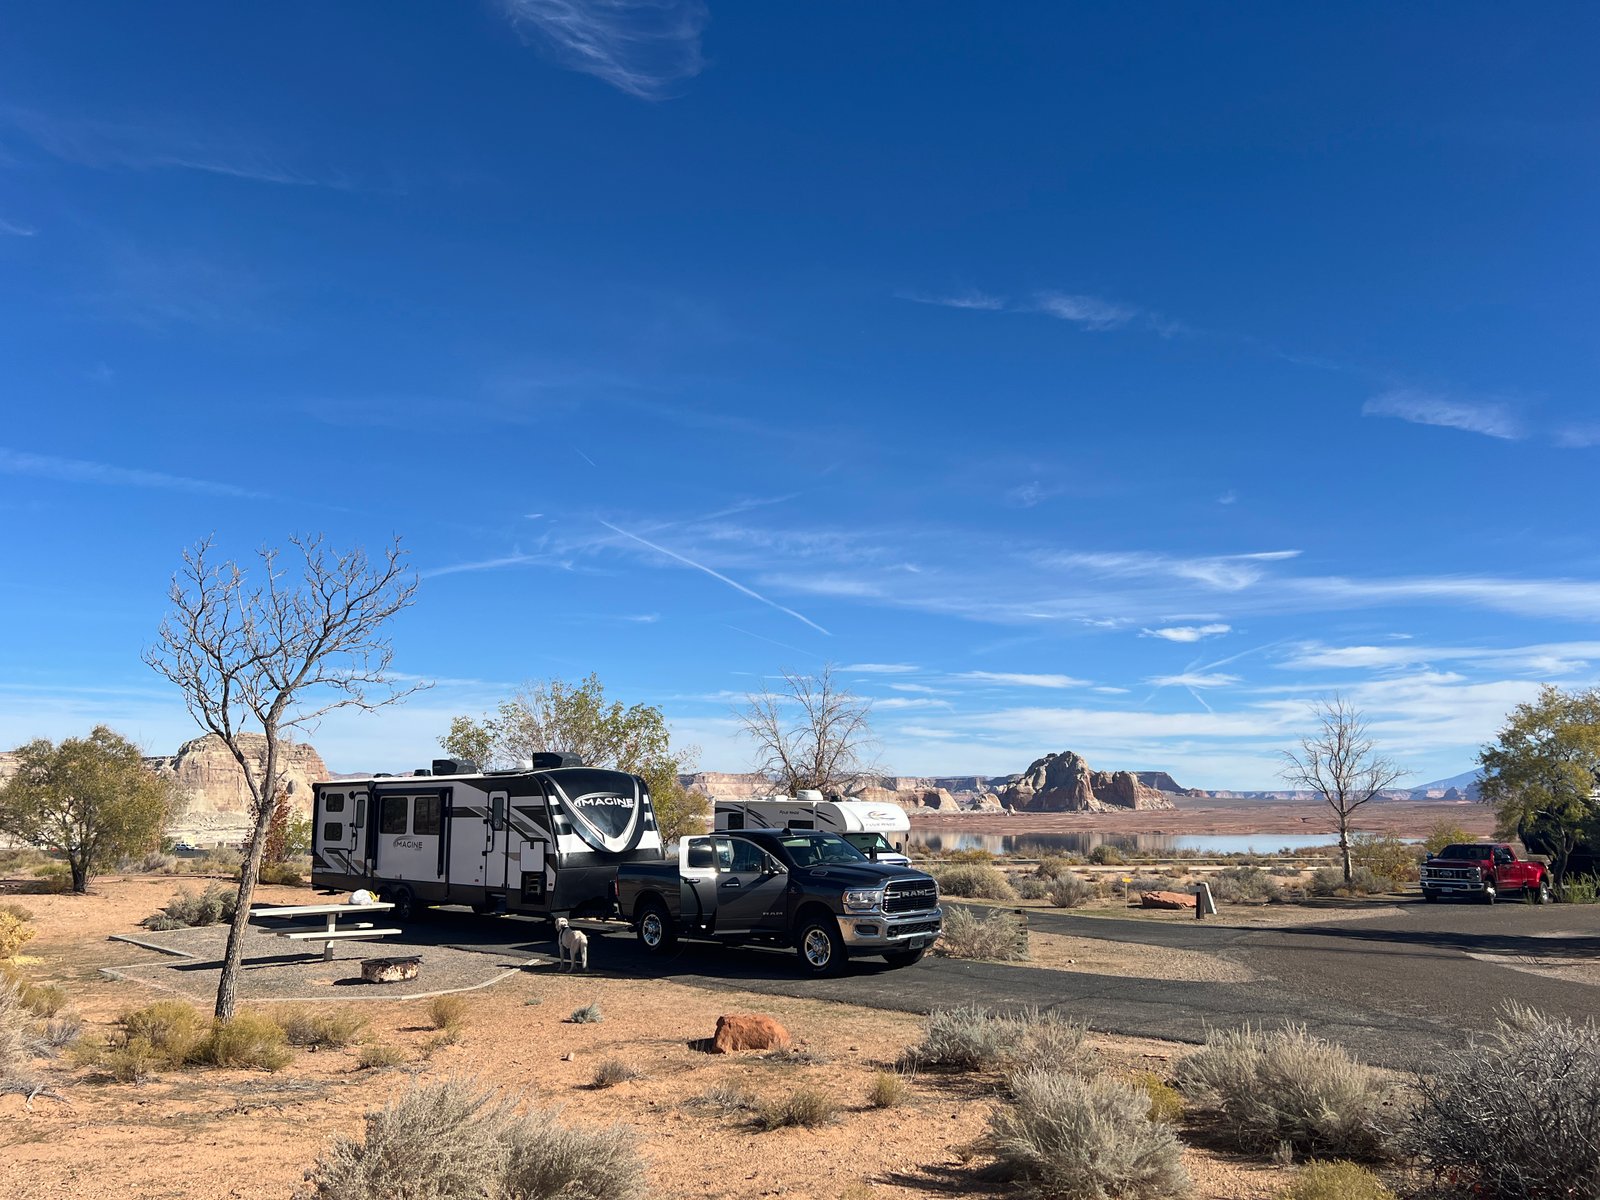
When we started working our first seasonal job out near Big Bend National Park, Mike and I decided it was time to add some curtains to our home. And boy, it made such a change!
Let’s be honest: typically, the blinds that come on most RV windows are plain and don’t add much warmth or fun to the space. Not to mention that drilling holes in an RV doesn’t always end well. RVs are notorious for their hollow walls, so the less you need to screw in, the better.
You want a cozy, custom look, but you don’t want to spend hours of hard labor, use expensive tools, or risk damaging your walls. The good news? You can create simple & easy RV curtains without sewing or drilling any holes.
In this post, we are sharing a simple, step-by-step DIY RV curtain project to help you transform your rolling home without the headache!
This post contains affiliate links, so we may earn a small commission when you make a purchase through links on our site at no additional cost to you.
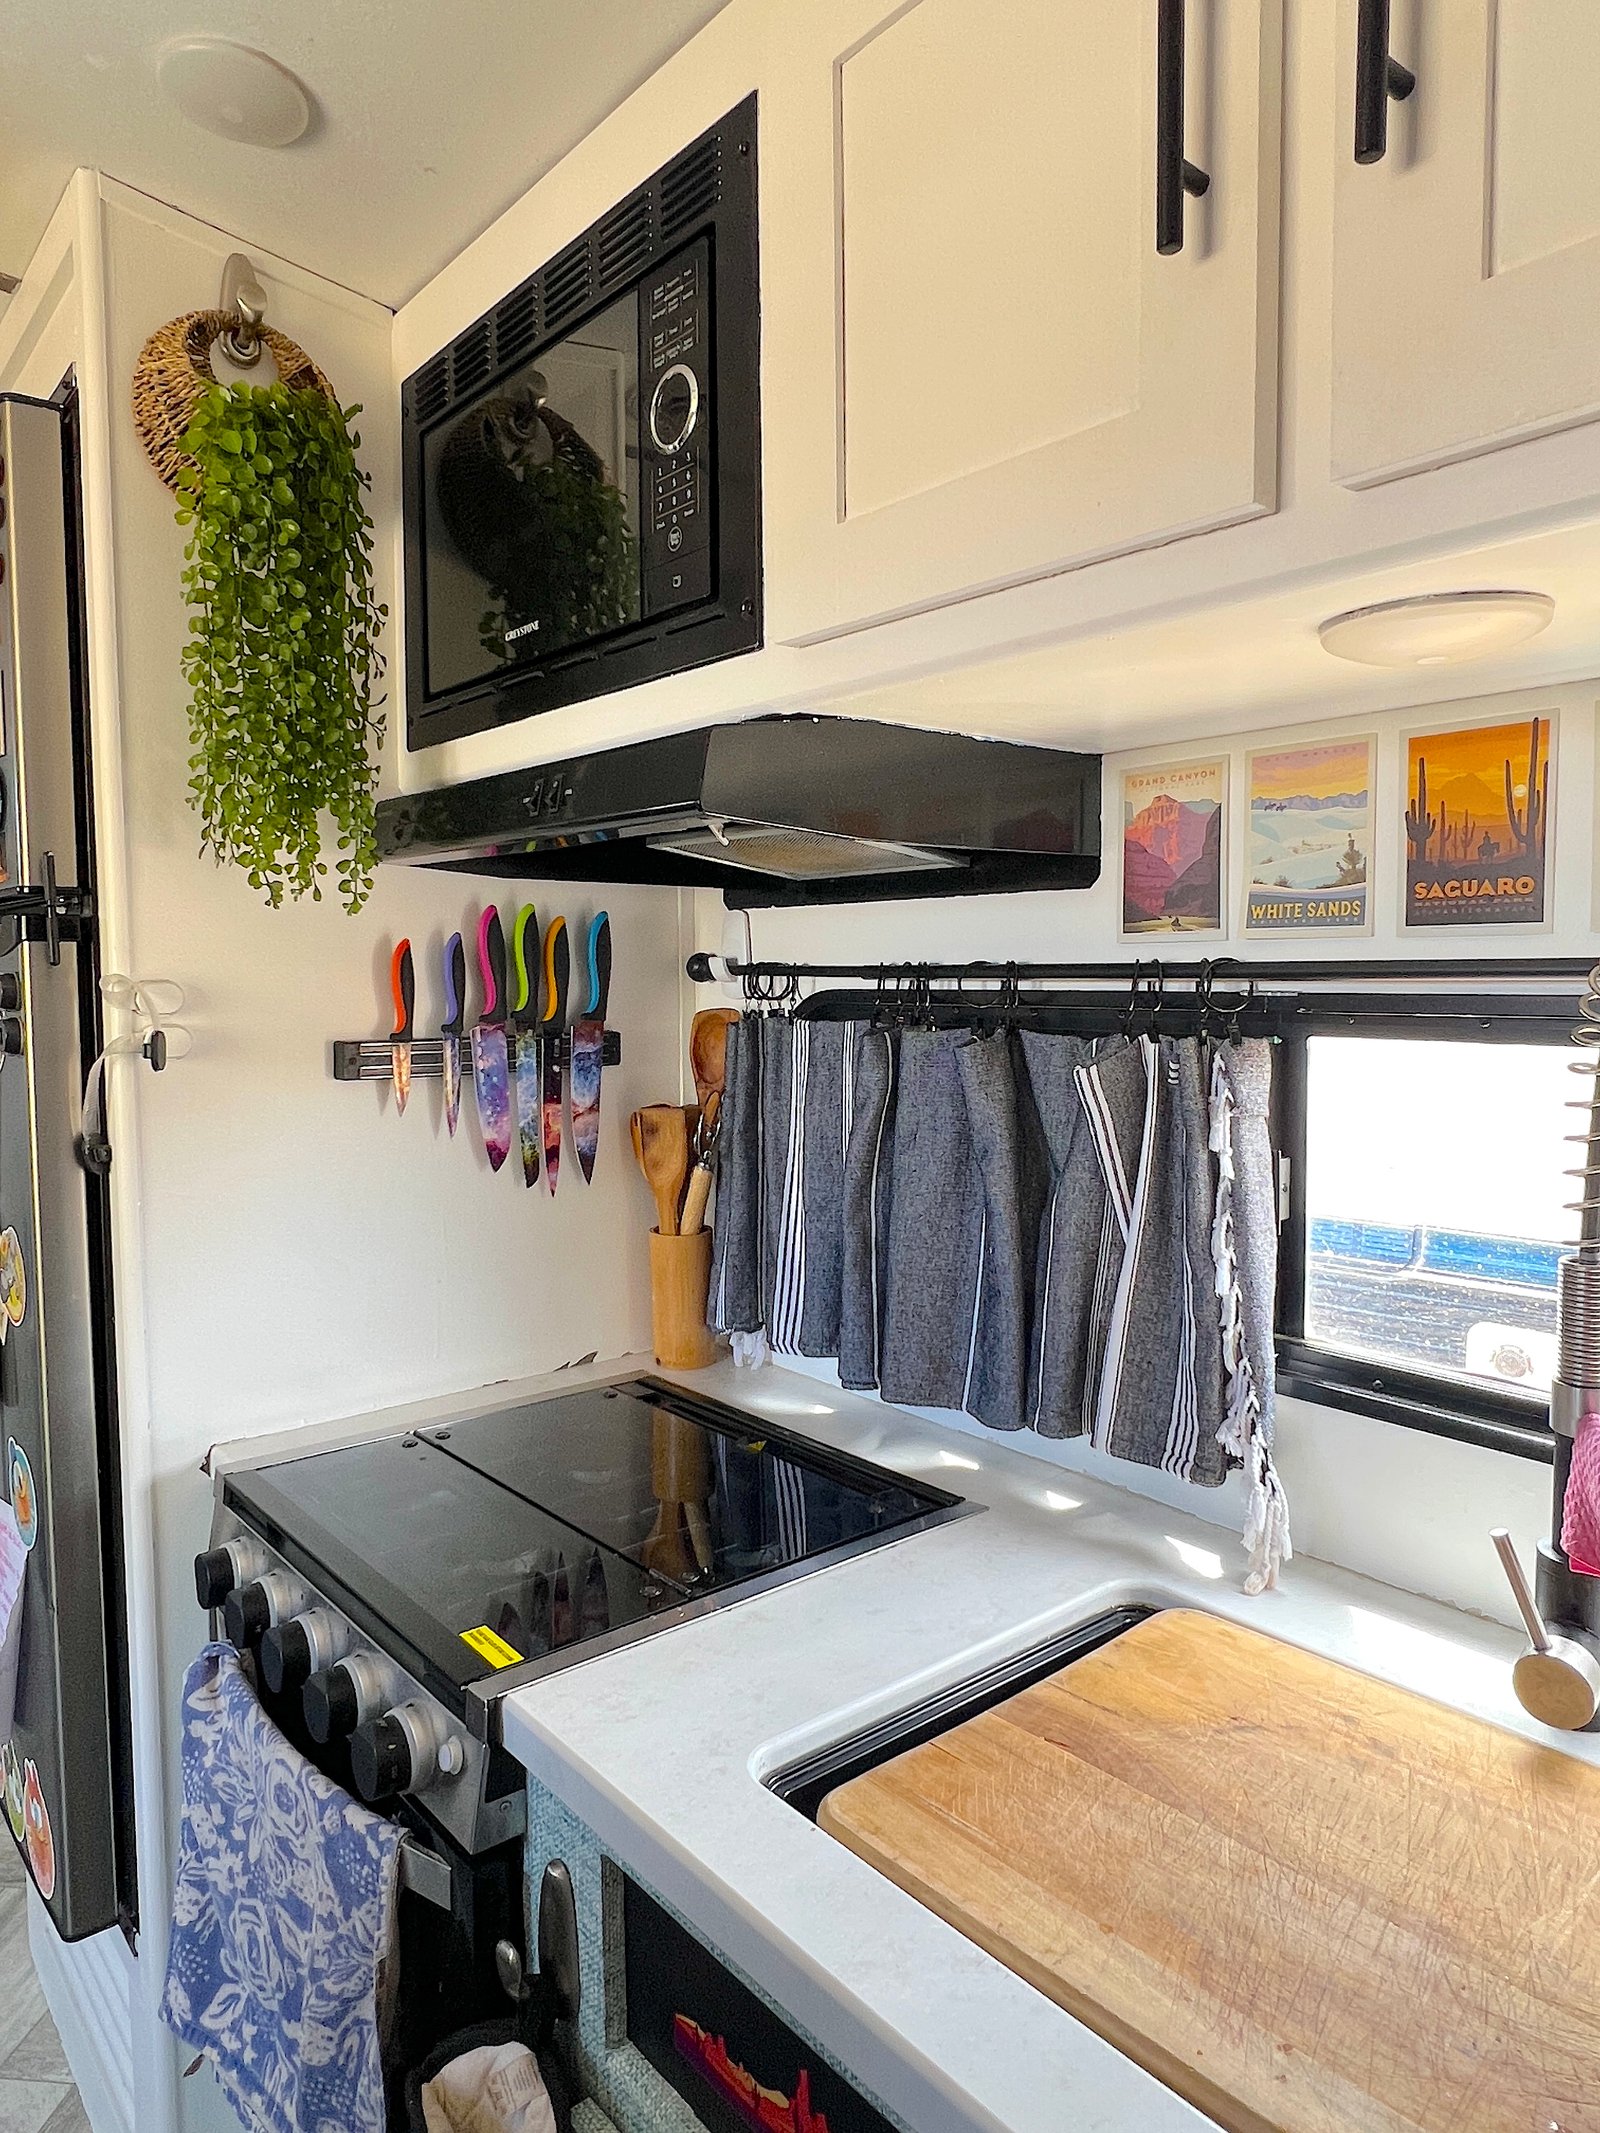
Supplies Needed for Your No-Sew RV Curtains
Before you get started, rounding up your materials makes the whole process go smoothly. Because we aren’t picking up a sewing machine or a power drill, your shopping list will be quick and budget-friendly:
Command Hooks: Our choice is the Jumbo Heavy Duty Wall Hook, rated for up to 7.5 pounds per hook. We prefer these because they can hold a lot, are lighter in color, and can be removed from the wall easily.
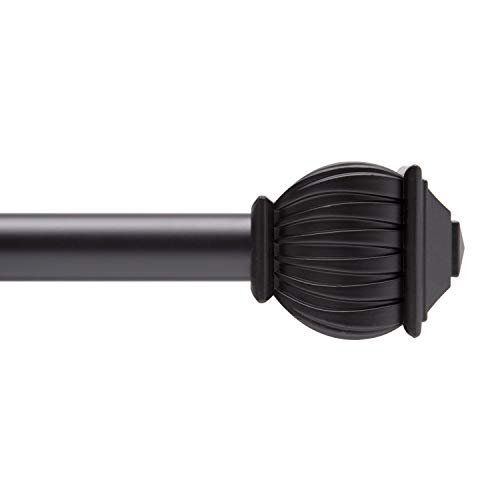
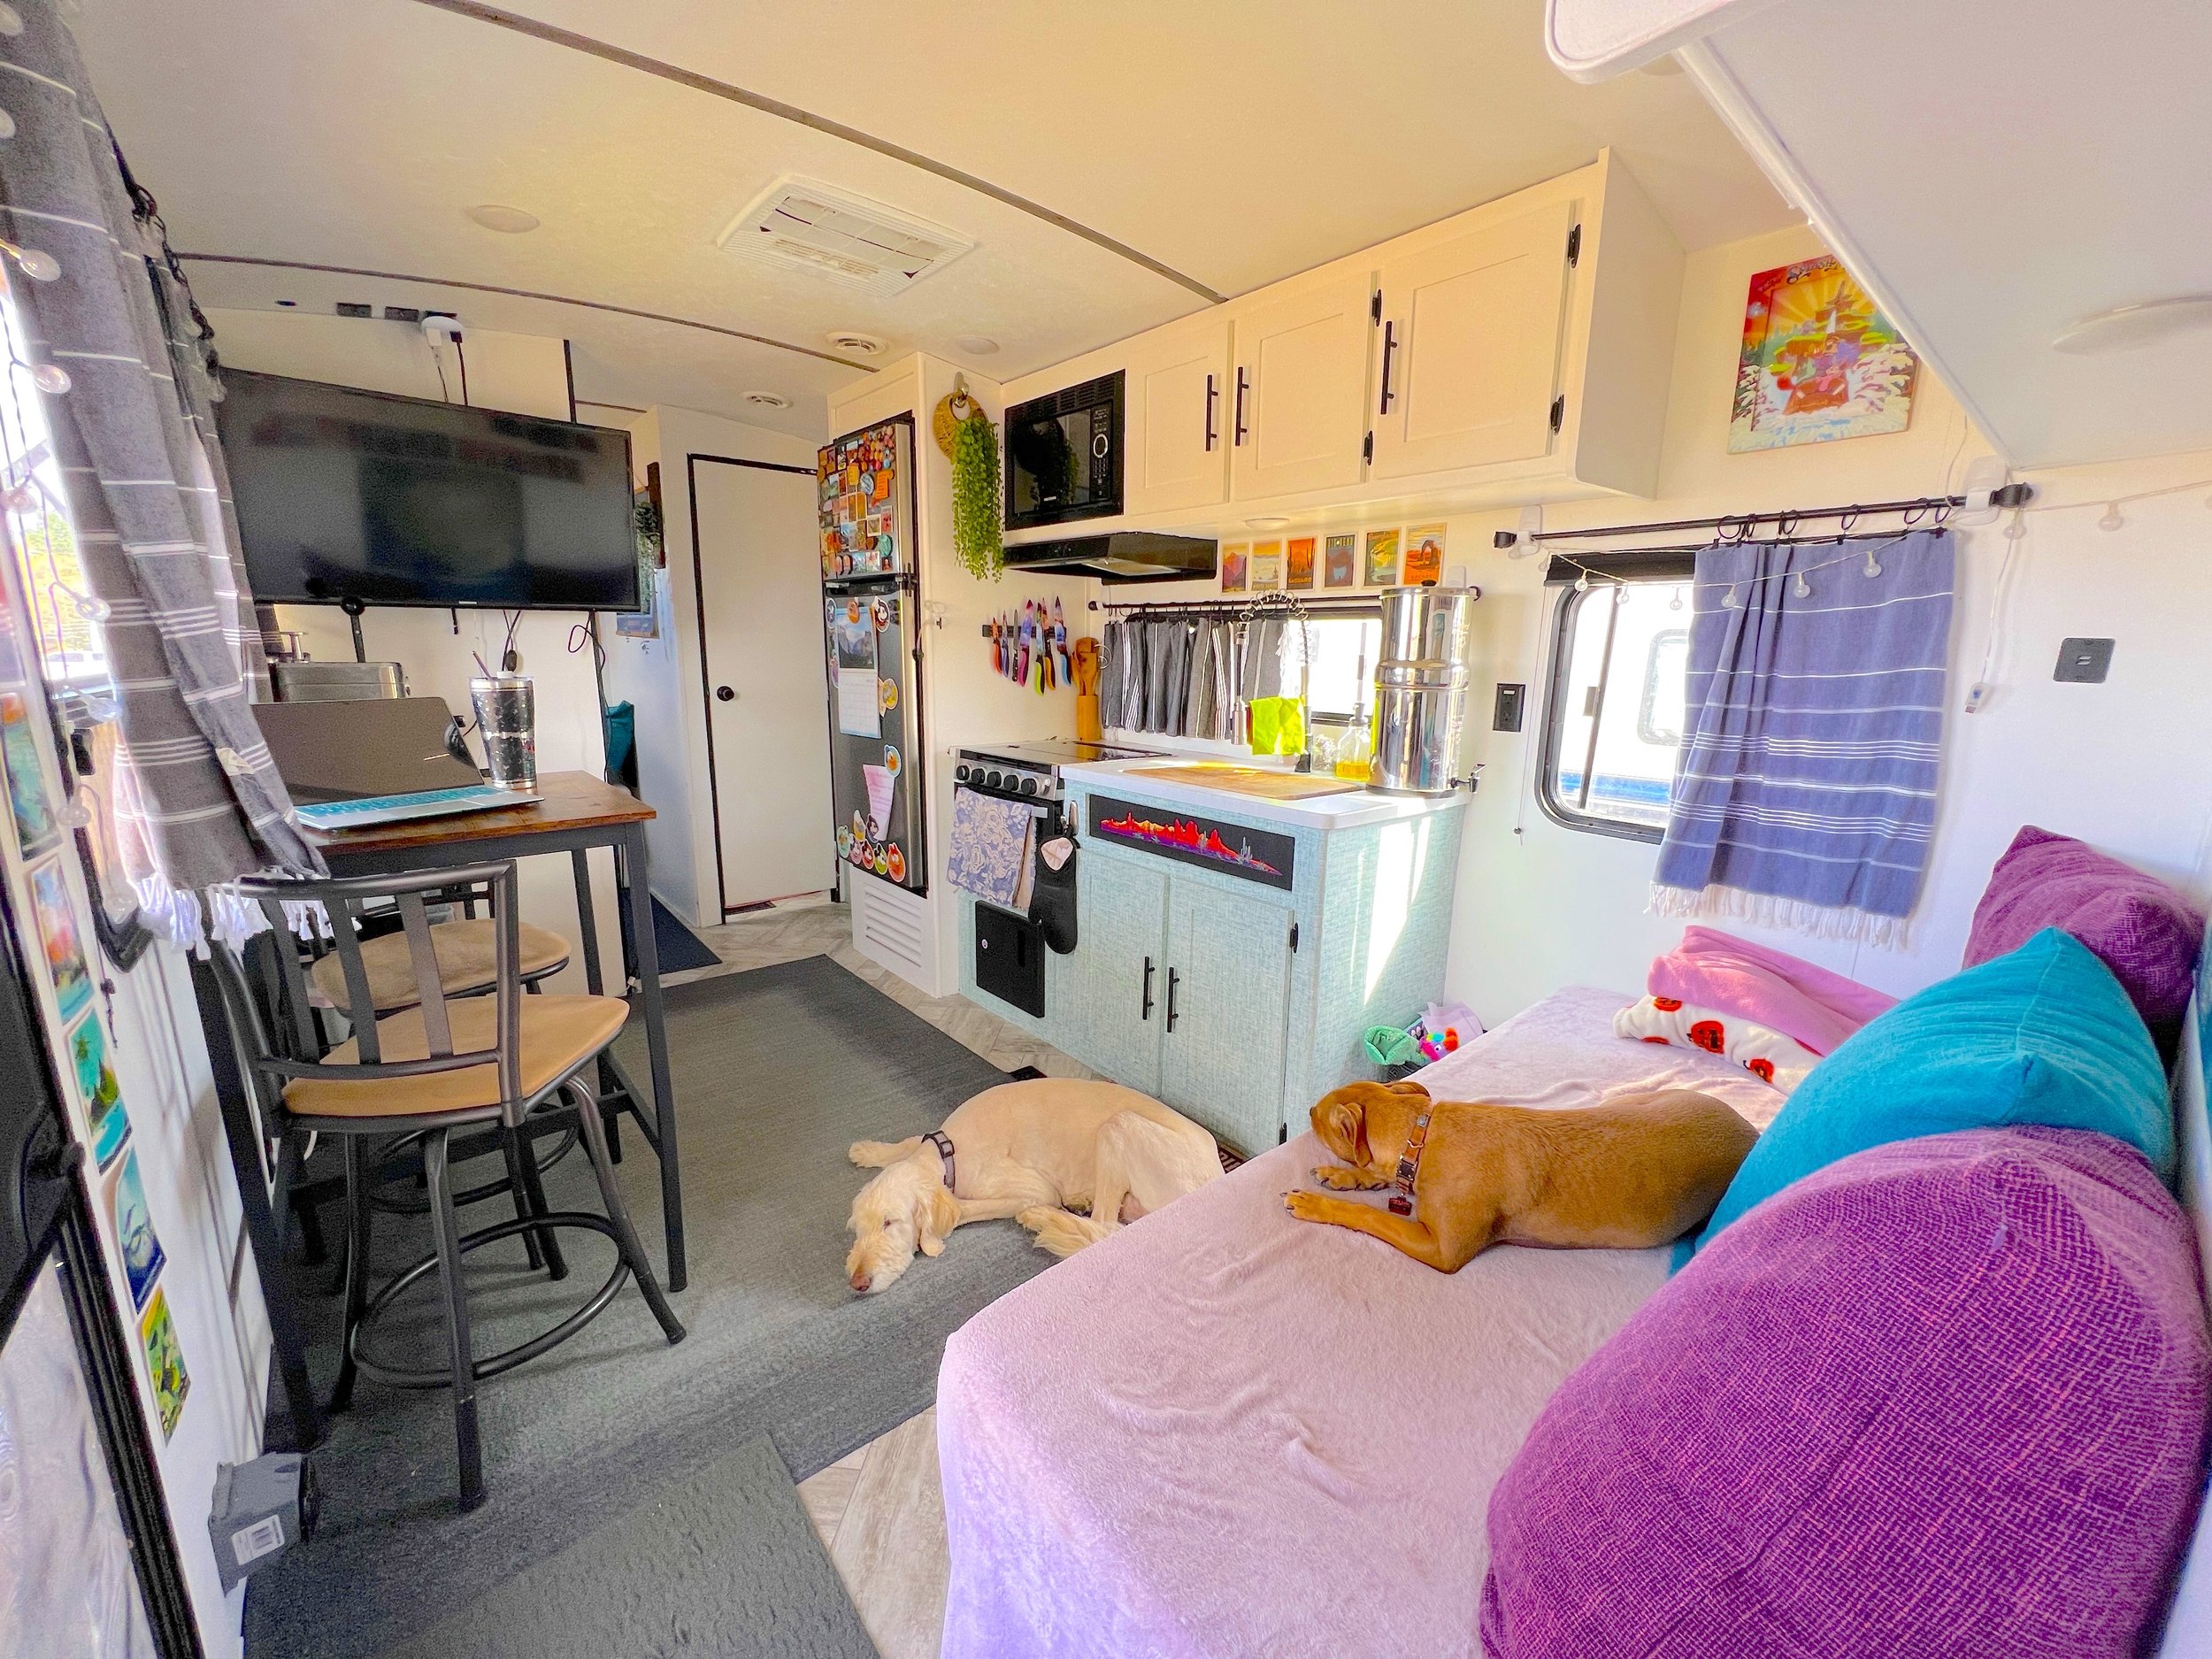
Curtain Rod: We went with a 5/8” black rod for style, but there are many options to choose from. Just make sure to measure your window to get the right size and remember to keep it lightweight. We used a 48–86” rod for the rectangular window above our sink and 28–48” rods for the square windows in our bedroom and couch area.
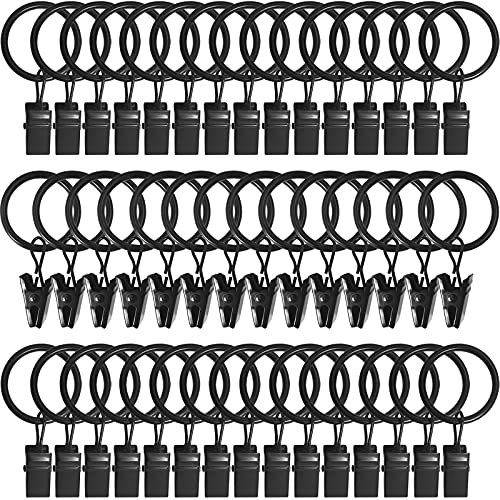
Curtain Clips: To attach your curtains to your rod, AMZSEVEN Metal curtain clips are great because you can easily unclip them to wash and clip them right back up.
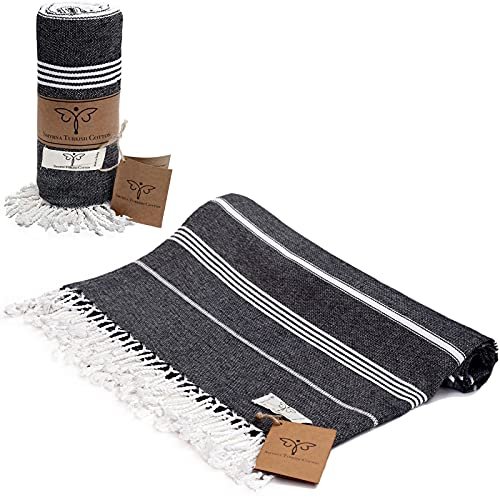
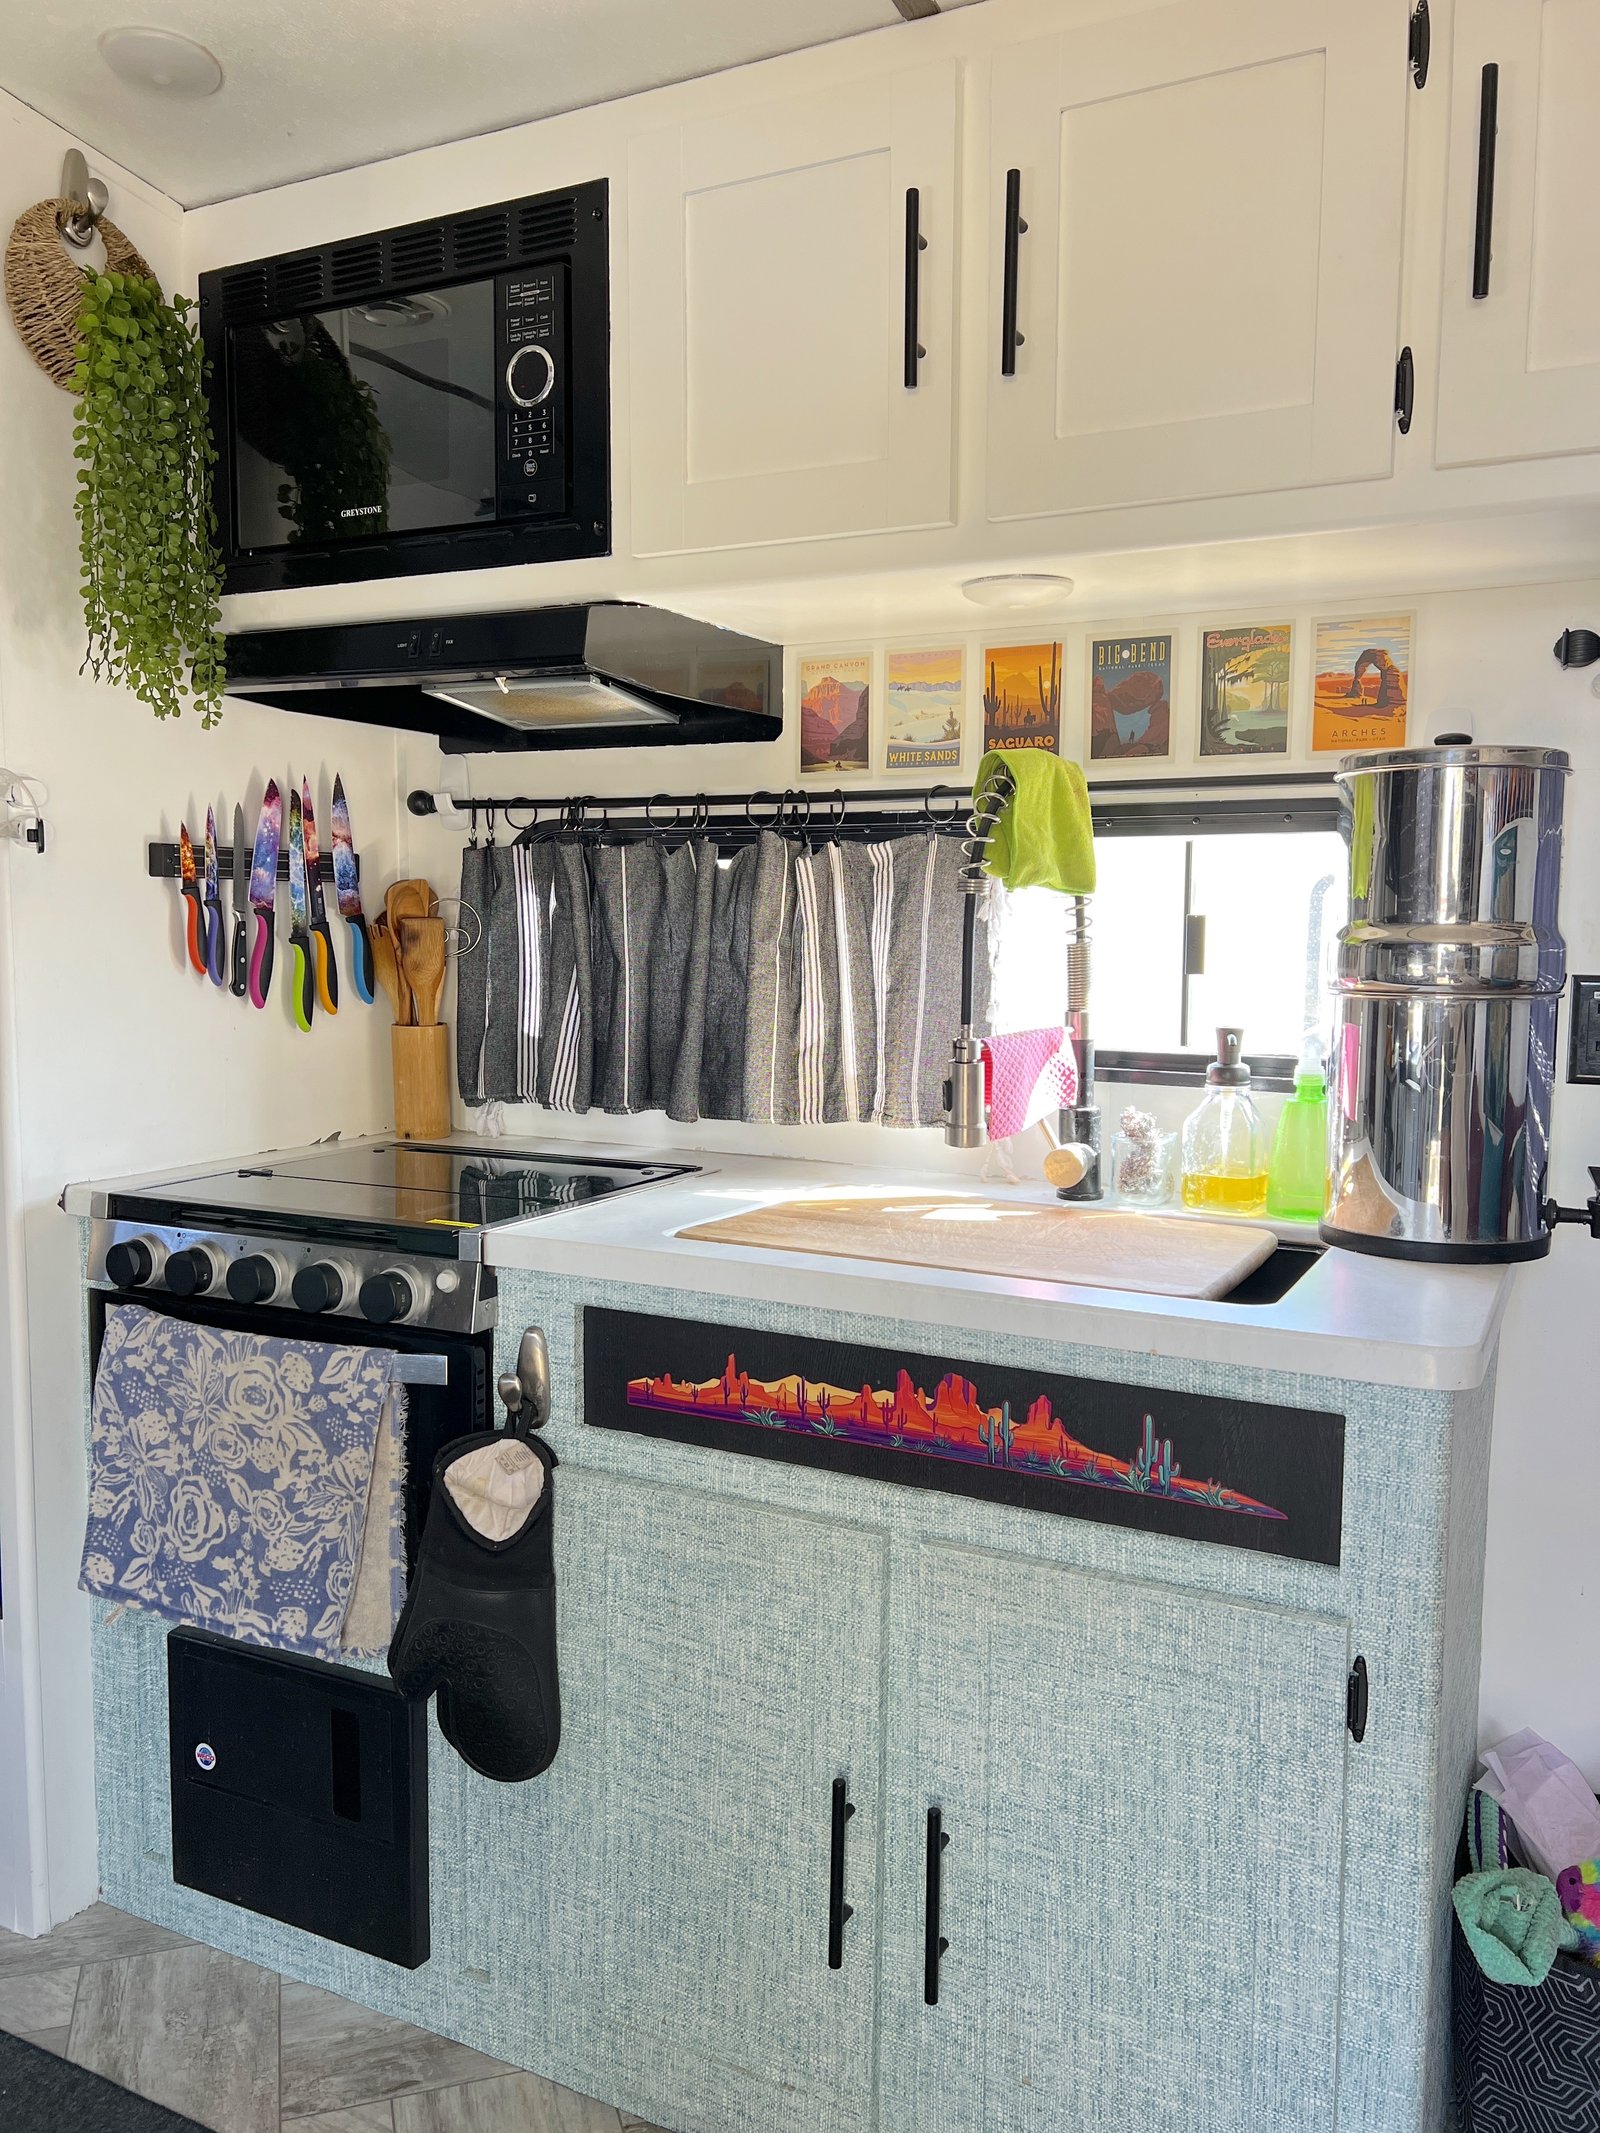
Curtain of Choice: If you’re looking to keep heat and light out, go for a darker color. While lighter curtains are cute, they don’t block out the sun or heat as well. We went with SMYRNA Turkish towels because they are lightweight, easy to wash, and come in a variety of colors.
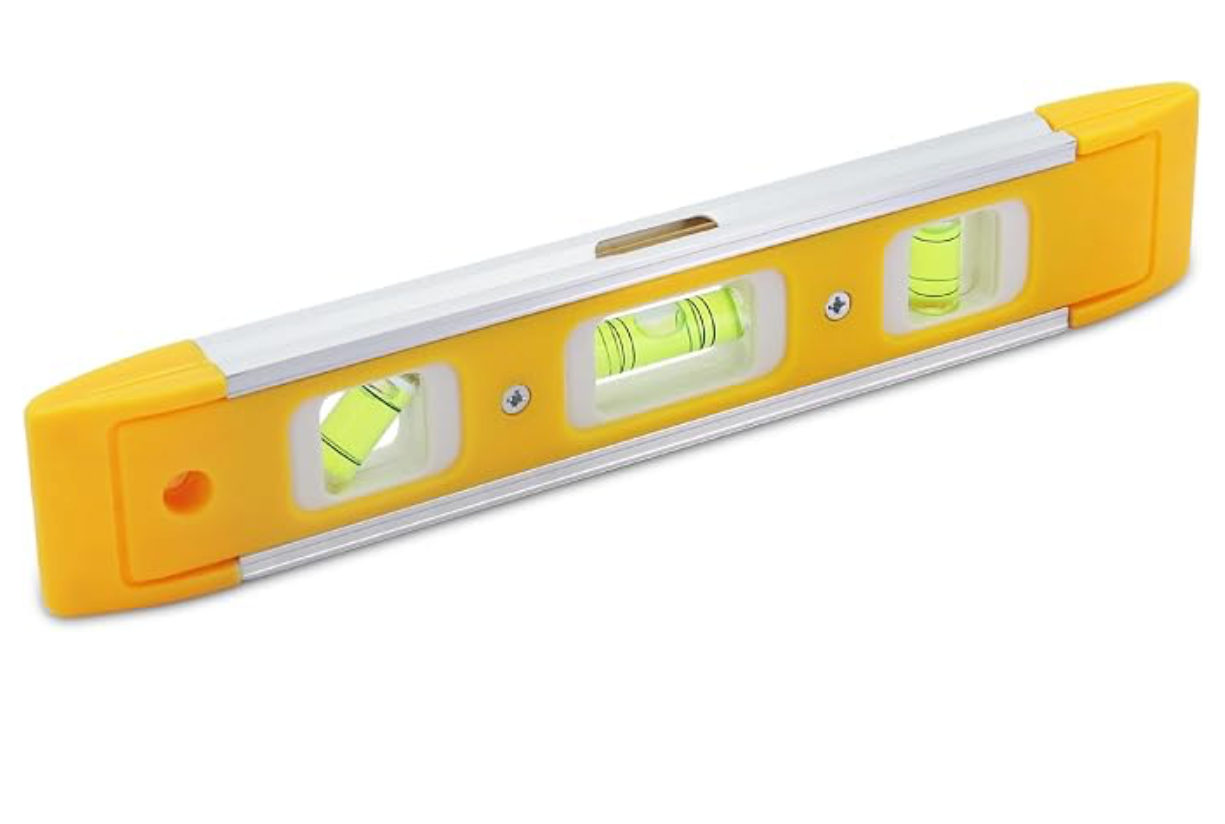
Leveler: To make sure your curtain rod is hung as evenly as possible.
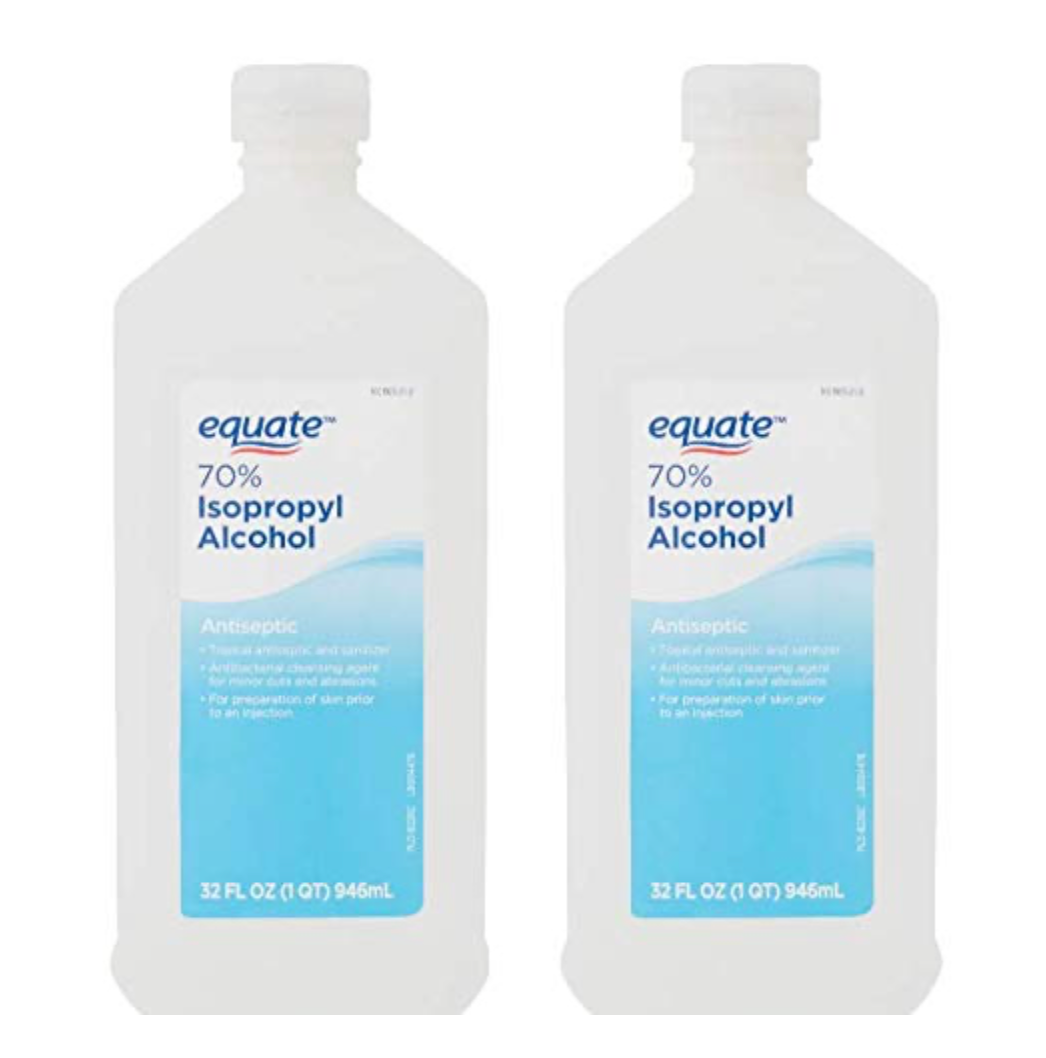
Rubbing Alcohol: Essential for cleaning the surface of dust and debris before applying your Command hooks so they properly adhere to the wall. Equate Isopropyl Alcohol will get the job done.
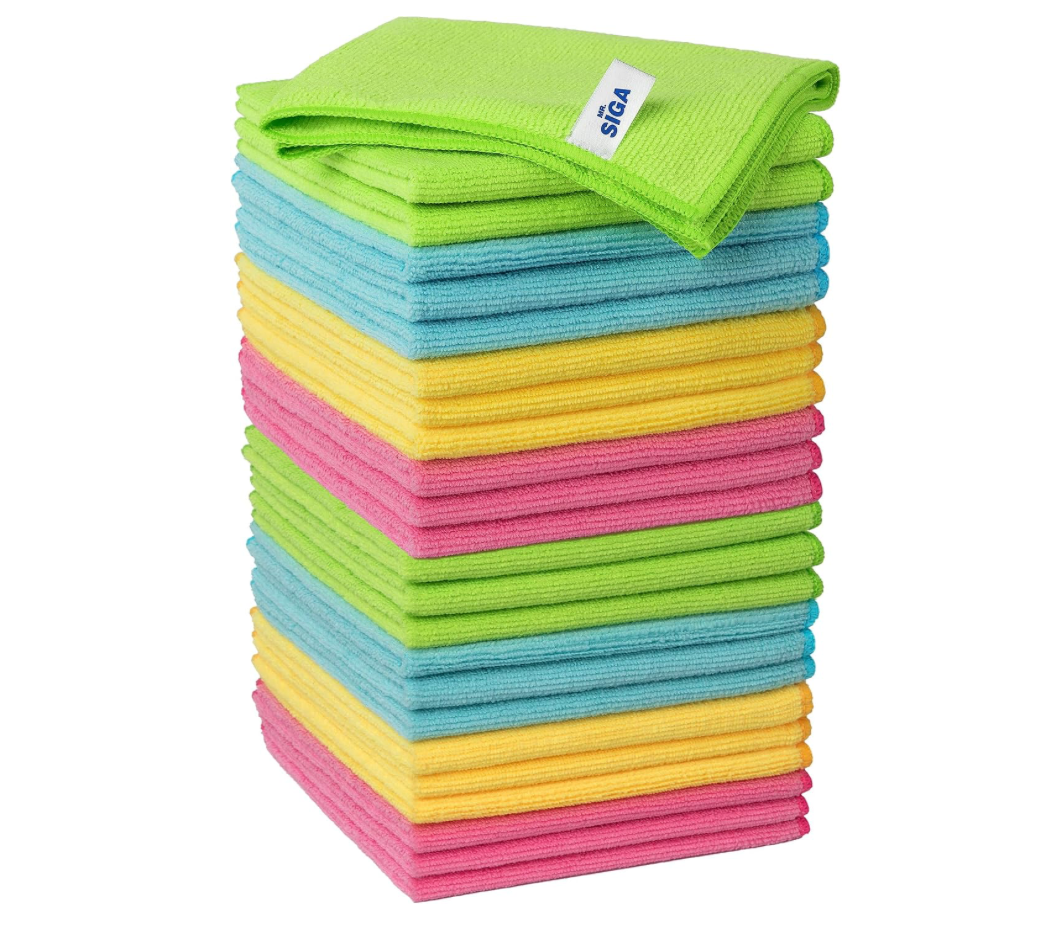
Microfiber Towel: These do a great job of completely removing dust and debris without leaving lint behind, and they are reusable. We used MR. SIGA Microfiber Cleaning Cloths.
Step-by-Step: How to Hang Your No-Sew RV Curtains
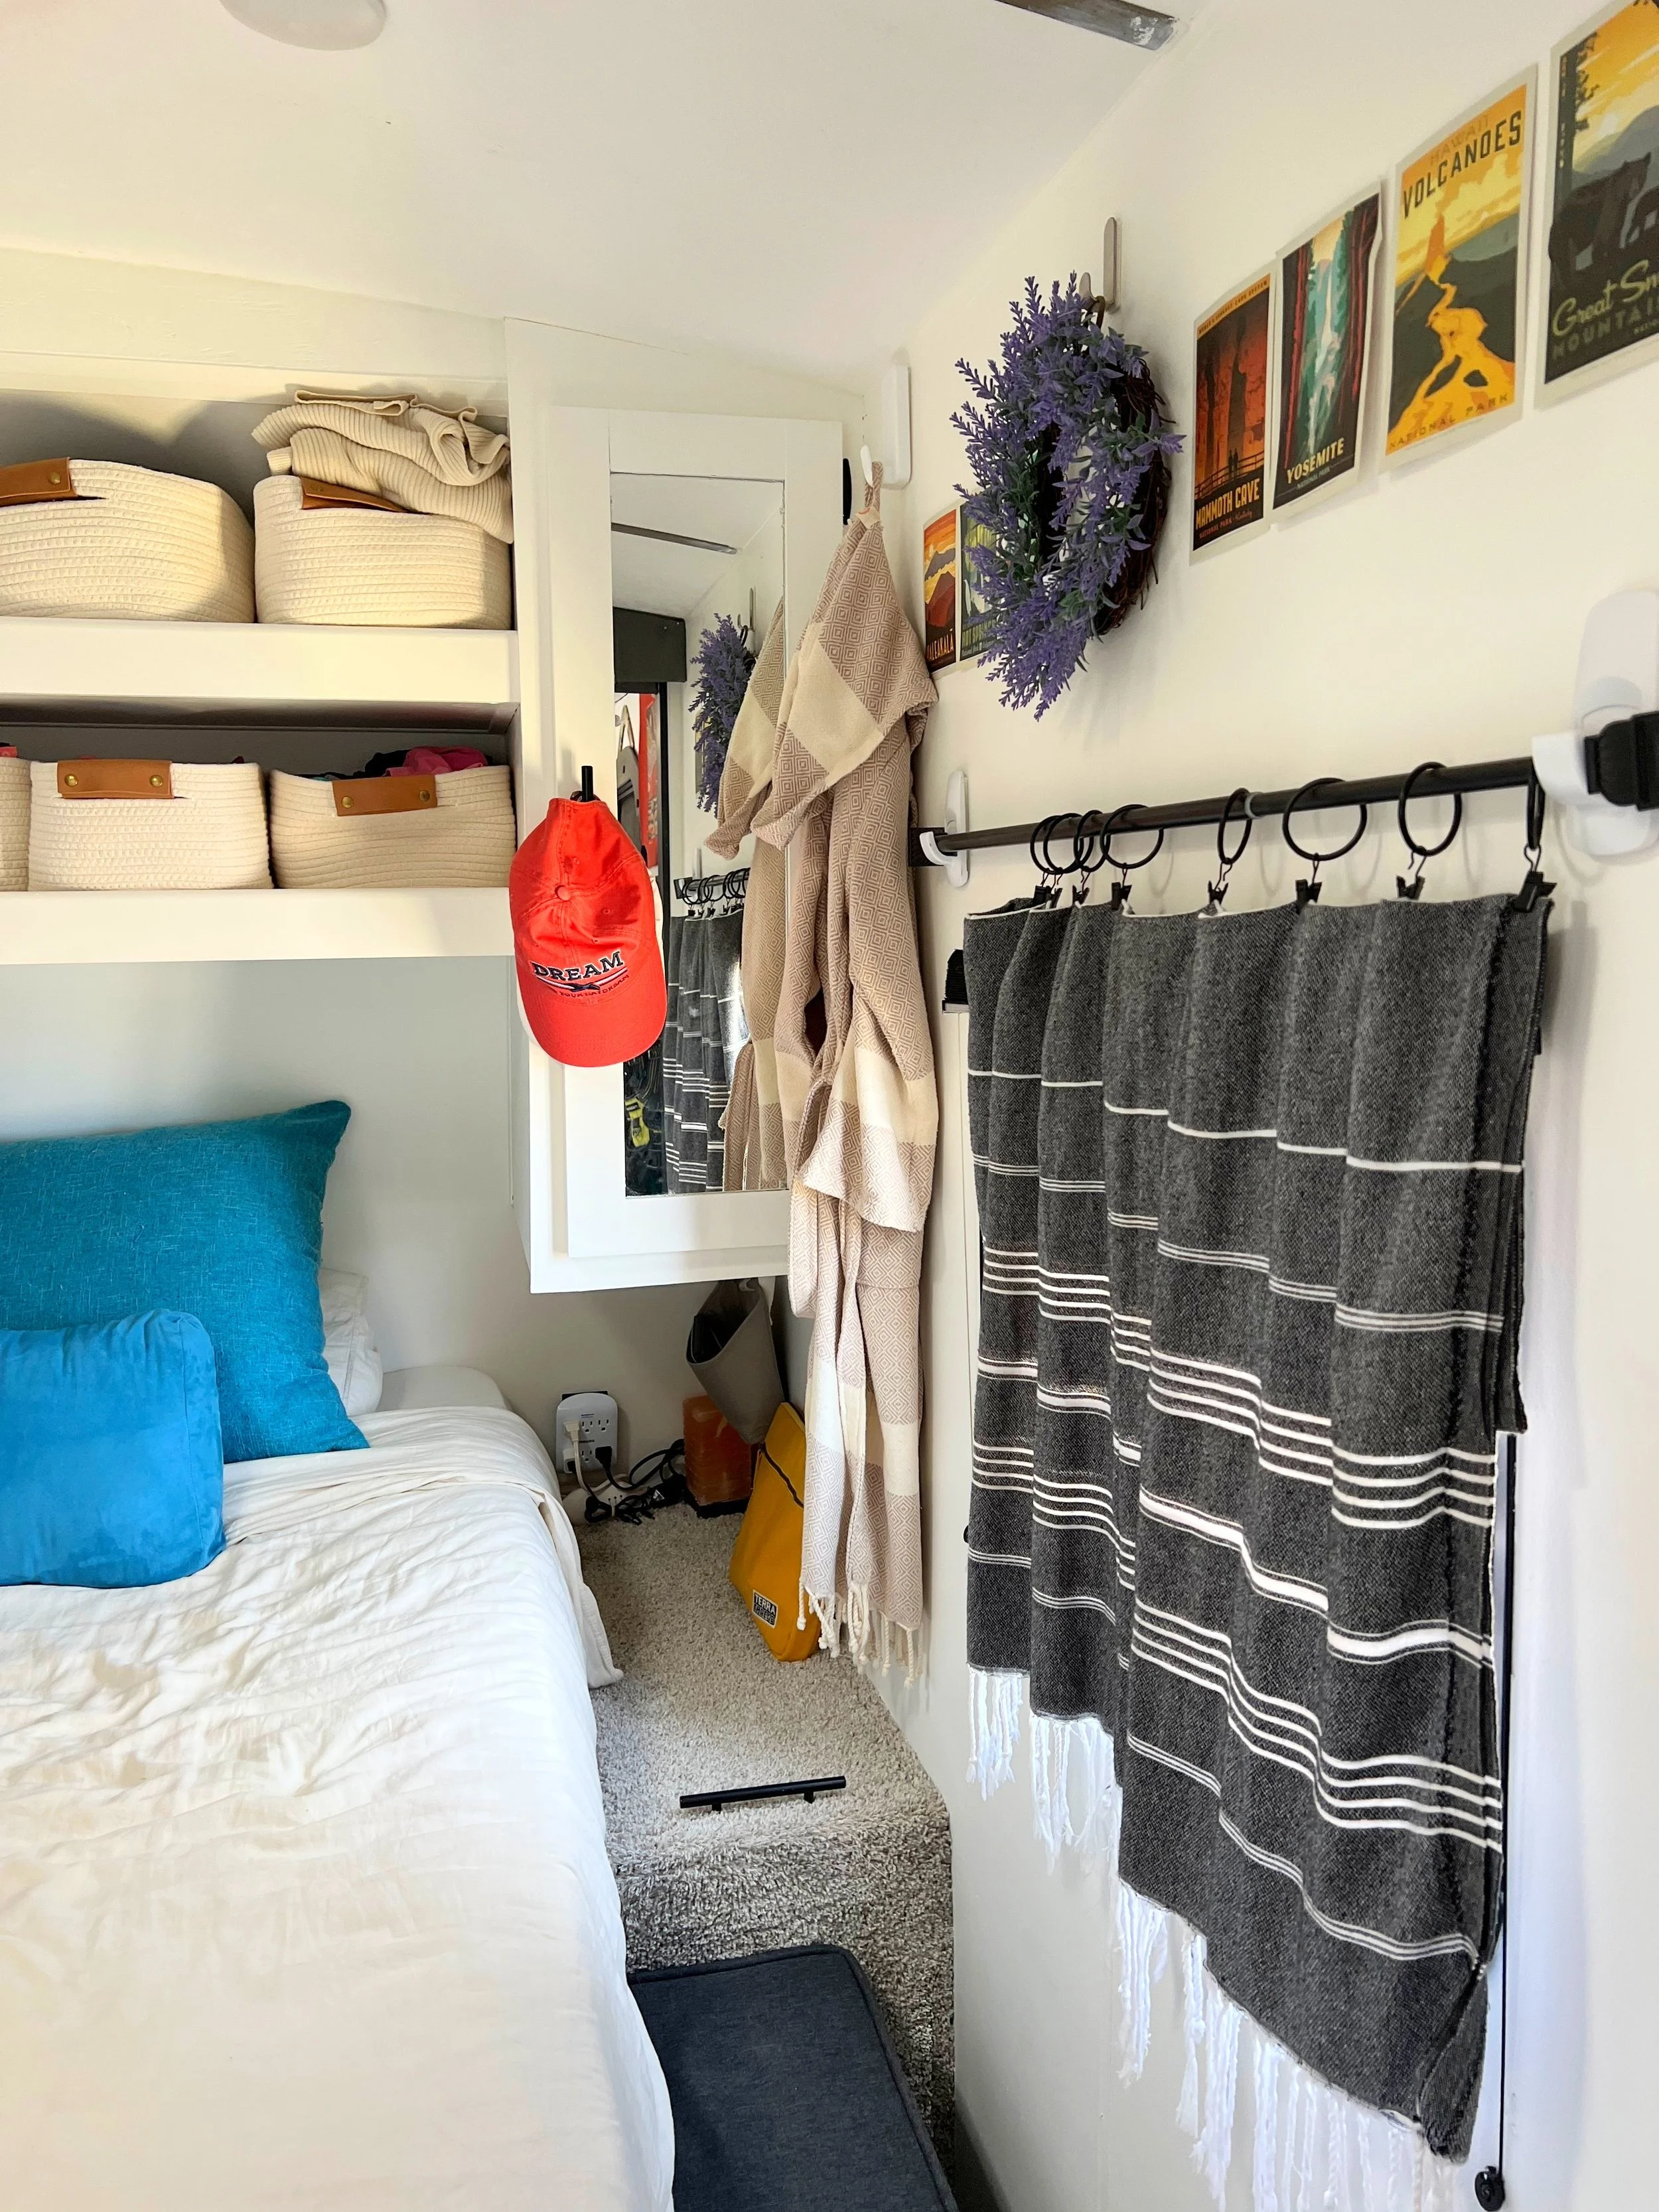
Step 1: Measure, Plan, and Mark Your Placement
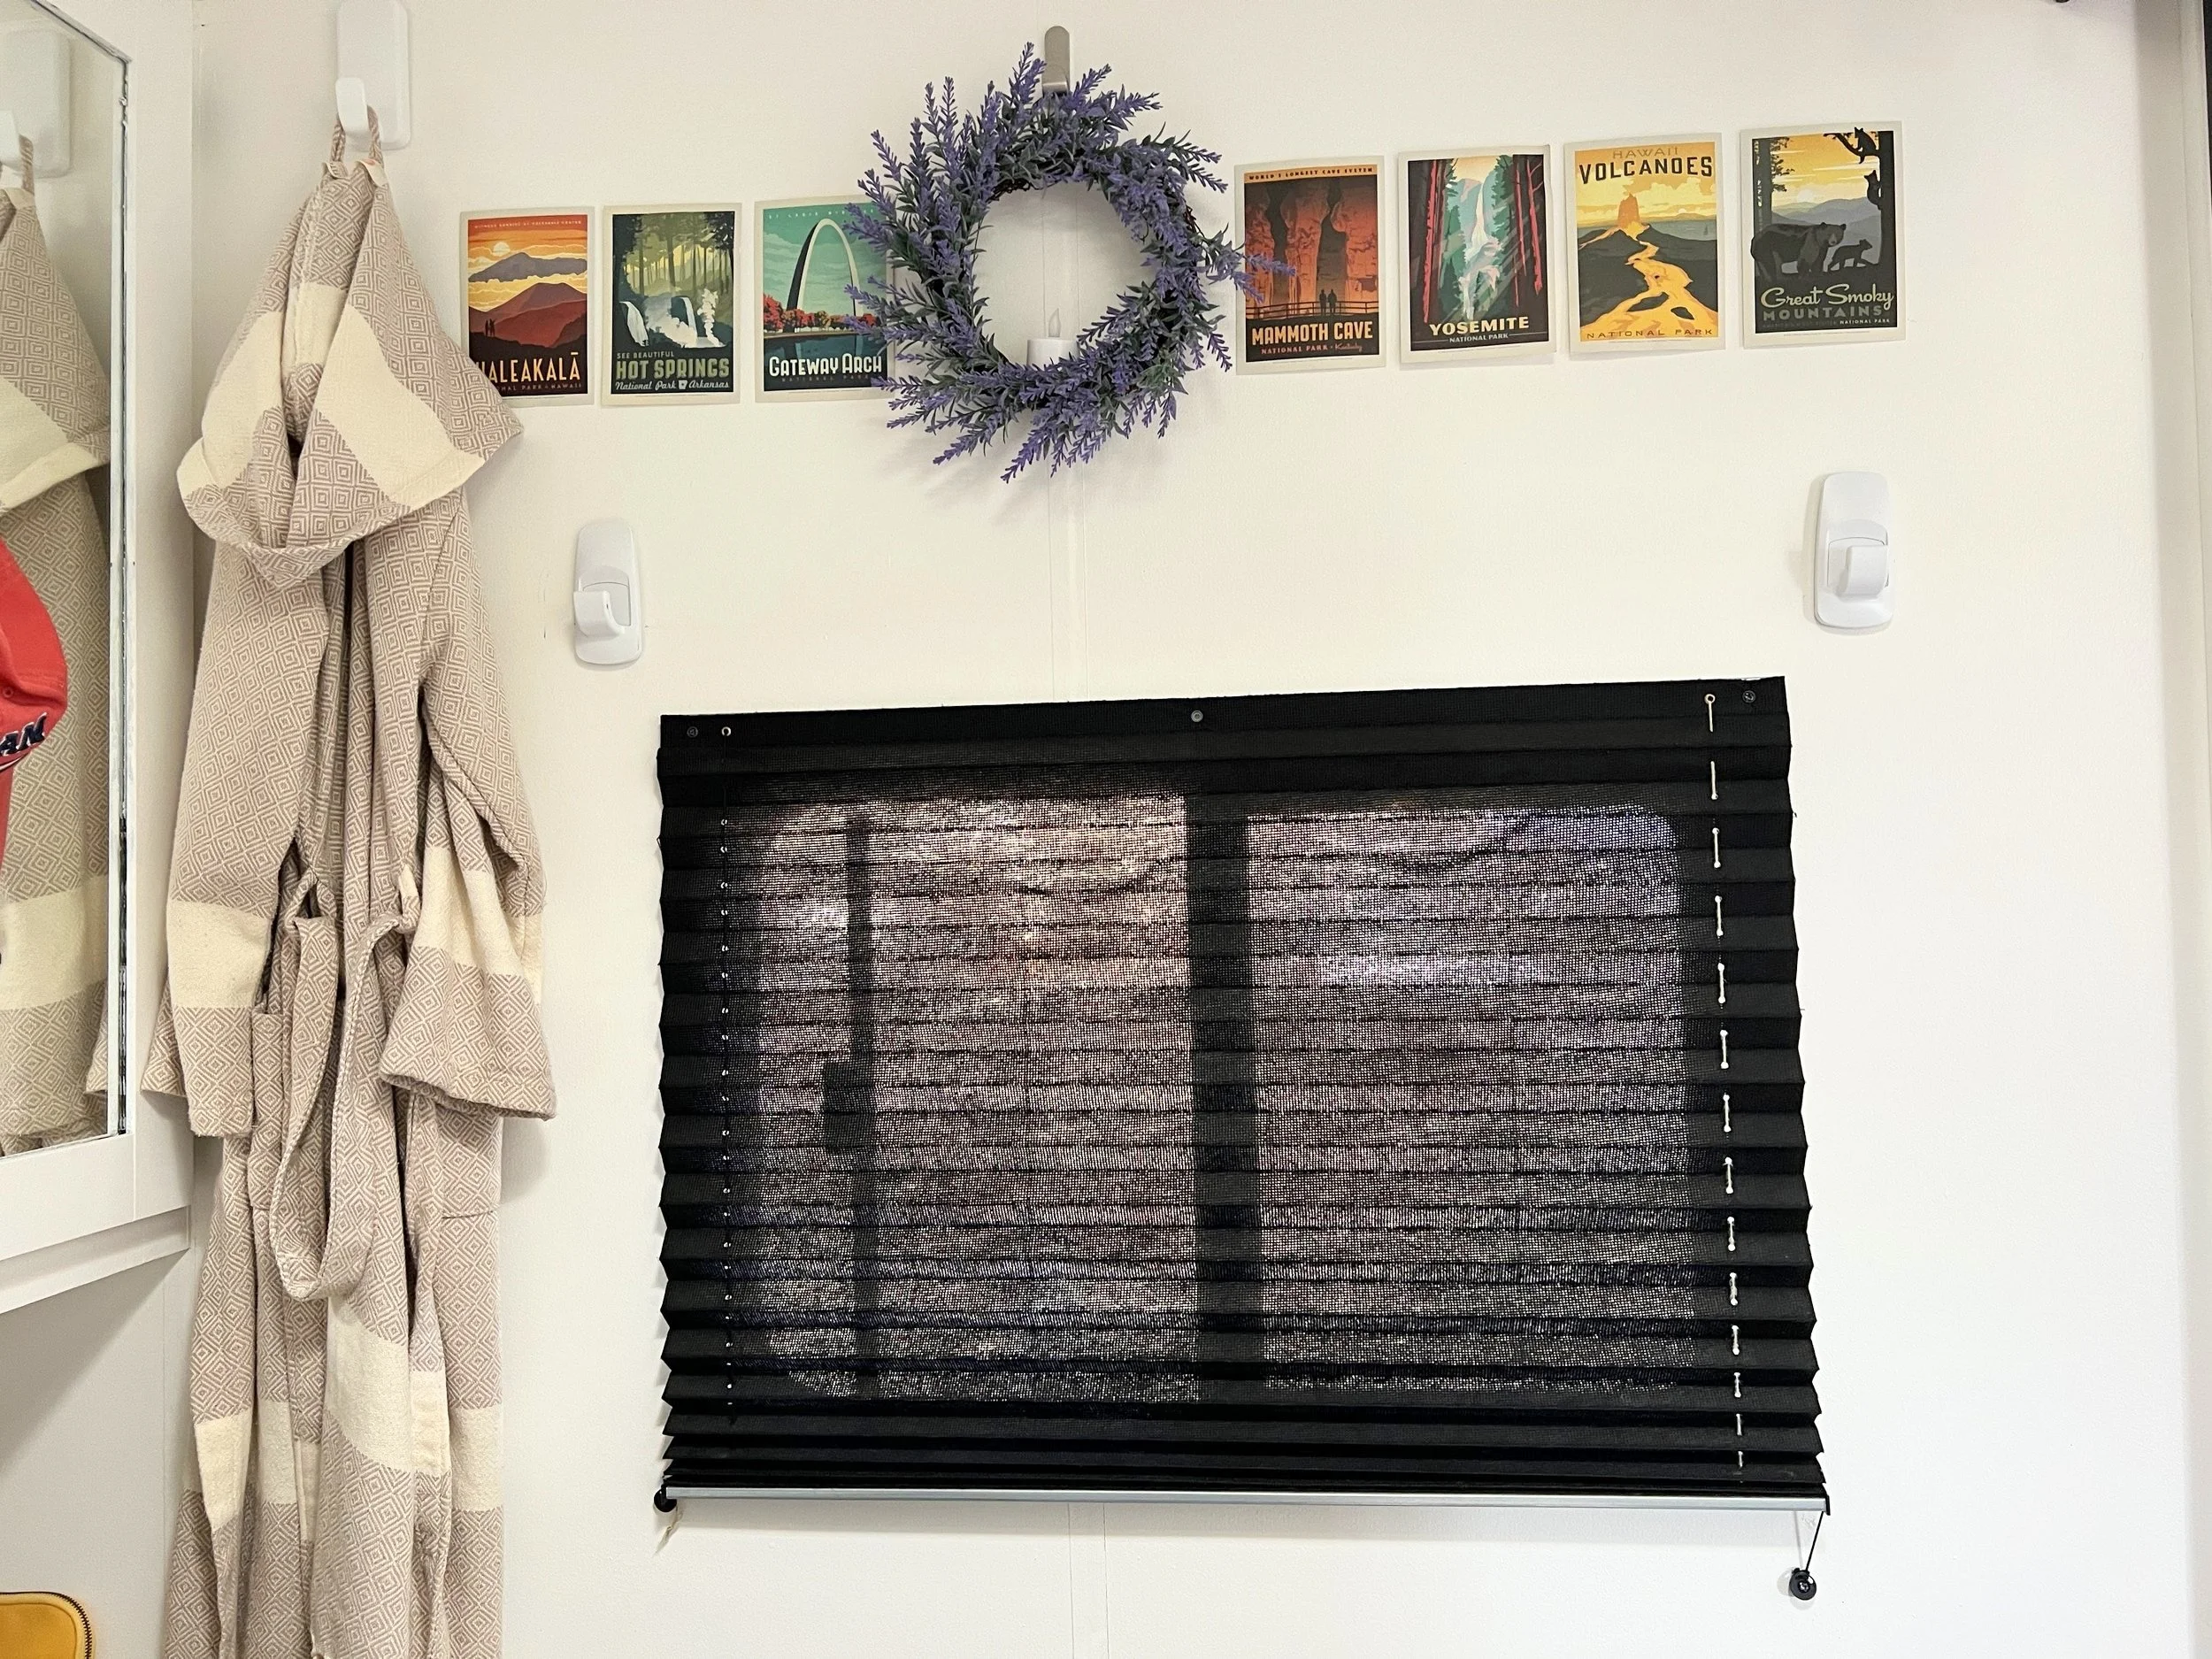
First, choose the windows you’d like to add curtains to. Measure the length of the window and make sure to get the correct size curtain rod to cover at least 2 extra inches on each side. Use a leveler and mark on the wall where you’d like your hooks to go. If you have a valance on your window, you’ll most likely need to remove it in order to make these curtains work.
Pro Tip: Make sure the rod you choose will fit on your Command hook by measuring the diameter of the rod and the gap in the hook beforehand!
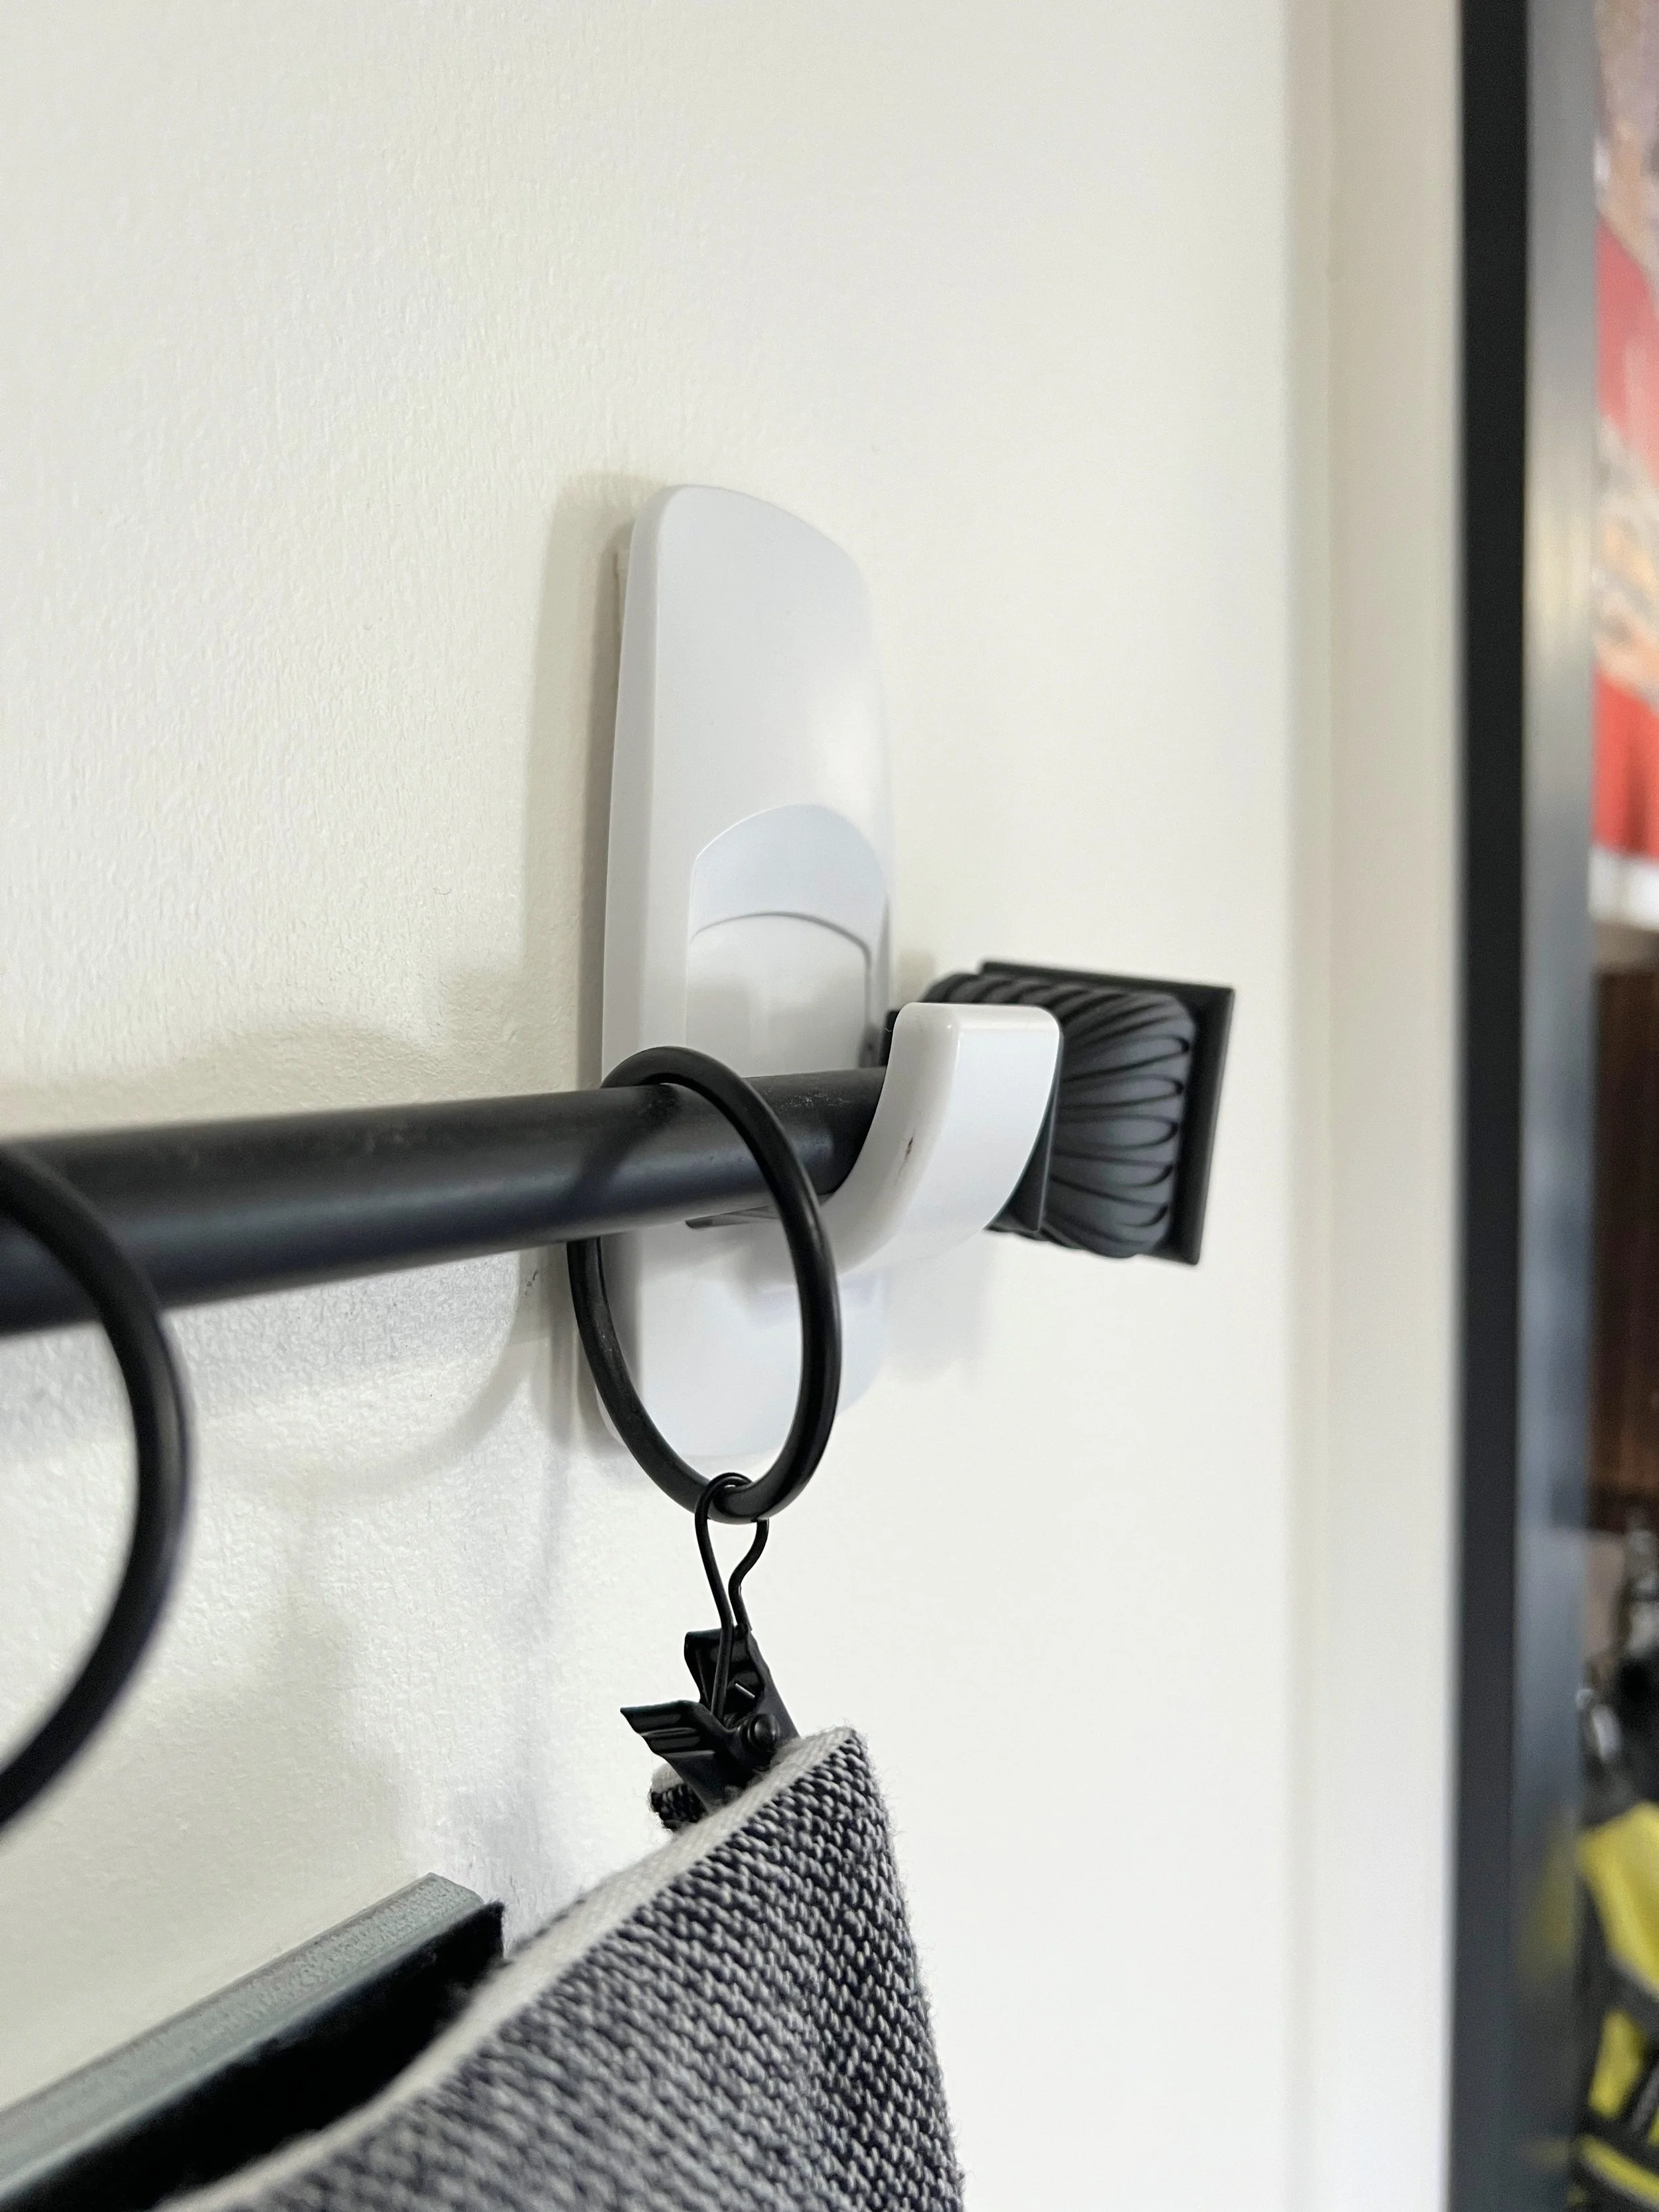
Step 2: Prep and Clean the Surface
Apply your Command strips to the back of the Command hooks. Next, thoroughly clean the area where your hooks will go using rubbing alcohol and your microfiber cloth.
Pro Tip: Don’t skip the cleaning step! Removing all dust, oils, and residue ensures the adhesive creates a rock-solid bond with your RV walls before you apply any weight.
Step 3: Apply the Hooks and Let Them Cure
Peel the wrapper off your Command strips and stick them to the back of your hooks. Position the hooks where you marked your measurements on the wall and press firmly for 10 seconds.
Next, slide the hook straight up to remove it from the base attachment, and press firmly directly onto the wall base for a full 30 seconds to ensure maximum adhesion. Slide the hook back onto the base, and let the adhesive cure for at least 1 hour before placing any weight on them.
Step 4: Attach the Curtains and Hang Your Rods
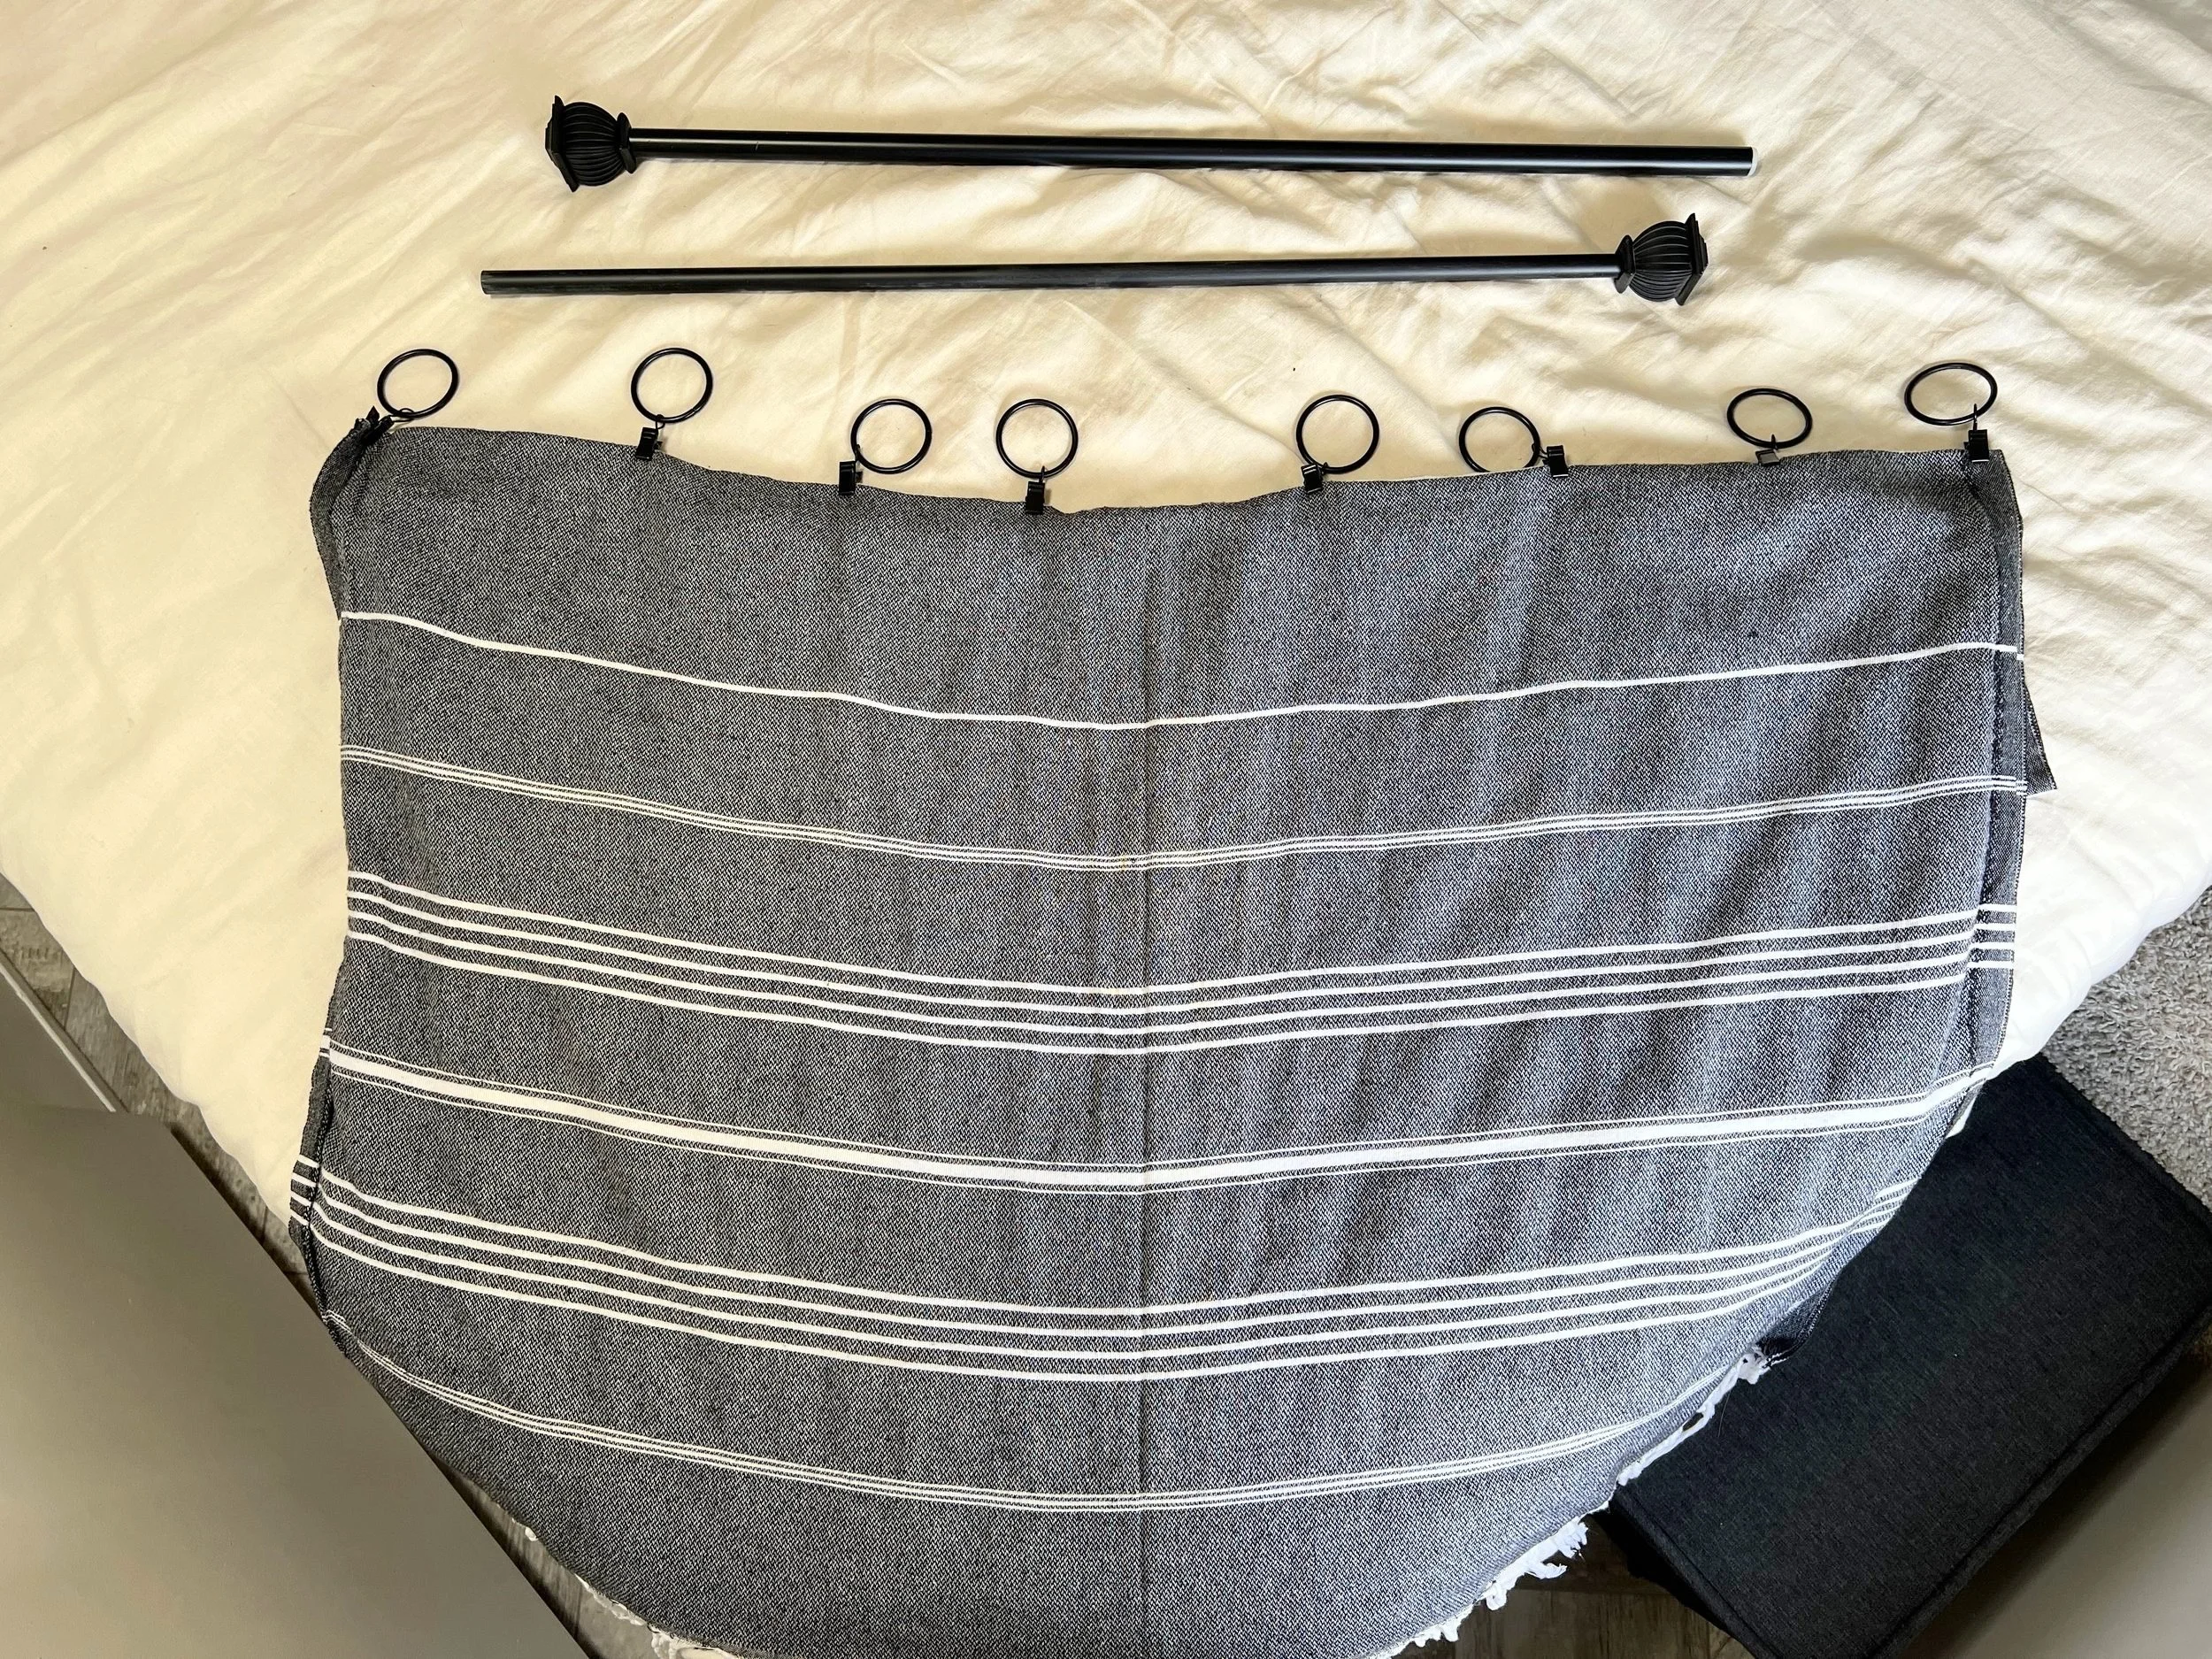
Add your curtain clips to your curtain of choice, and then slide the clips onto the rod. A good rule of thumb is to space your clips about 3 to 4 inches apart for a nice, even pleat look.
Pro Tip: Depending on your window size, fold your Turkish towels to fit just right! For example, folding them in half “hamburger style” works great for square windows, while “hotdog style” is ideal for a longer window like the one above the sink.
Once your curtains are clipped and ready on the rod, rest the rod securely onto your cured Command hooks.
Step 5: Hang Your Rods and Enjoy!
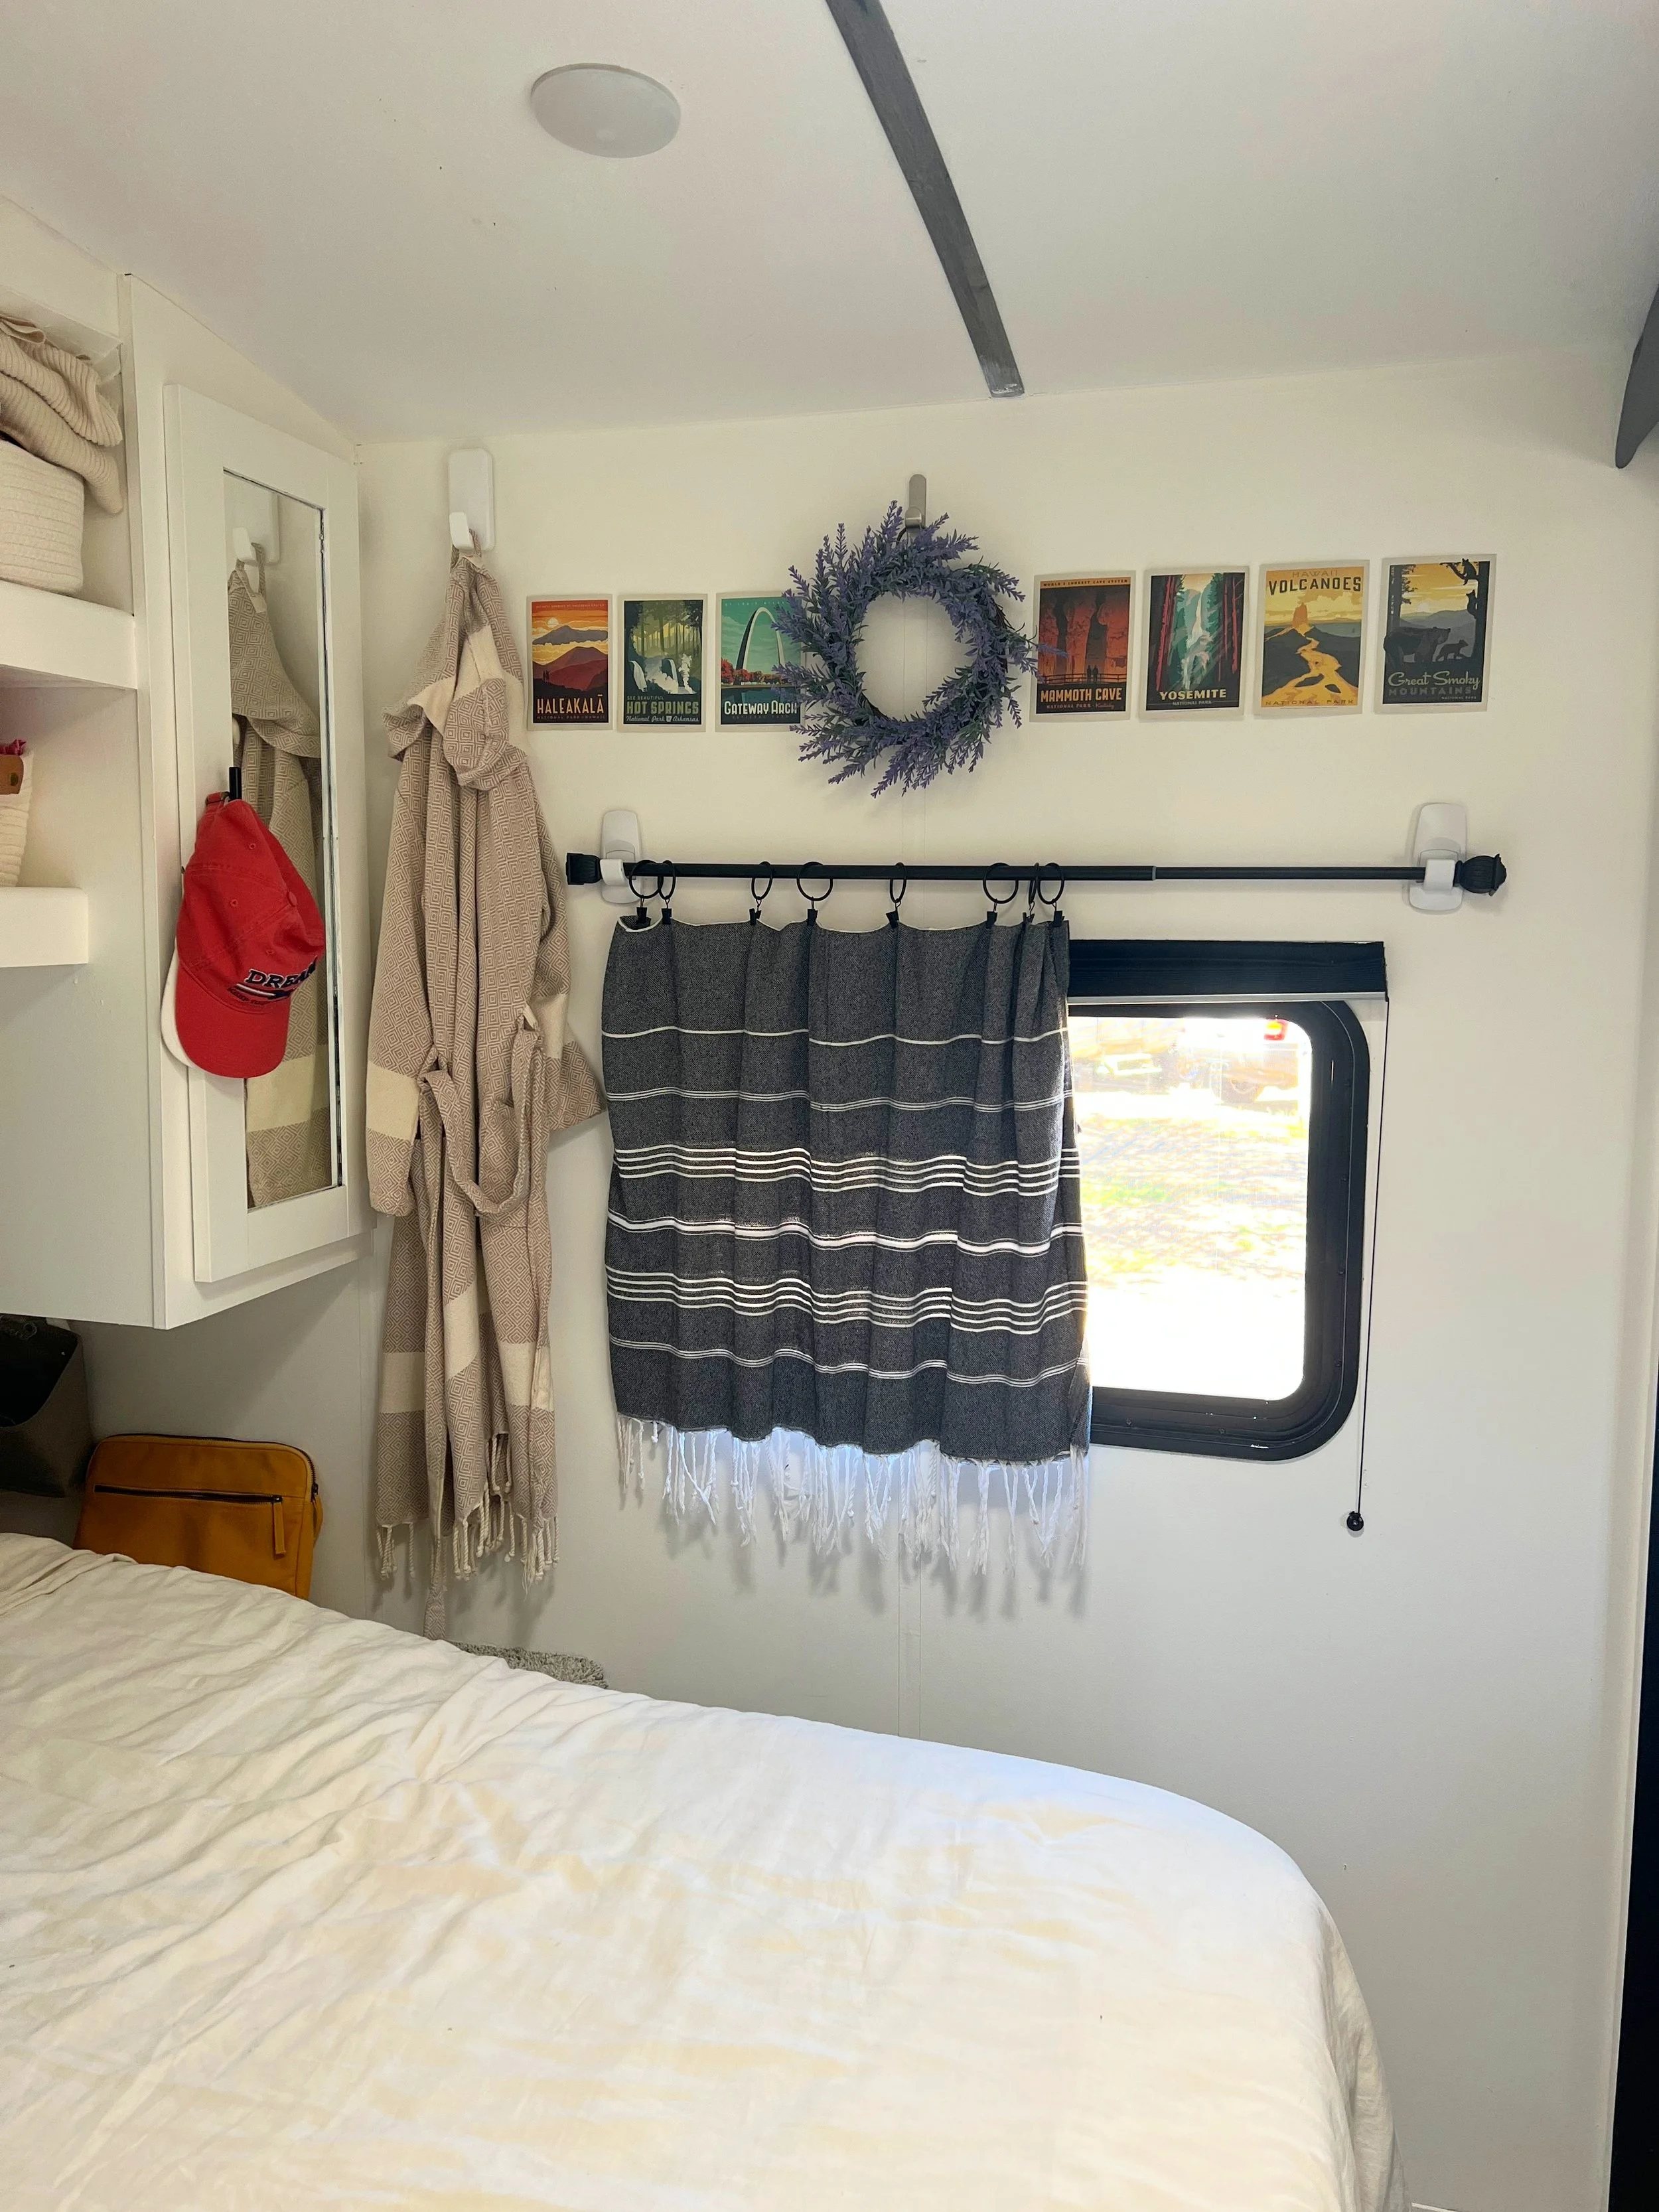
Once your hour of cure time is up, place your curtain rod onto the hooks and you’re officially done! Step back and make any adjustments you feel necessary.
Pro Tip: If you don’t like where your hooks are placed once your curtains are up, don’t worry—you can easily grab some extra Command strips, remove the old strips cleanly, and start over with your hook placement.
DIY RV Curtains: Complete Shopping List & Resources
Ready to tackle this project in your own rig? Here is a handy checklist of everything we used to create these simple, no-sew, no-drill RV curtains.
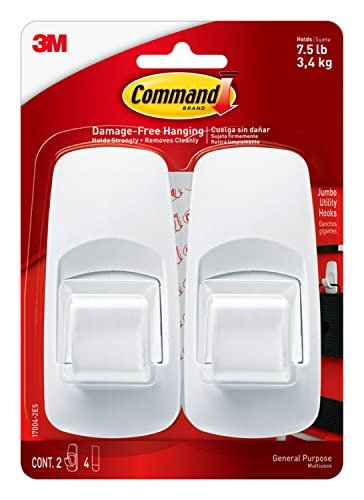
Command Jumbo Heavy Duty Wall Hooks
Rated for up to 7.5 pounds, easy to remove, and light in color so they blend in nicely.
5/8” Black Curtain Rods
Sizes used: [48–86” rod] for the kitchen sink window and [28–48” rods] for the bedroom and couch windows.
Metal Curtain Clips
Makes it super easy to unclip your curtains for quick washing on the road.
Turkish Towels (Curtains of Choice)
Lightweight, come in tons of colors, wash easily, and block out light and heat much better than thin materials.
Leveler
Ensures your curtain rods are perfectly straight on the first try.
Rubbing Alcohol & Microfiber Towel
Crucial for wiping down the walls and removing dust/oils so your Command hooks form a rock-solid bond.
Upgrading your camper windows doesn’t have to involve messy glue, power tools, or hours at a sewing machine. With just a few simple supplies and a little bit of patience letting those Command hooks cure, you can completely transform the look and feel of your rig—keeping it cozy, shaded, and uniquely yours.
Have you tried hanging curtains in your RV without drilling? What kind of fabric or towels did you use for your windows? Let me know in the comments below, and happy camping!
The easiest I have seen yet and they look great! Thank you. Pearl
Thanks for reading! I’m glad you found it helpful!
Are the towels folded or cut in any way?
Yes, for square windows I fold the towels hamburger style and for long rectangle windows I fold them hot dog style!
Command hooks did not stick when I did this! I used several different strengths and none worked. I ended up using a screw in brace. I took my towel and double folded one end so the tassels hung down to create a little nicer edge. Keep in mine these are not light blocking so it you use these you will need something else under them to keep light out. I had taken down my old broken shades and went the cheapest way possible and clipped Walmart pillow cases onto the backside of my folded towel. Works perfectly.
I love the Nat’l Park cards above the window! Where can I get these?
Hi Dennisse! I have two sets of National Park postcards. One is from Anderson Design Group on Etsy and the other is from Fifty-Nine Parks on Amazon. I’ll link both below!
https://www.etsy.com/shop/AndersonDesignGroup
https://amzn.to/3JsZu9U