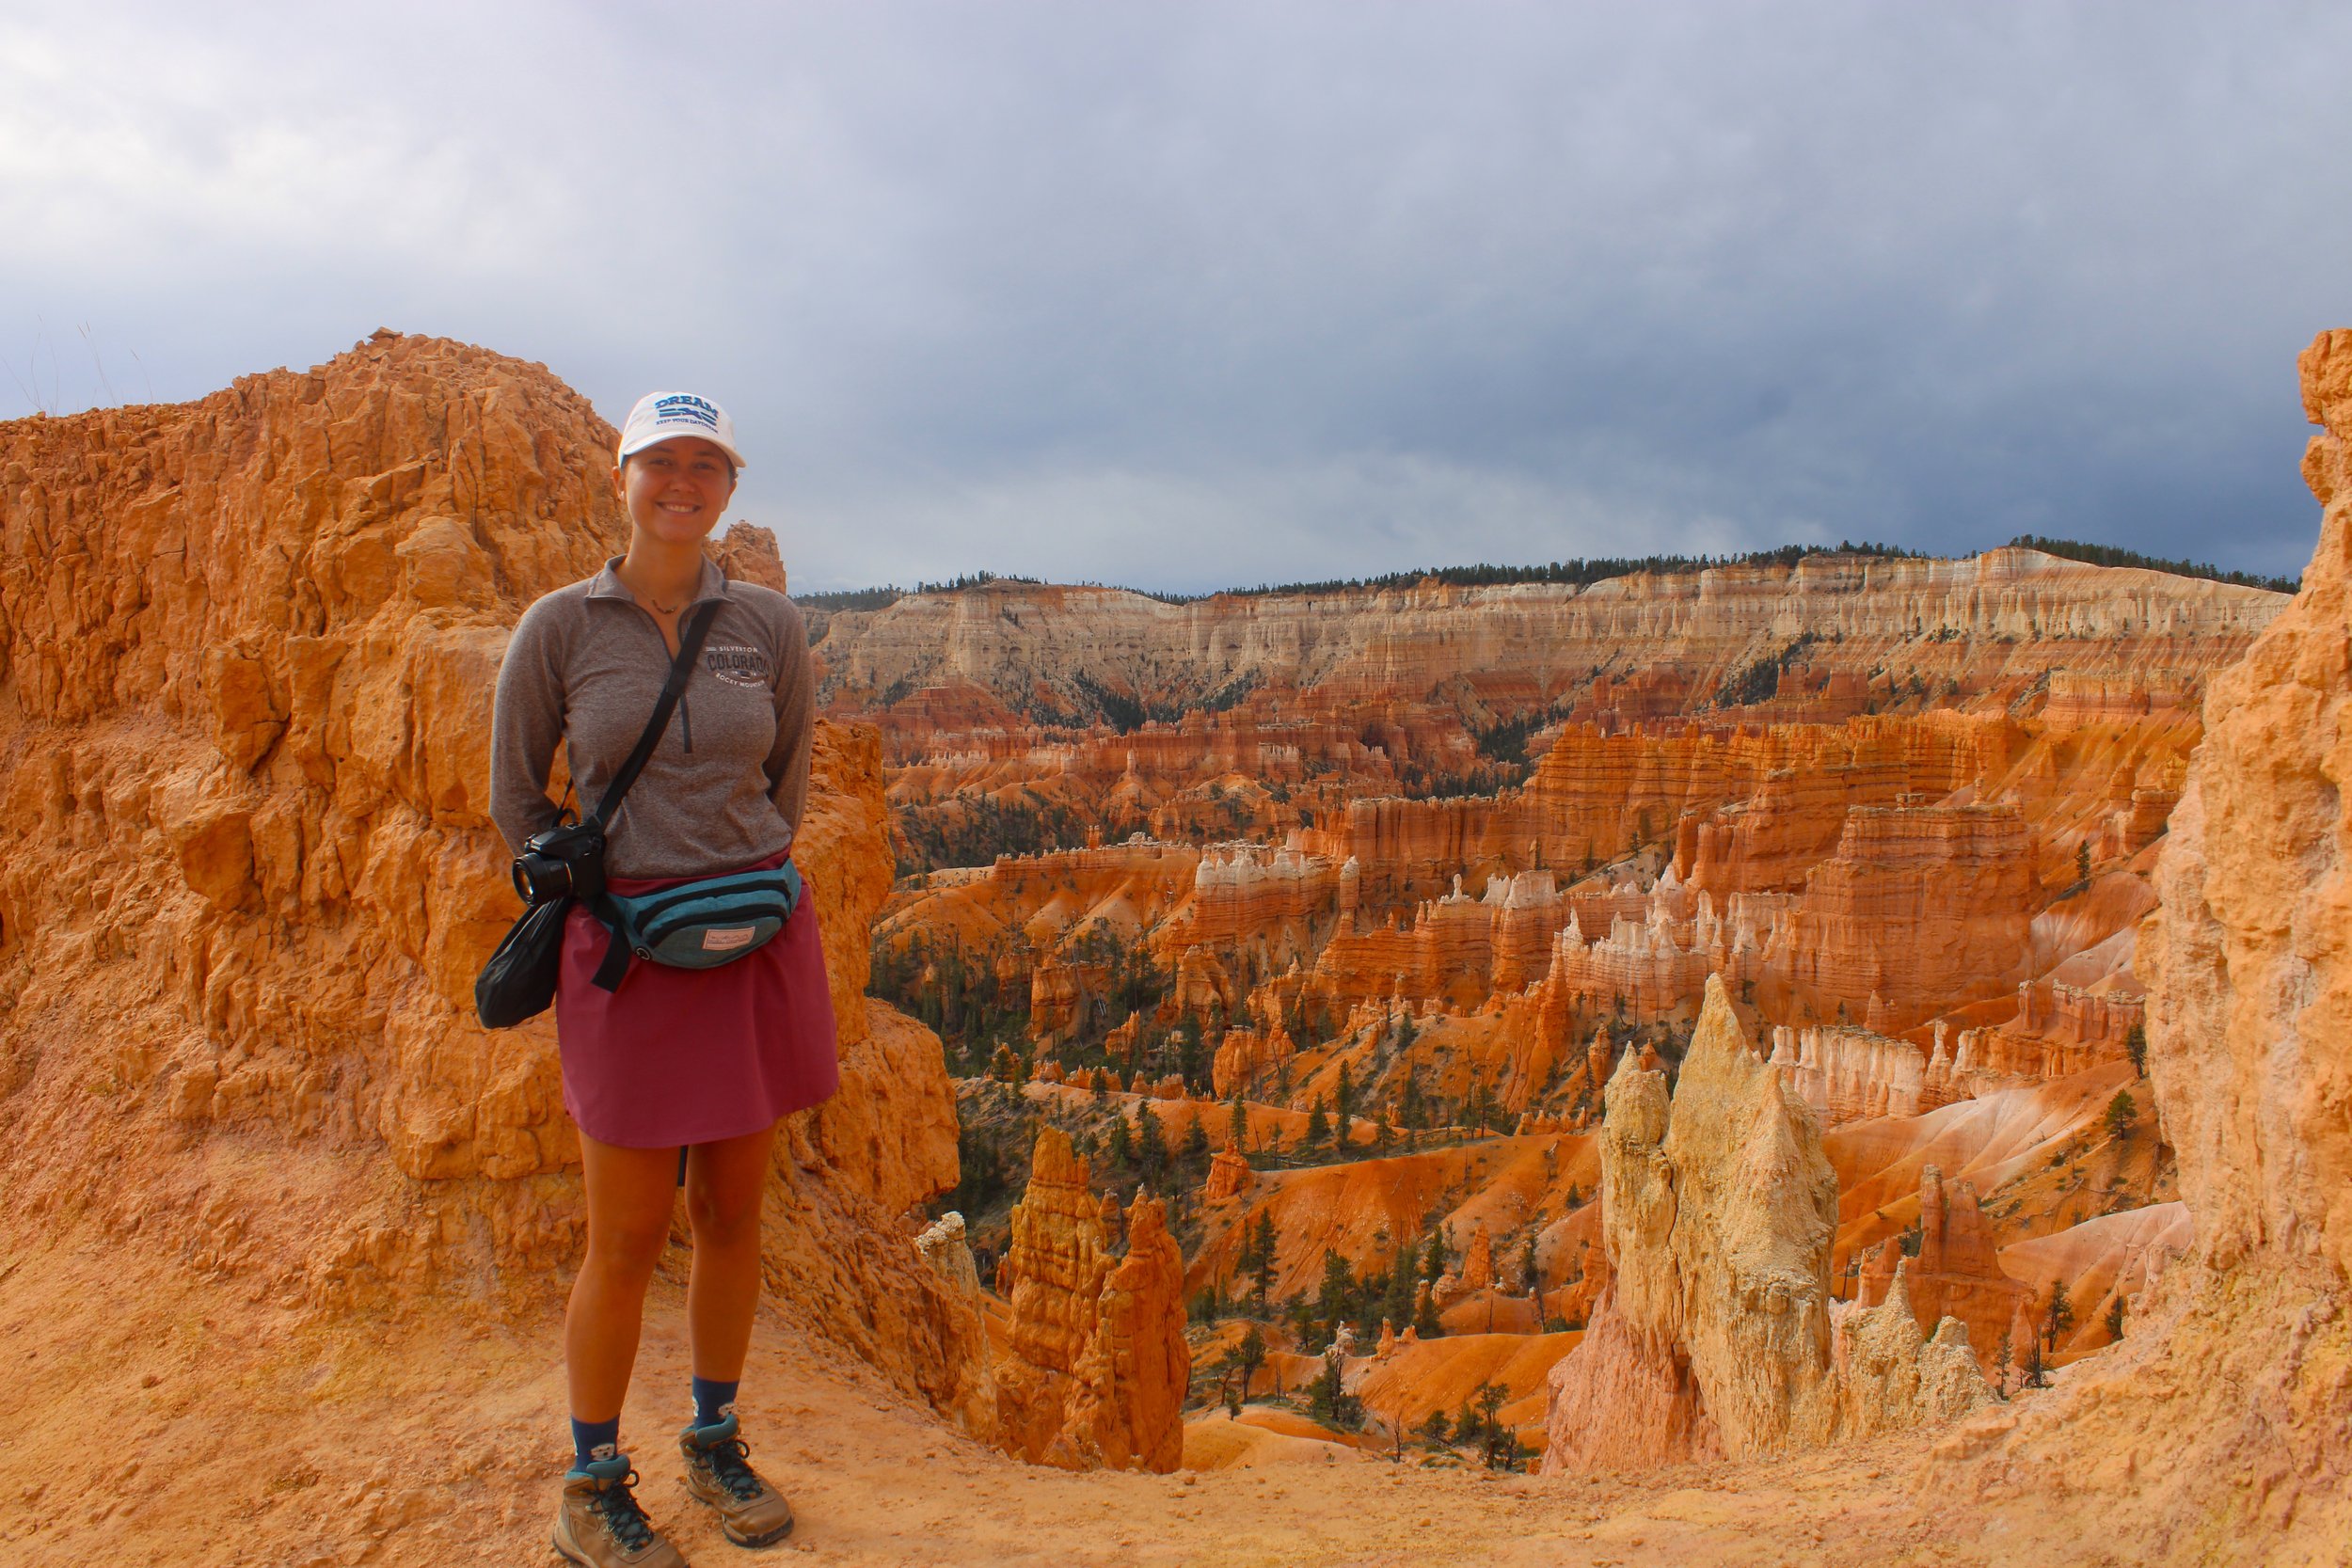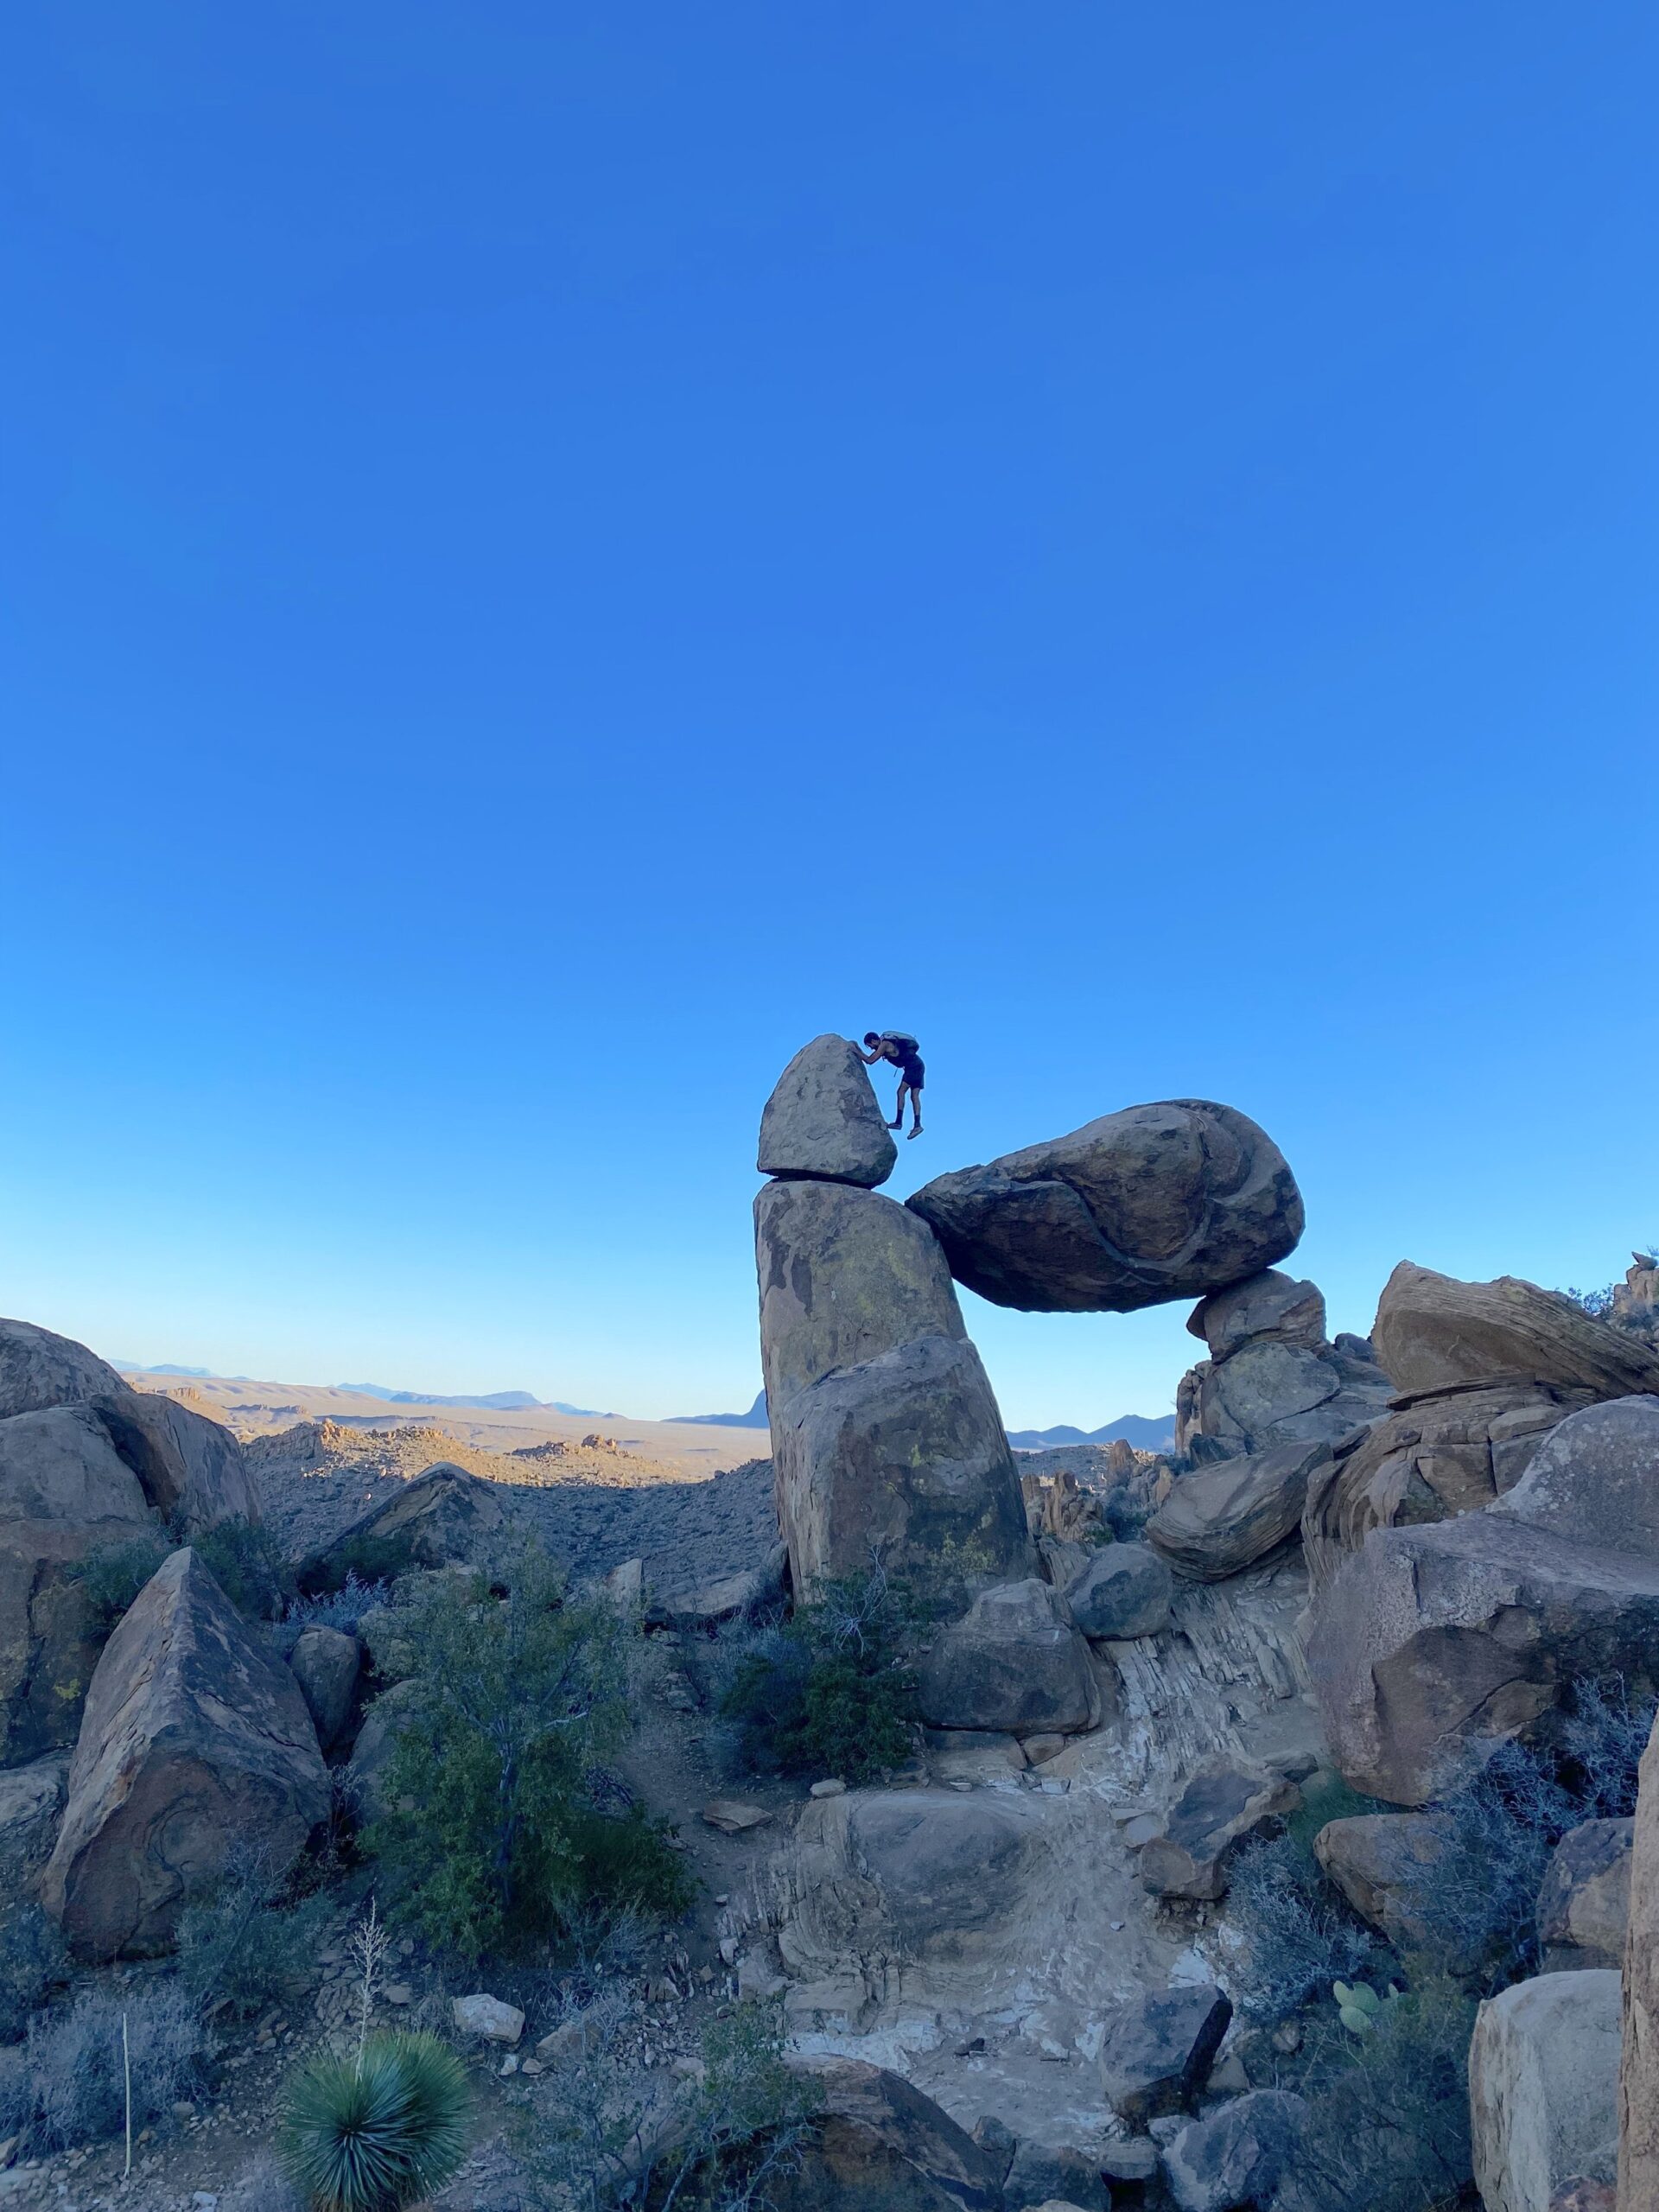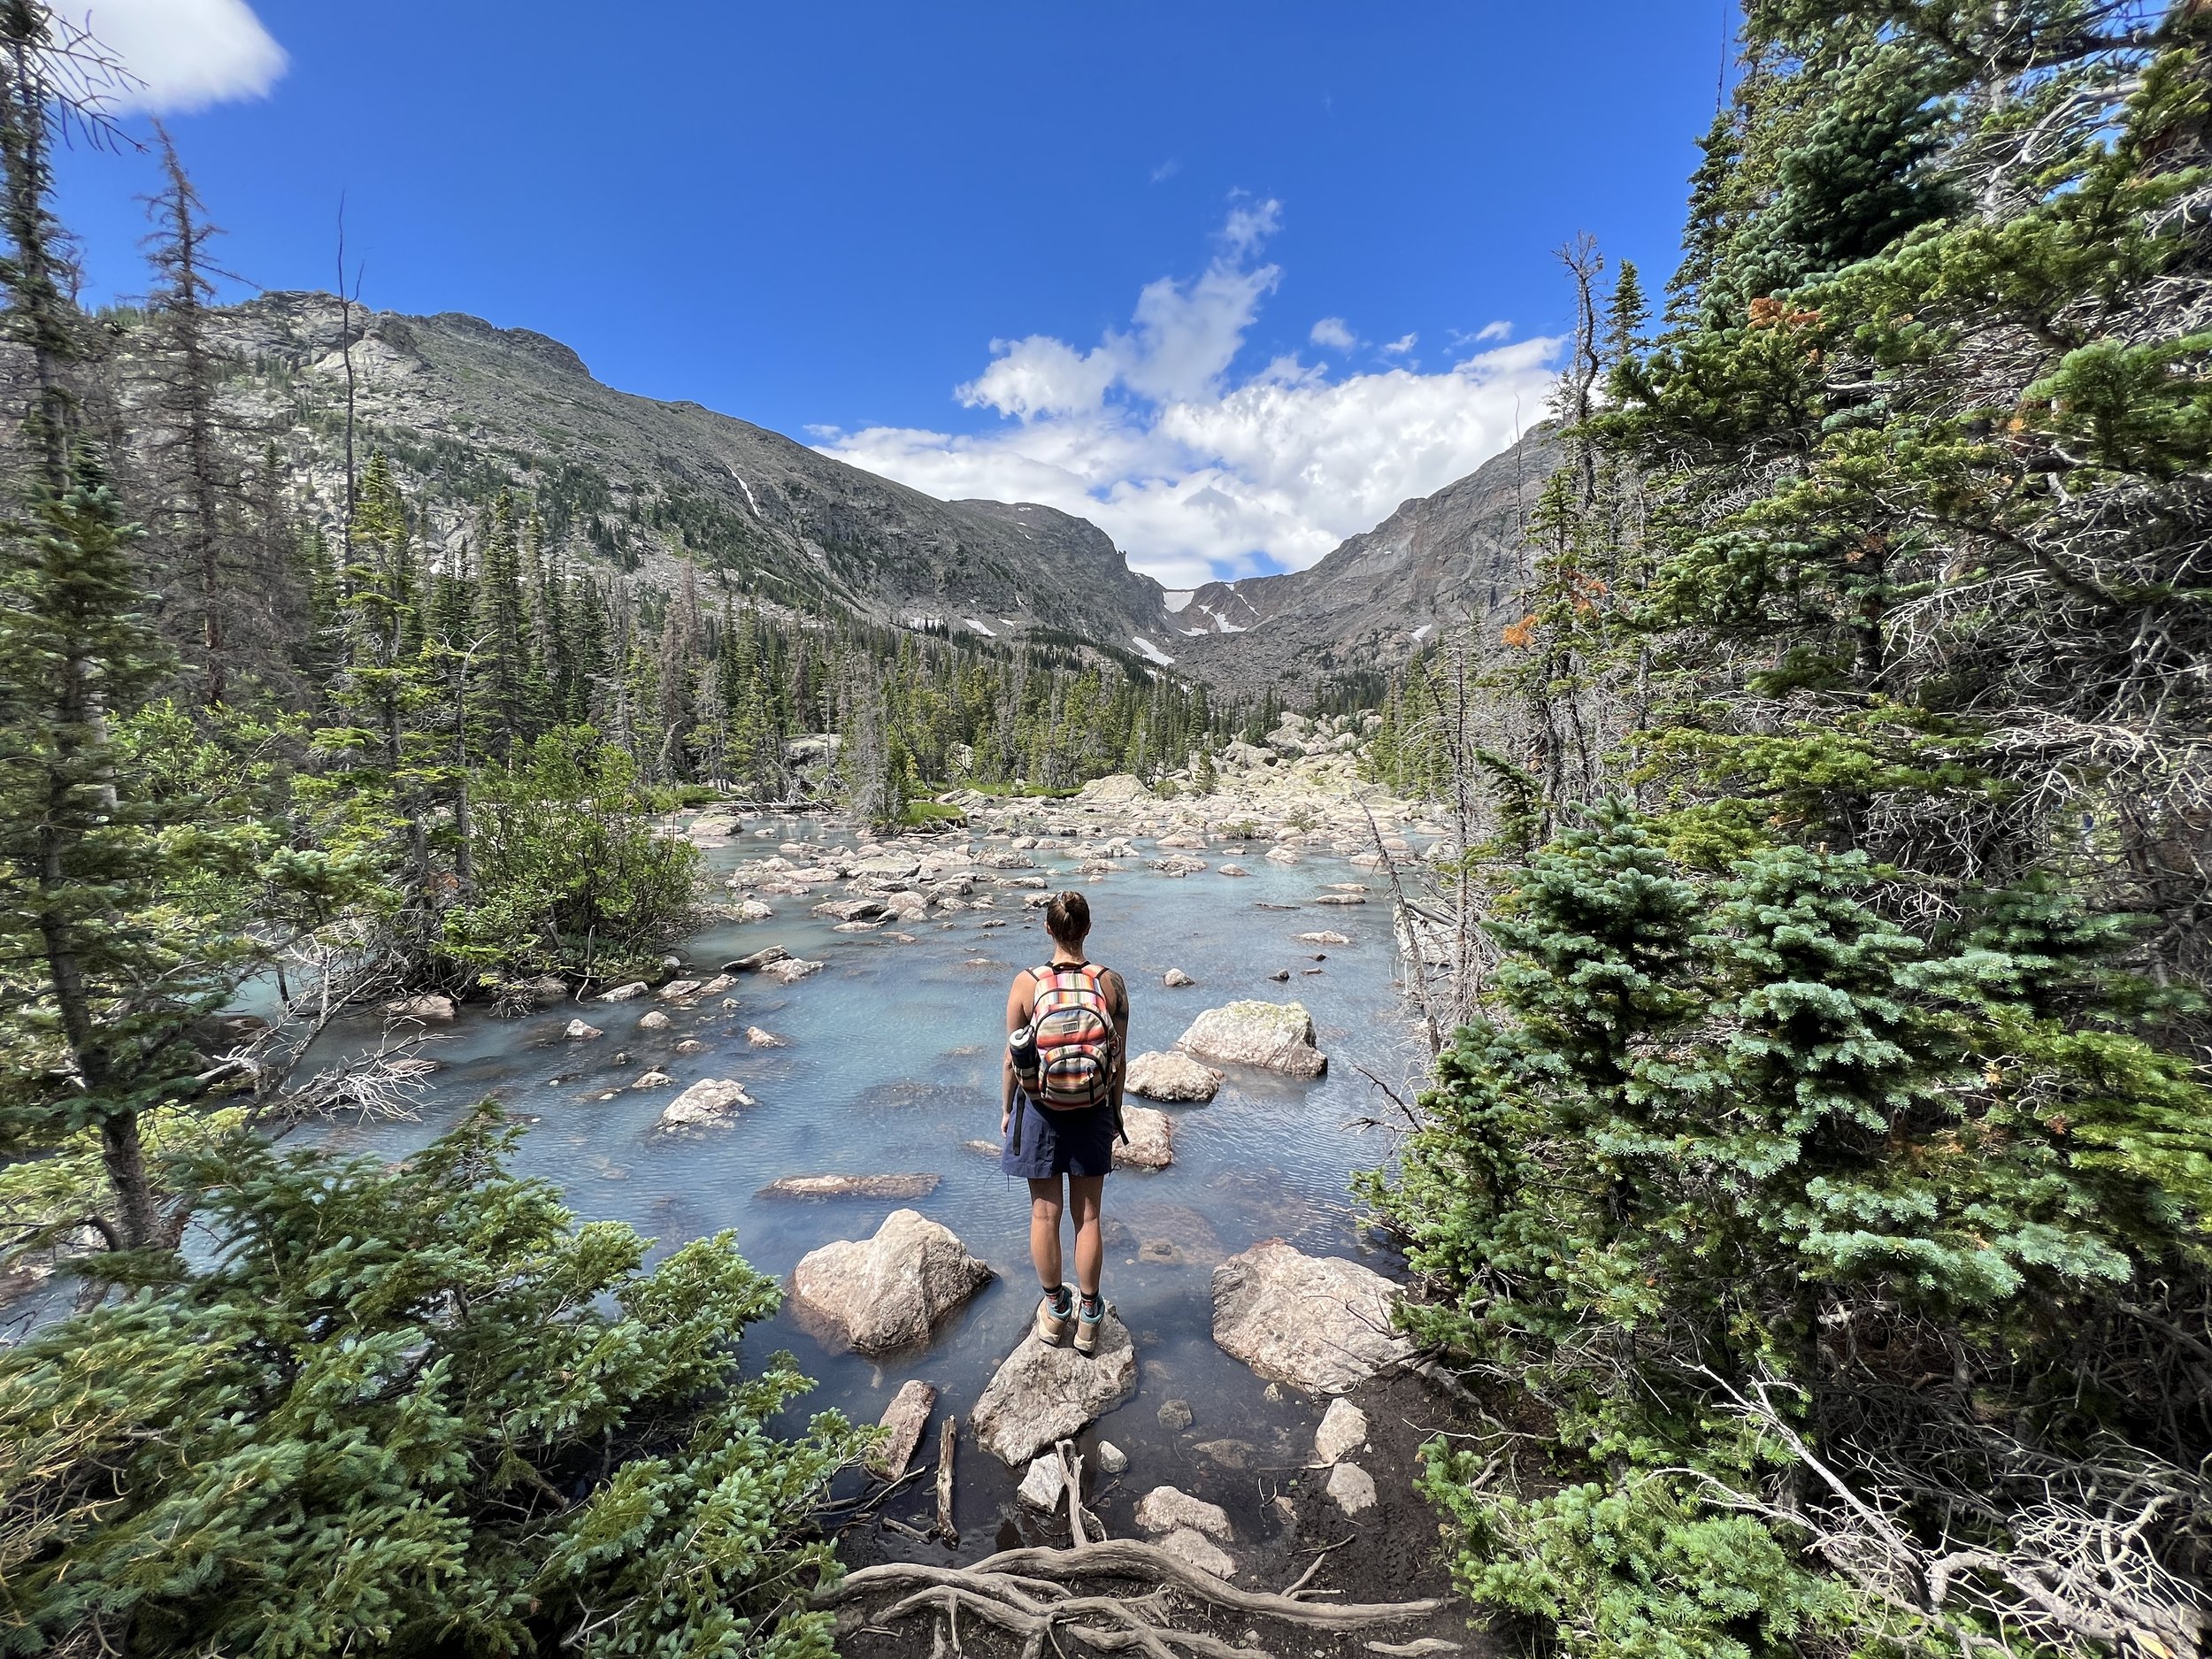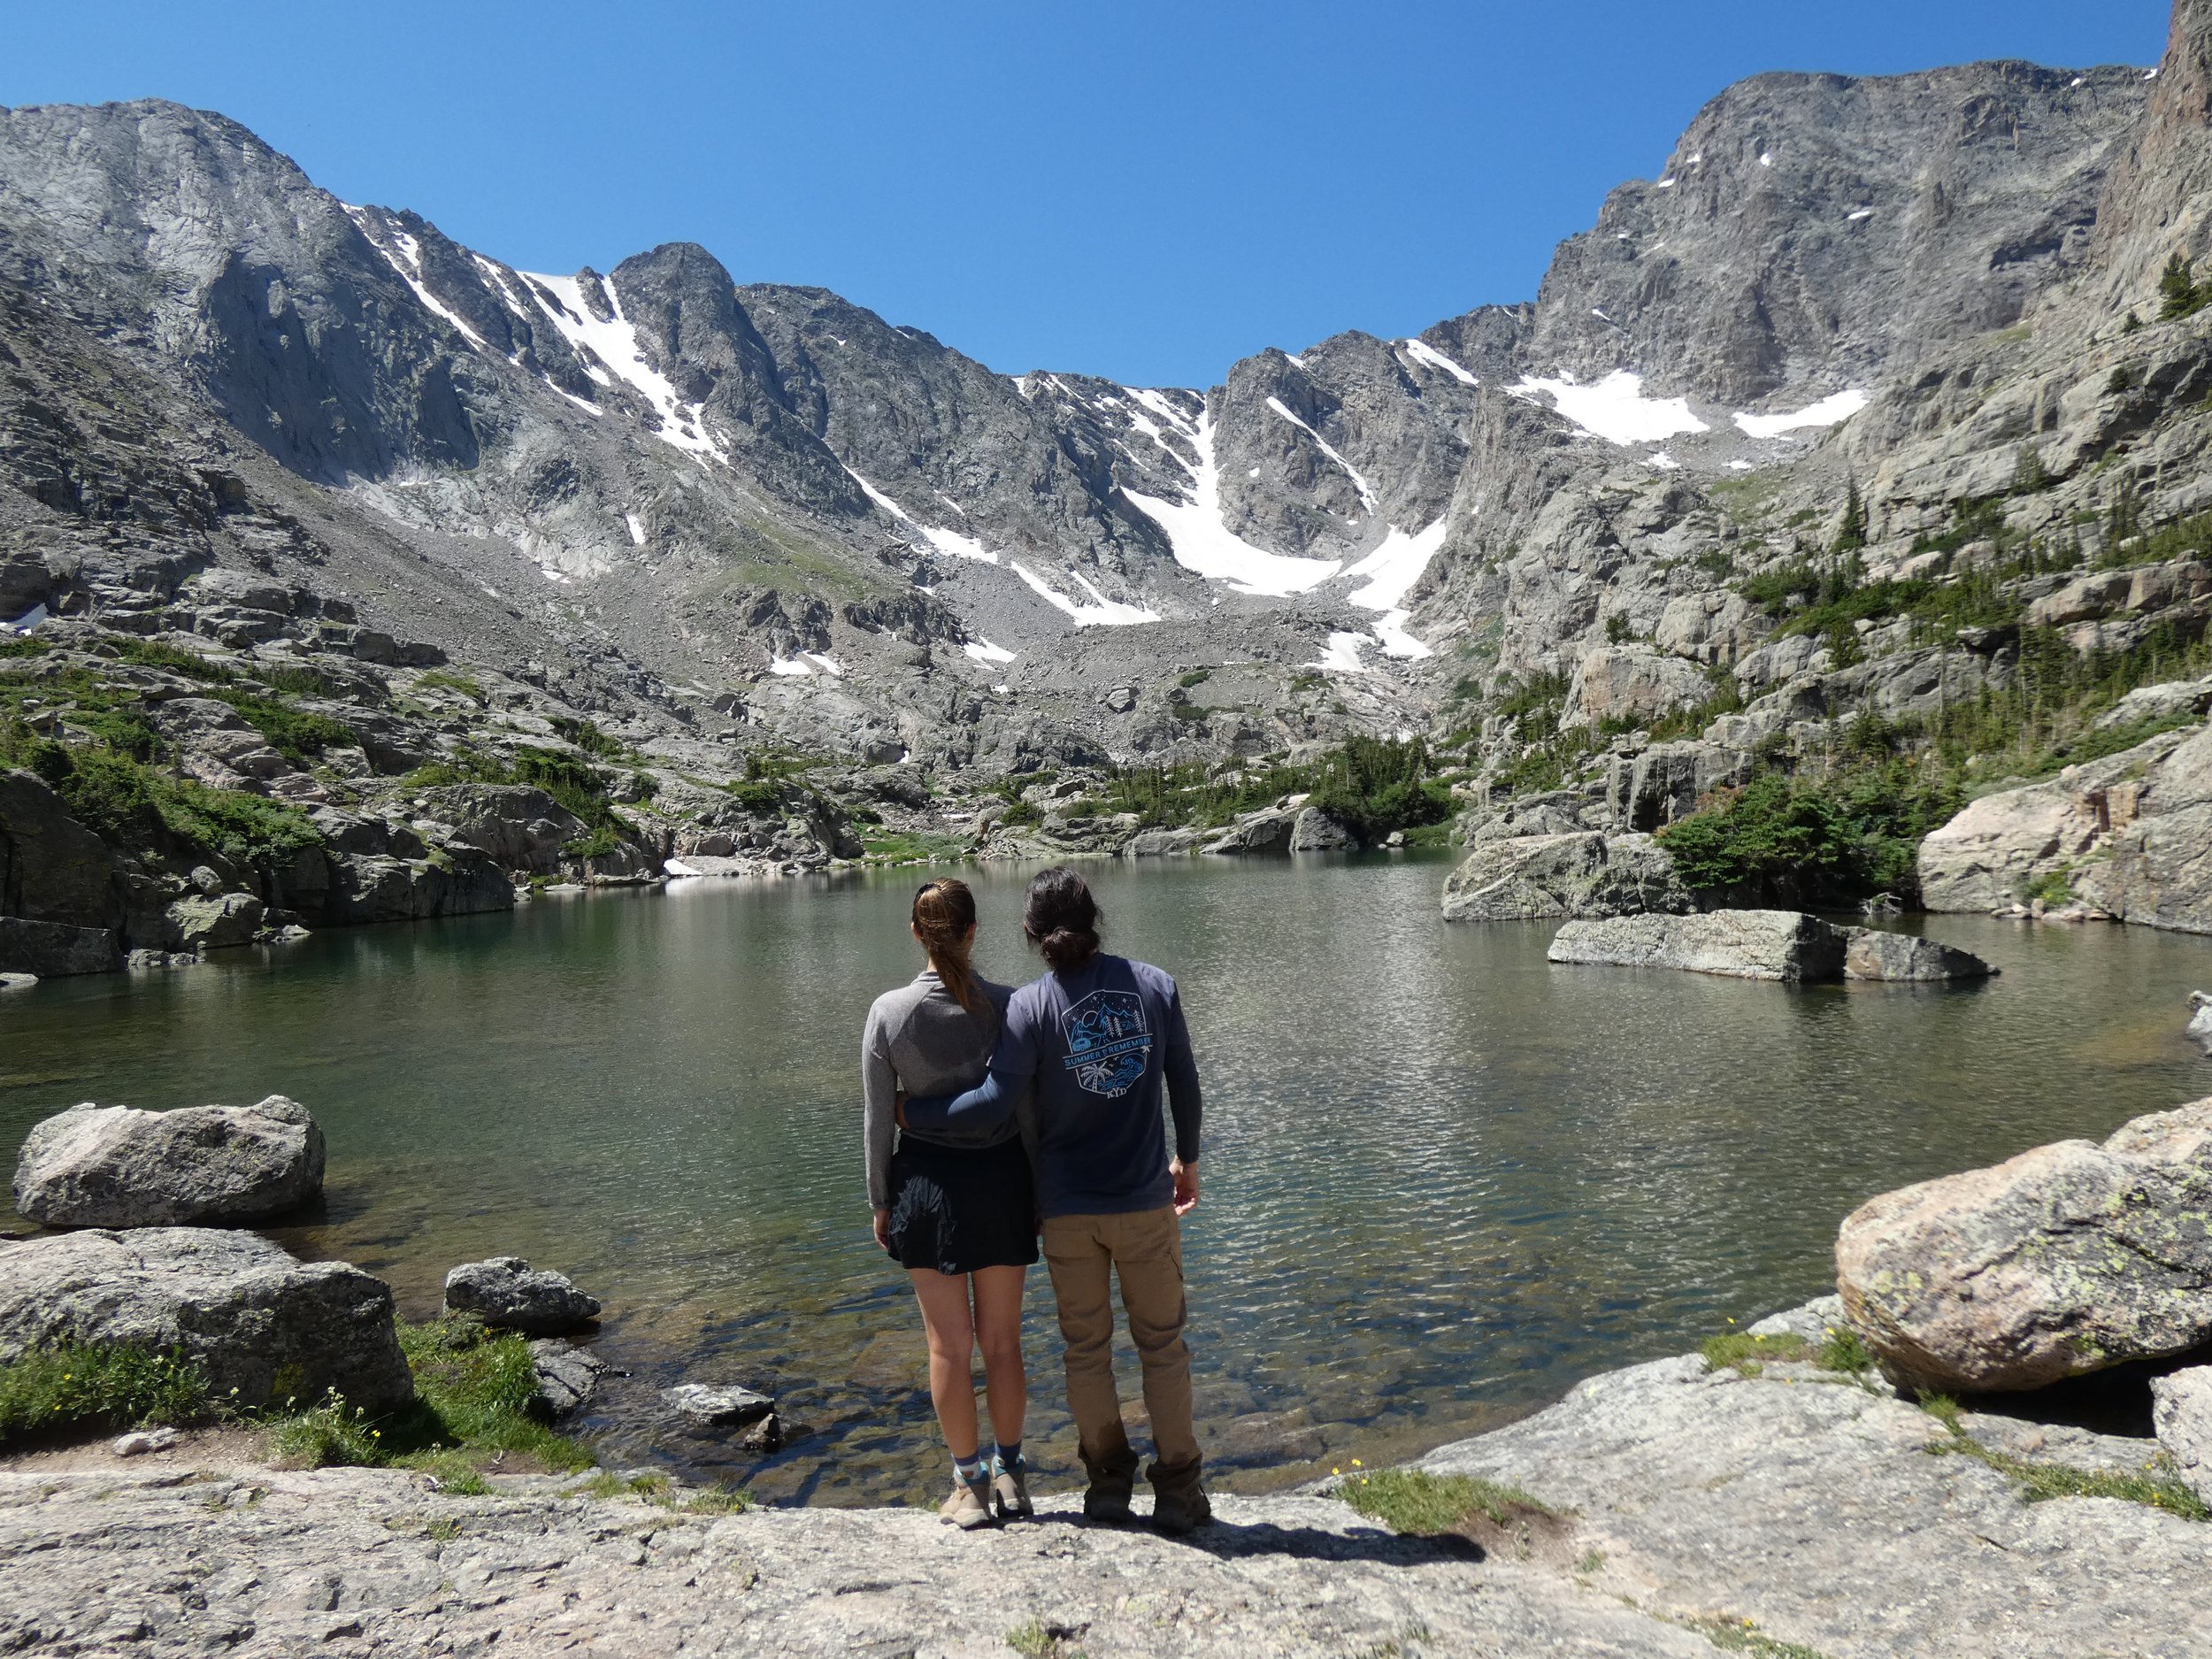

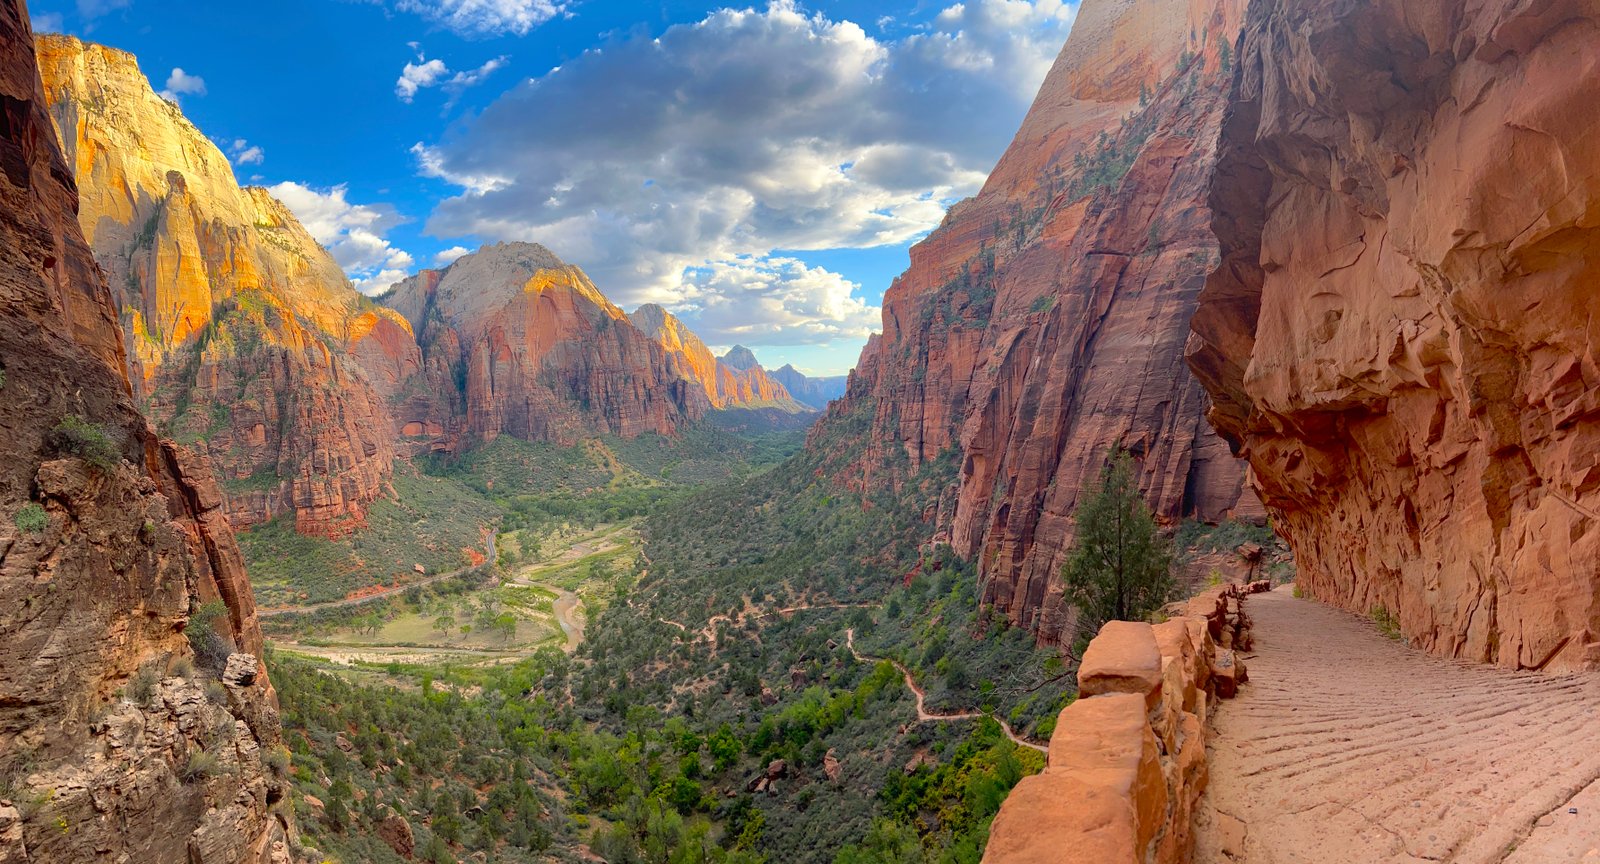
There is something unforgettable about standing on the canyon floor and looking up at towering Navajo sandstone walls that seem to pierce the sky. With over 90 miles of trails, Zion National Park is a true hiker’s paradise. Whether you want to explore desert plant life on the Kayenta Trail, take in the amazing views from the top of Angels Landing, or wade right through the Virgin River on The Narrows, you’re sure to experience the pure beauty and wonder of Zion.
Planning your time can feel overwhelming with so many options. To help you make the most of your adventure, we have narrowed down the choices to the 8 best hikes in Zion National Park, complete with all the essential trail stats, distances, elevation gains, and insider tips you need to hit the dirt with confidence.
Grab your boots and water bottles—let’s explore the best trails Zion has to offer!
This post contains affiliate links, so we may earn a small commission when you make a purchase through links on our site at no additional cost to you.
Zion National Park Hikes at a Glance
| Trail Name | Distance (Round-Trip) | Difficulty | Best For |
|---|---|---|---|
| 1. Watchman Trail | 2.8 miles | Moderate | Great views & avoiding shuttle crowds |
| 2. Pa’rus Trail | 3.2 miles | Easy | Paved stroll, sunset, bikes & pets |
| 3. Canyon Overlook Trail | 1.0 mile | Easy-Moderate | High reward for low effort |
| 4. Emerald Pools Trail | 2.2 – 3.0 miles | Easy-Moderate | Waterfalls & oasis vibes |
| 5. Kayenta Trail | 2.0 miles | Moderate | Elevated canyon views & fewer crowds |
| 6. Angels Landing & Scout Lookout | 3.6 – 5.4 miles | Strenuous | Thrilling heights & iconic vistas |
| 7. Riverside Walk | 2.2 miles | Easy | Shaded walk & hanging gardens |
| 8. The Narrows (Bottom-Up) | Up to 9.4 miles | Strenuous | Wading through the famous slot canyon |
1. Watchman Trail
- Distance: 2.8 miles ( out & back )
- Difficulty: Moderate
- Elevation Gain: 479 ft
- Time Needed: 1.5 to 2 hours
- Trailhead Location: Near the Zion Canyon Visitor Center (Shuttle Stop #1 — No shuttle required!)
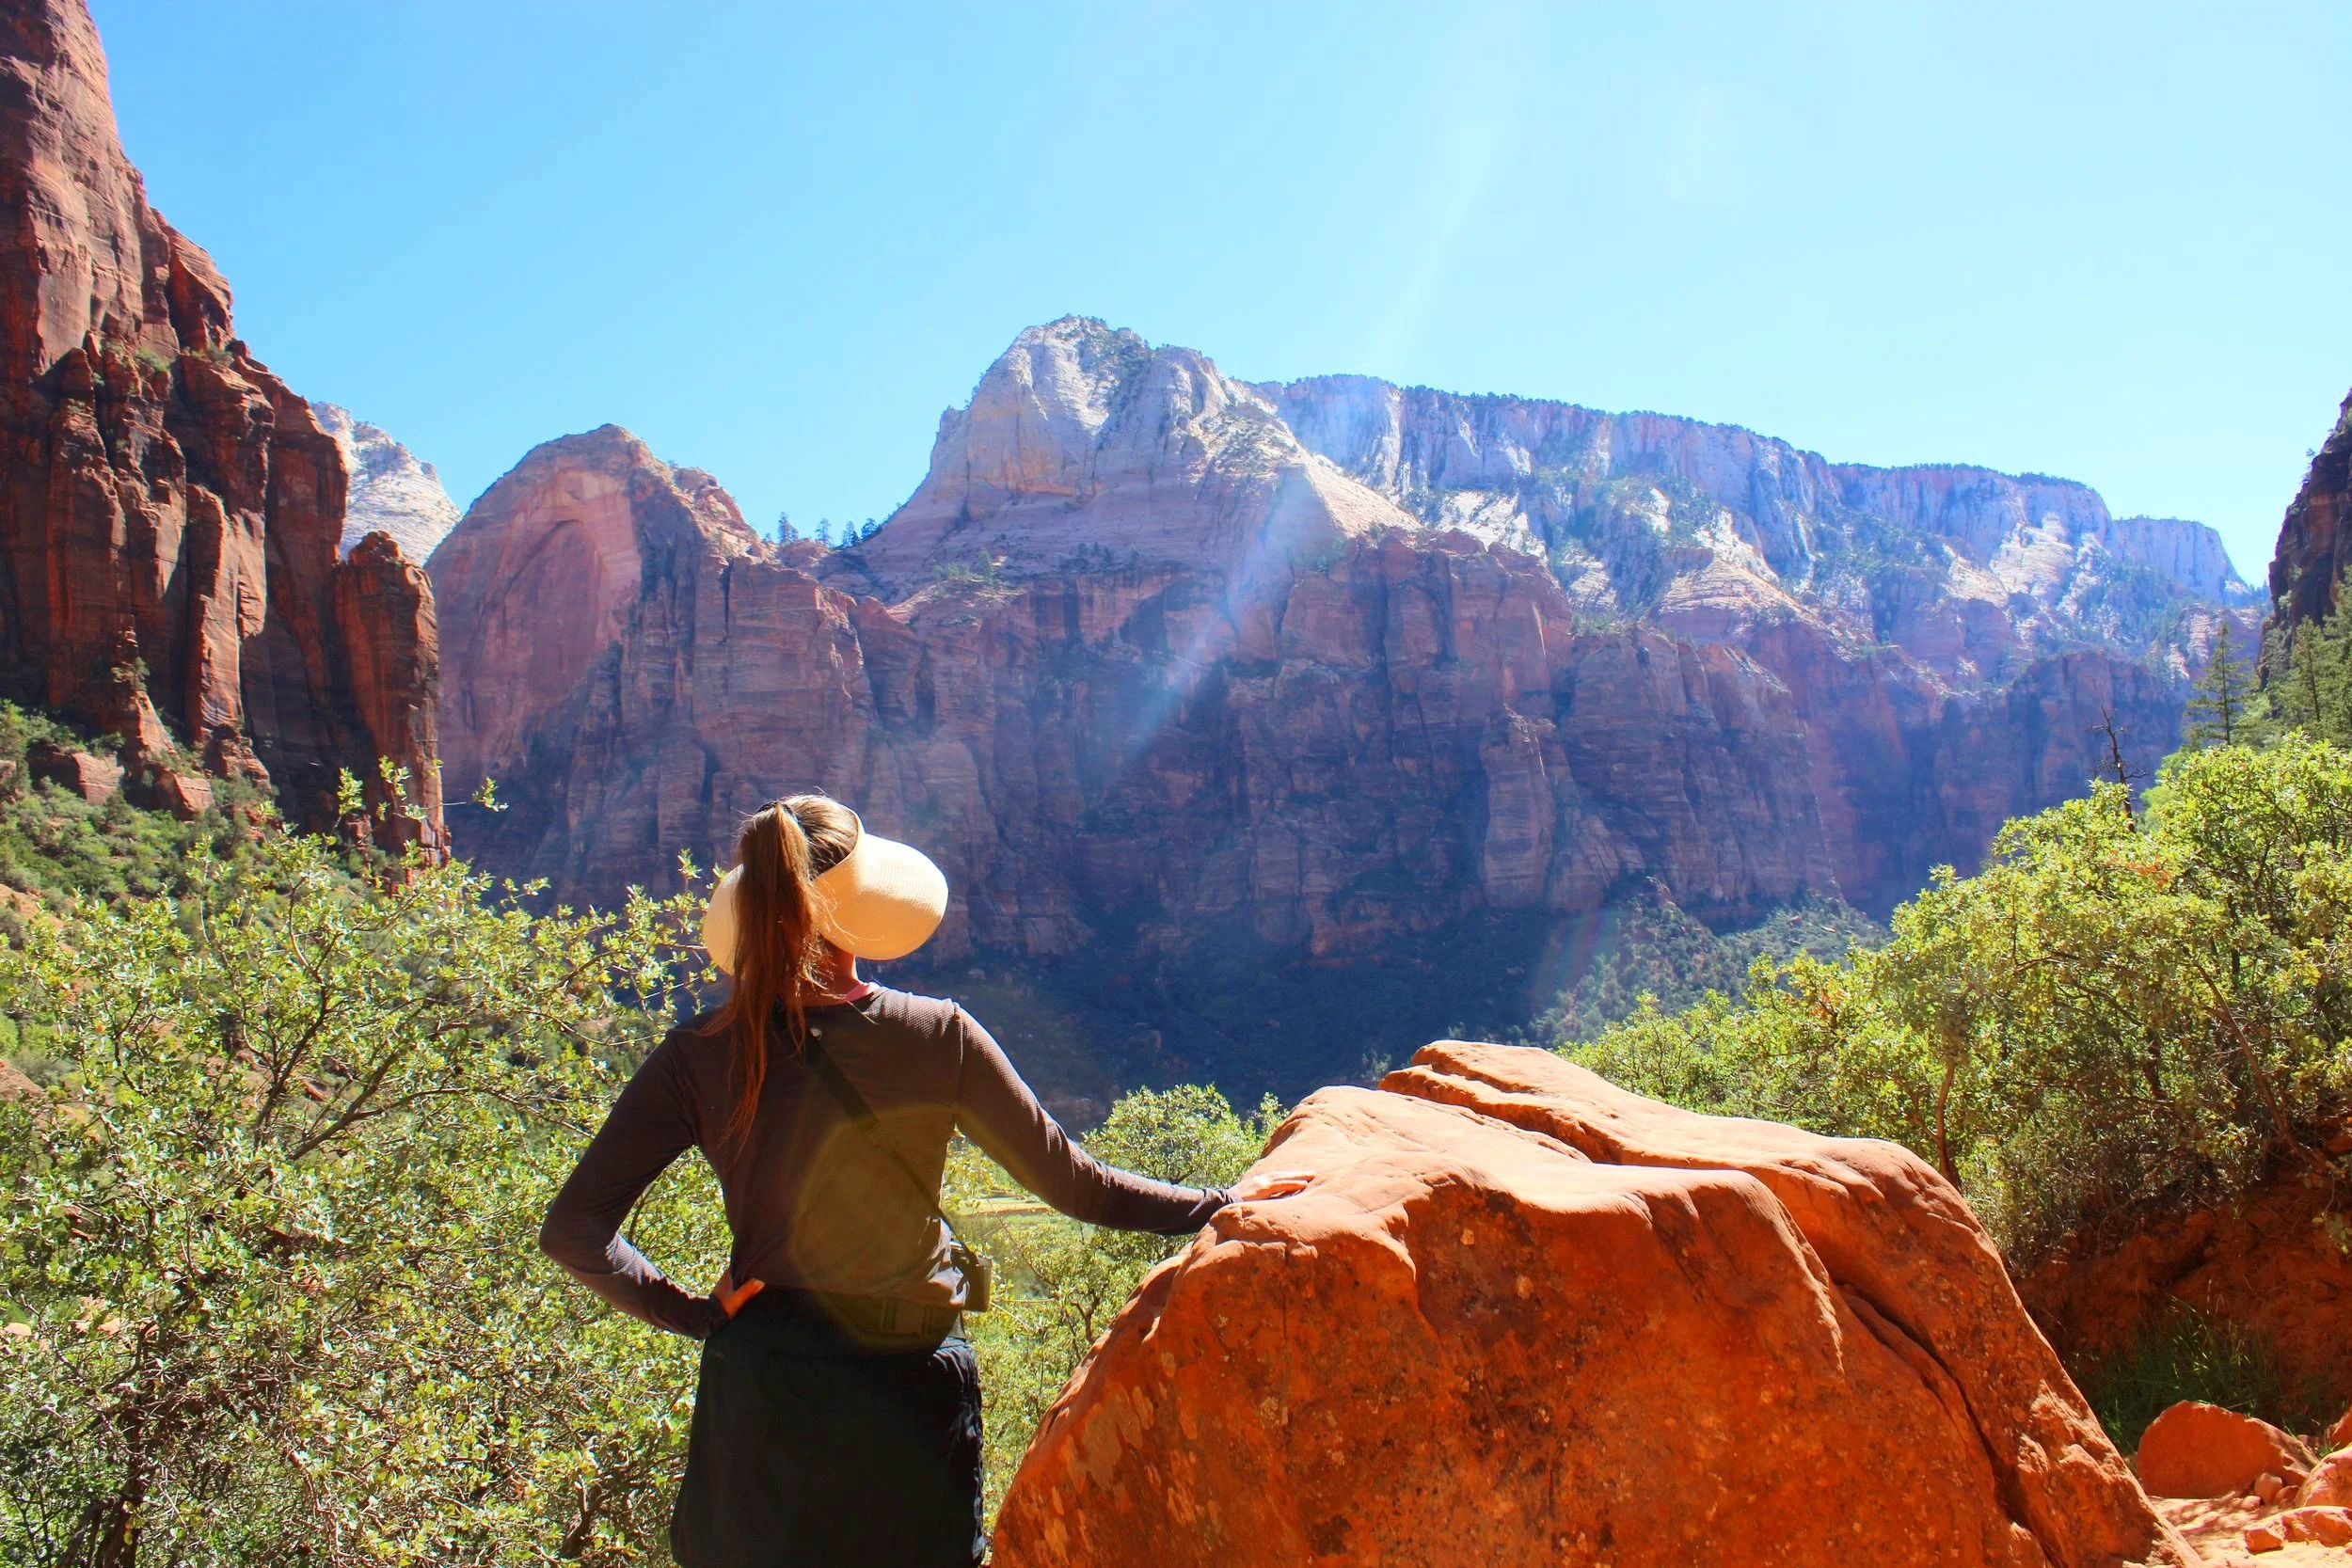
If you want an incredible payoff with fewer crowds than some of the park’s signature hikes, the Watchman Trail is a hidden gem. Located just a short walk from the main visitor center, this trail climbs up onto a scenic mesa, offering sweeping views down over the town of Springdale, the lower canyon, and the iconic Watchman peak itself.
The hike starts out flat along the Virgin River before hitting a series of steady dirt switchbacks that take you up the side of the canyon. It loops around the top of a small plateau, giving you a wonderful 360-degree viewing area that is especially magical during late afternoon or sunset as the red rocks light up.
Pro-Tip: Because it starts right at the visitor center and doesn’t require waiting in line for a park shuttle, this is a great trail to knock out first thing in the morning or right when you arrive.
2. Pa’rus Trail
- Distance: 3.2 Miles
- Difficulty: Very Easy (Paved & Wheelchair Accessible)
- Elevation Gain: 151 FT.
- Time Needed: 1 to 2 hours
- Trailhead Location: Zion Canyon Visitor Center (Shuttle Stop #1) or Canyon Junction (Shuttle Stop #3)
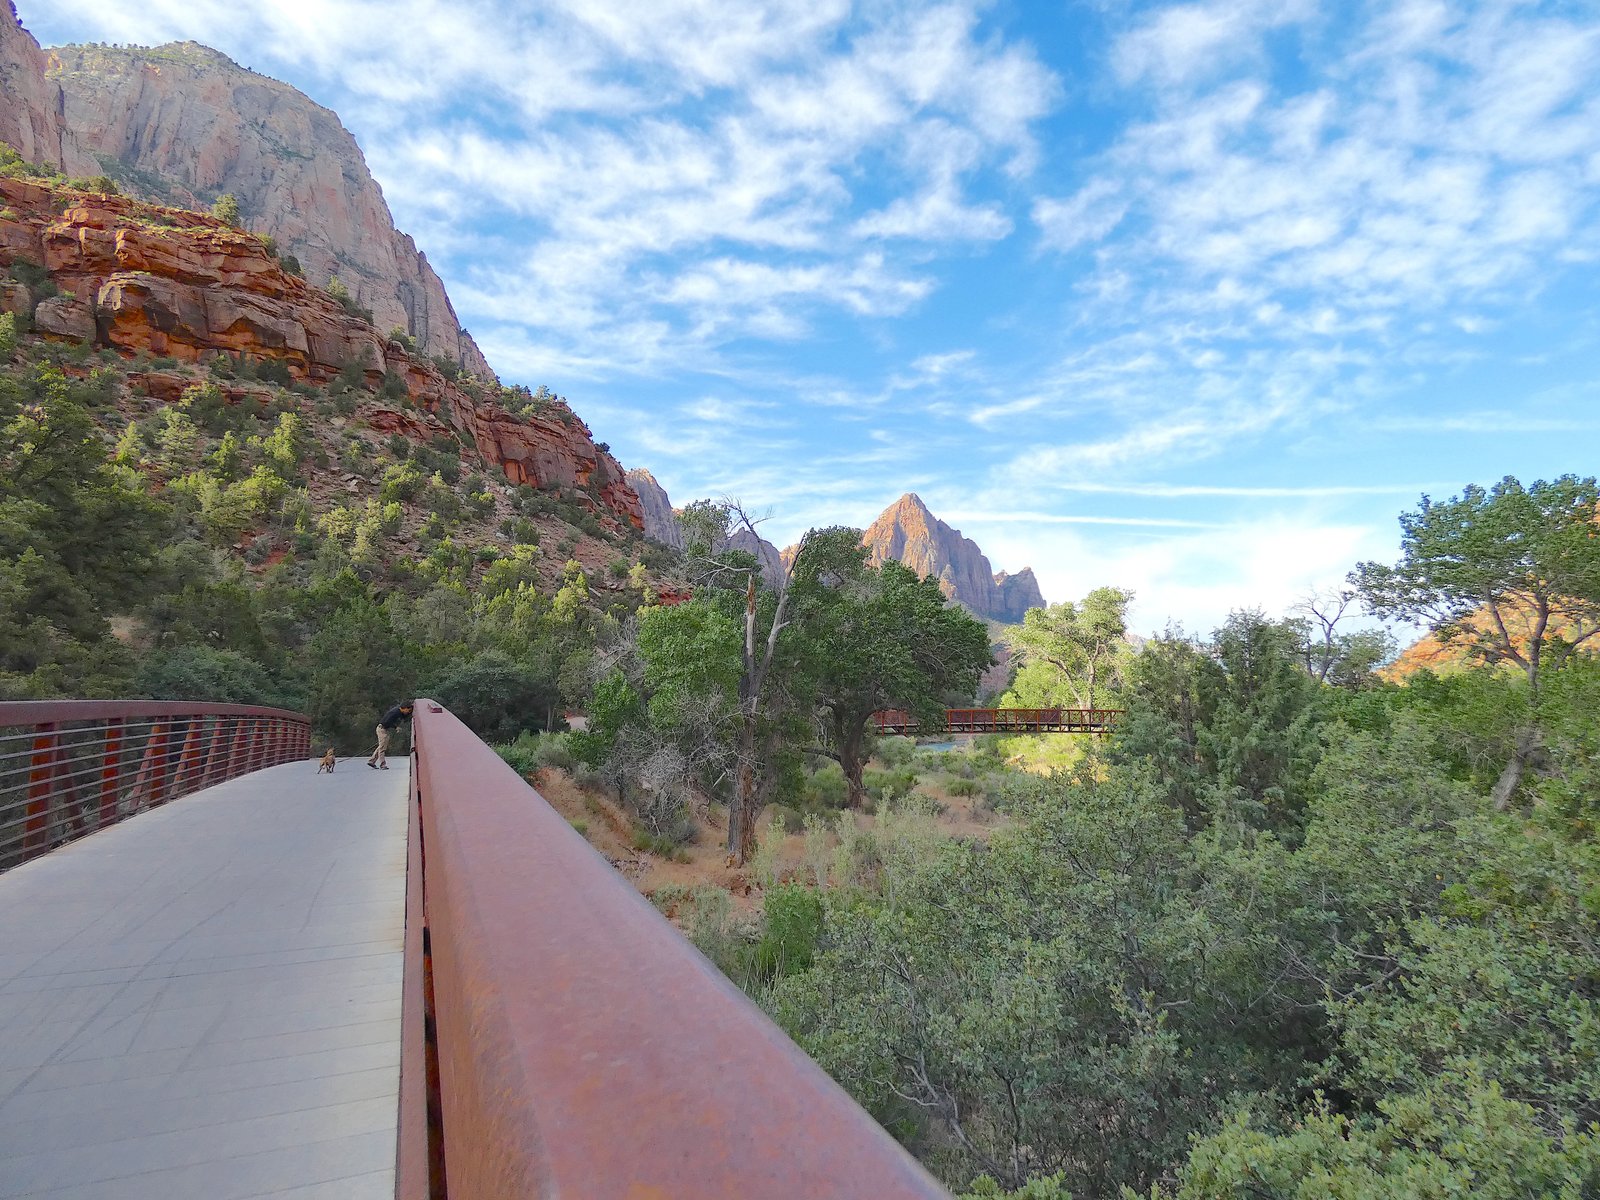
If you are looking for a relaxing, scenic stroll rather than a strenuous climb, the Pa’rus Trail is an absolute gem. Meaning “quick water” in the Paiute language, this fully paved path follows the winding Virgin River and offers some of the best unobstructed, panoramic views of iconic monoliths like The Watchman.
Because it is flat and completely paved, it’s one of the most accessible trails in the park. It is also famous for being the only trail in Zion that allows bicycles and leashed pets, making it a fantastic option if you want an easy morning or evening walk surrounded by cottonwood trees and open canyon meadows.
Pro-Tip: This trail has very little shade, so it can get quite warm during midday in the summer. It is one of the absolute best spots in the park to catch a glowing sunset or a peaceful sunrise as the morning light hits the canyon walls.
3. Canyon Overlook
- Distance: 1.0 Mile
- Difficulty: Easy to Moderate
- Elevation Gain: 154 FT.
- Time Needed: 1 hour
- Trailhead Location: Highway 9, just east of the Zion-Mount Carmel Tunnel (No shuttle required!)
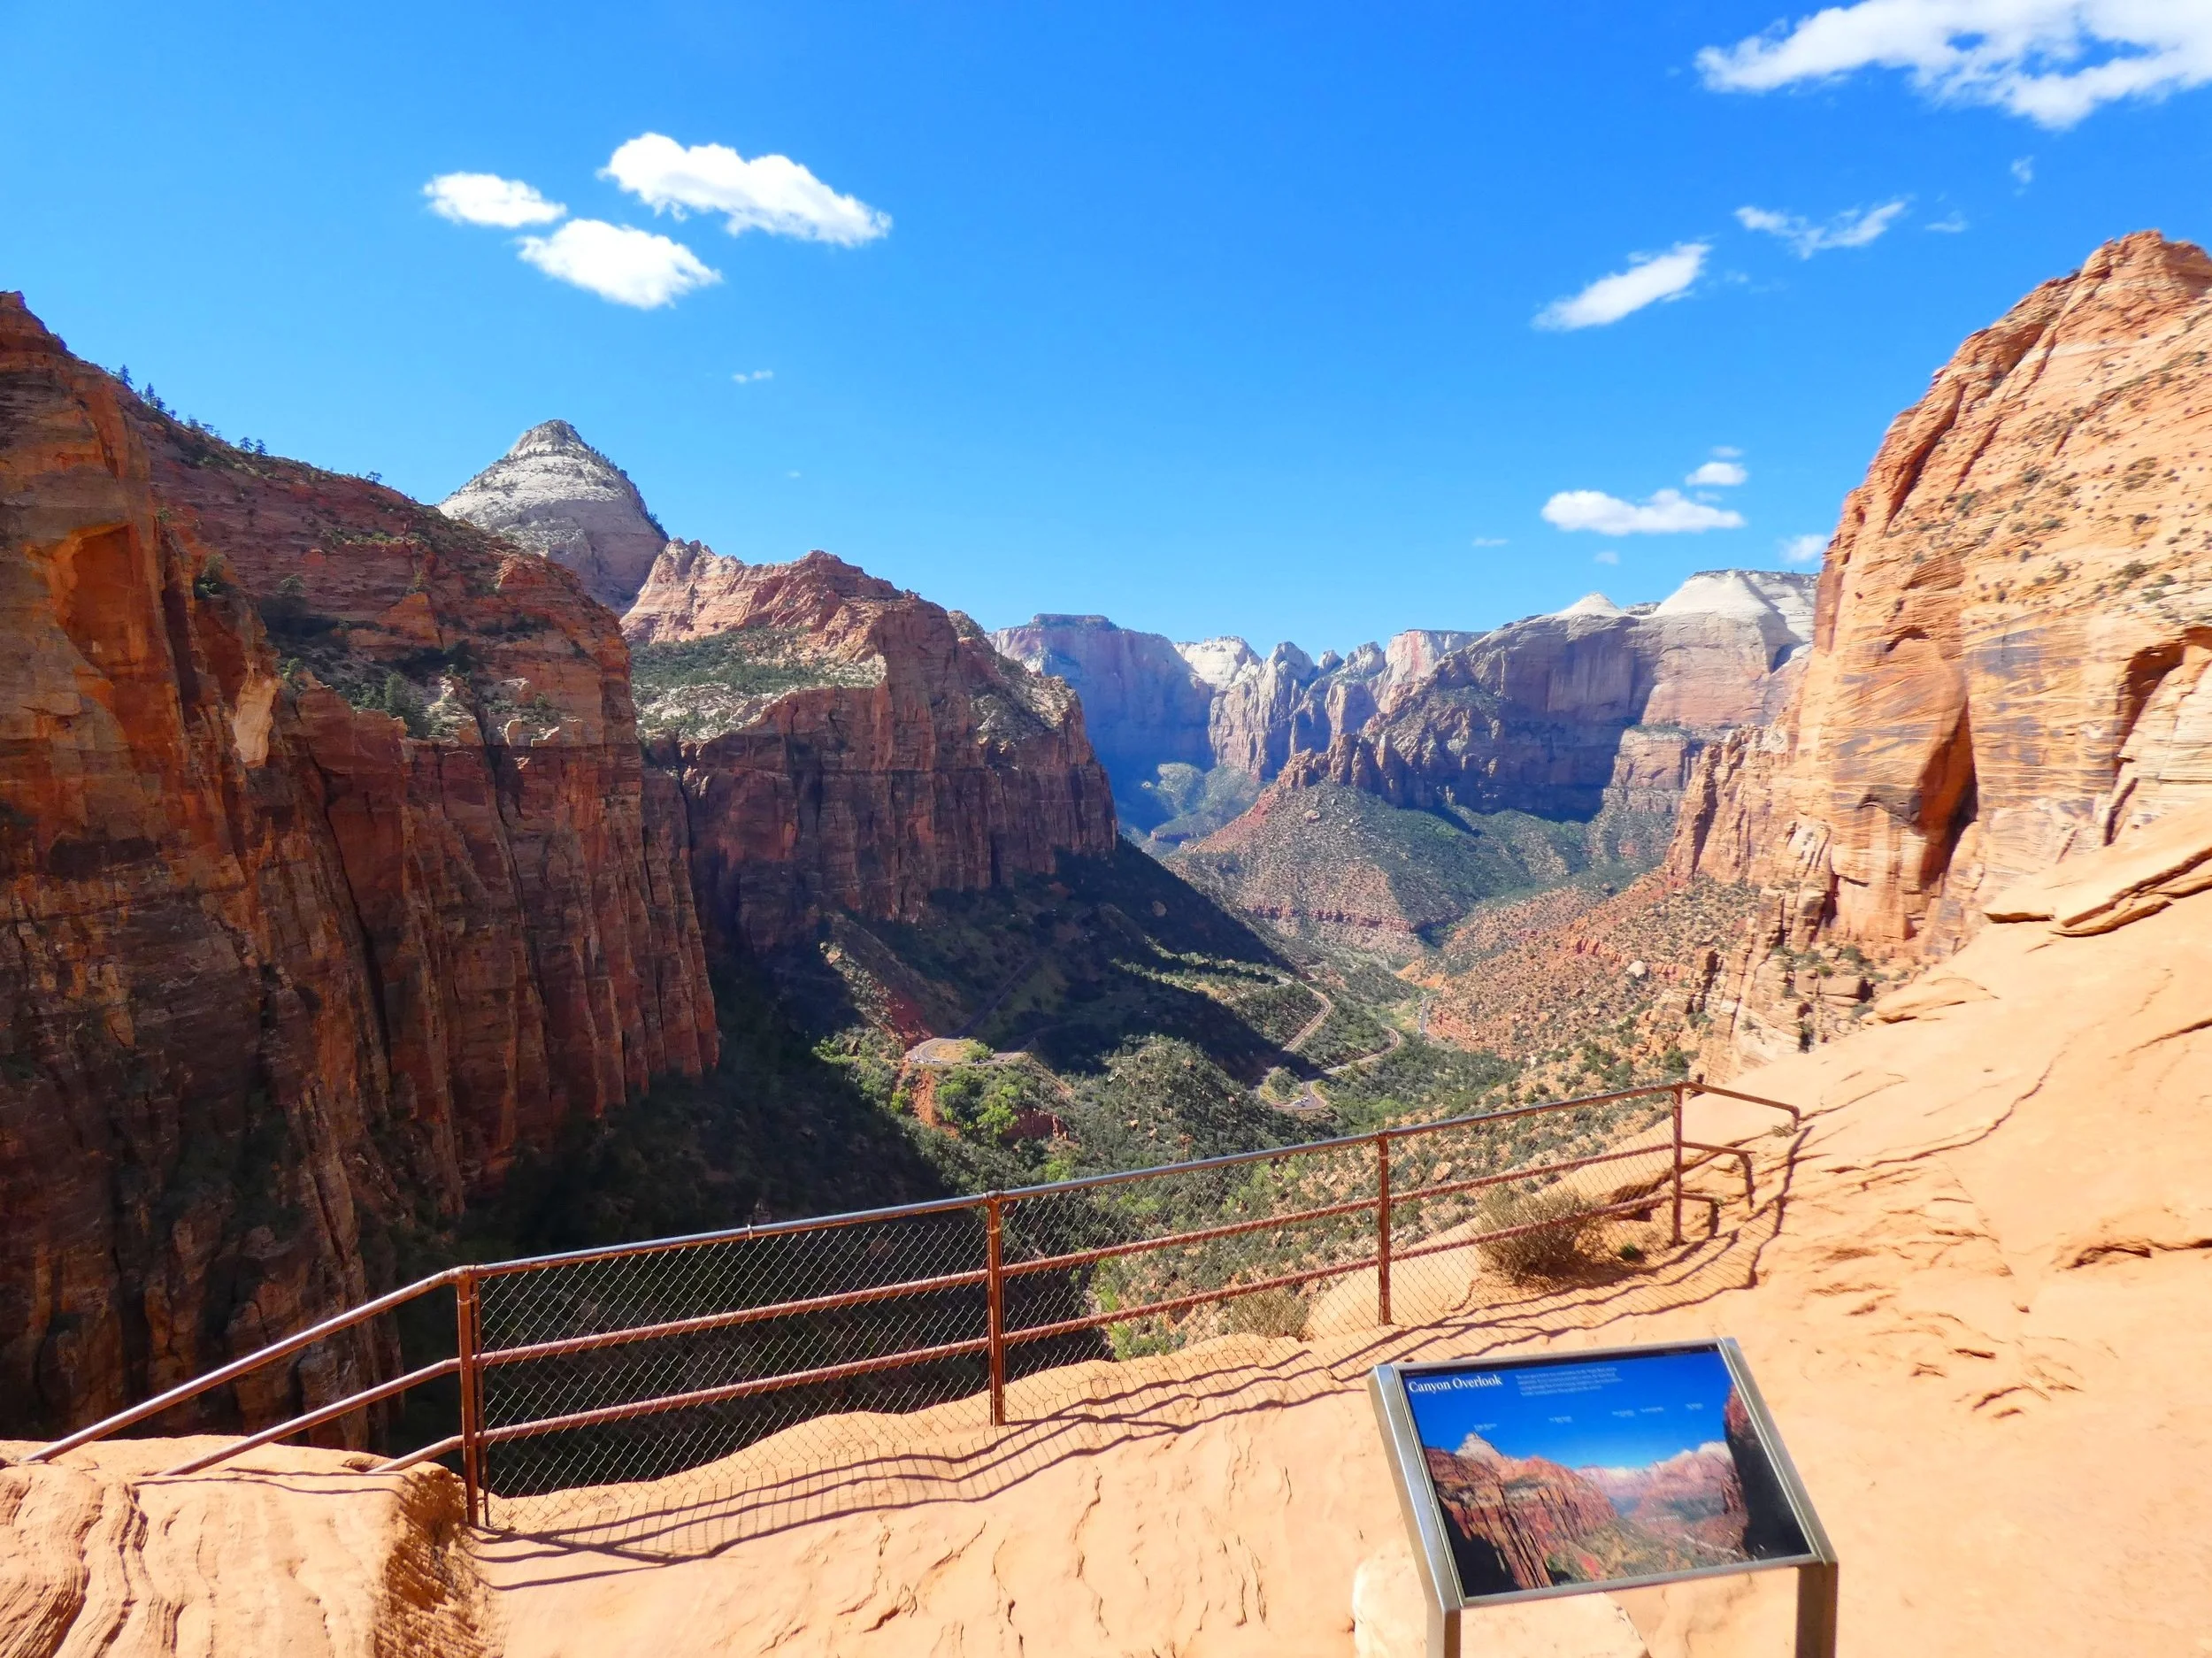
If you want massive, jaw-dropping canyon views without committing to a grueling half-day trek, the Canyon Overlook Trail is an absolute must-do. It gives you a taste of Zion’s dramatic landscape with a fraction of the effort of trails like Angels Landing.
The trail begins right as you exit the east side of the massive Zion-Mount Carmel Tunnel. You’ll start with a short series of stone steps climbing up from the road, cross a cool wooden bridge over a cool, fern-draped alcove, and then hike along a carved sandstone ledge equipped with safety railings.
The path ends at a stunning viewpoint overlooking Pine Creek Canyon, the switchbacks of Highway 9, and the main Zion Canyon far below.
Pro-Tip for RVers & Drivers: Parking at this trailhead is notoriously tight with very few small pull-outs. Because you don’t need to take the park shuttle to get here, it’s best to arrive either early in the morning or later in the evening to snag a spot.
4. Emerald Pools Trail
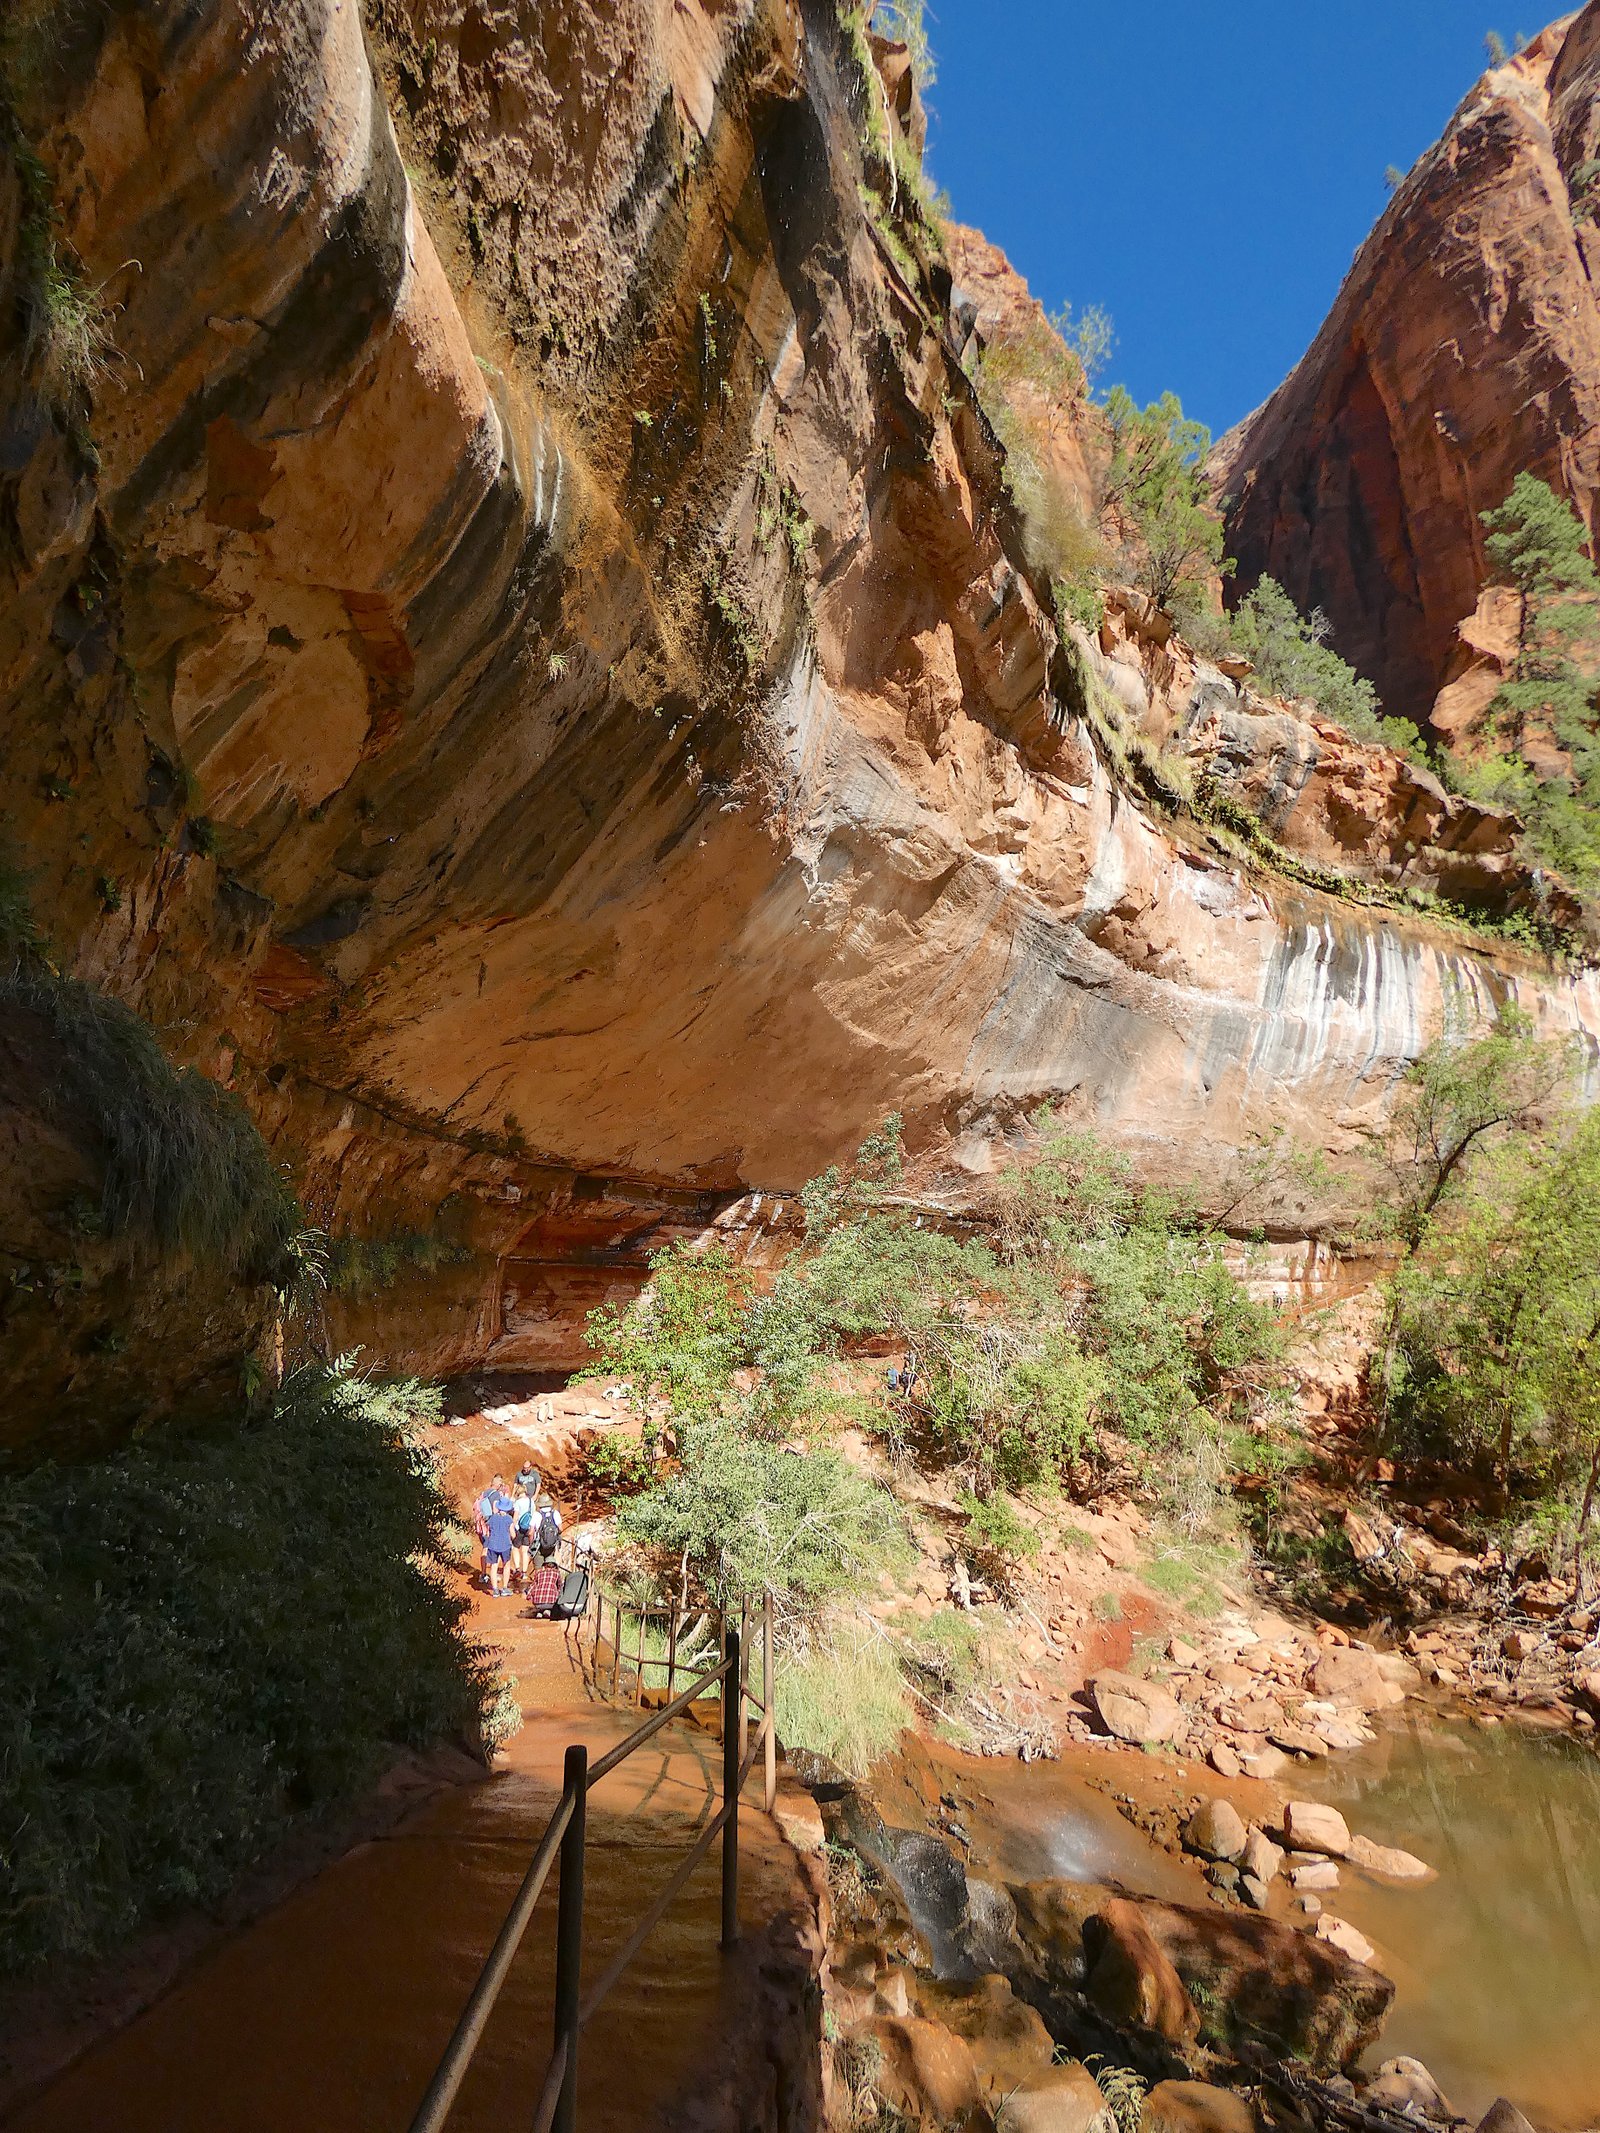
- Distance: ~2.2 to 3 miles round-trip (depending on how many pools you visit)
- Difficulty: Easy to Moderate (Lower pool is easy; Upper pool is more rugged)
- Elevation Gain: ~340 feet
- Time Needed: 1.5 to 2 hours
- Trailhead Location: Zion Lodge (Shuttle Stop #5) or across via the Kayenta Trail from The Grotto (Shuttle Stop #6)
The Emerald Pools Trail is a classic Zion favorite, offering a lush, desert-oasis feel with cascading water, weeping rock walls, and shaded pools. The hike is broken down into sections—Lower, Middle, and Upper pools—giving you options depending on your energy level.
The paved path to the Lower Pool is gentle and even lets you walk right behind a weeping waterfall alcove. If you want more of a workout, you can push upward along dirt and rock steps to reach the Upper Pool, a tranquil basin tucked directly beneath massive, towering vertical cliffs.
Pro-Tip: Because this is accessed right across from Zion Lodge, it gets quite busy during midday. To truly enjoy the peaceful, misty atmosphere, hit this trail early in the morning or later in the afternoon.
5. Kayenta Trail
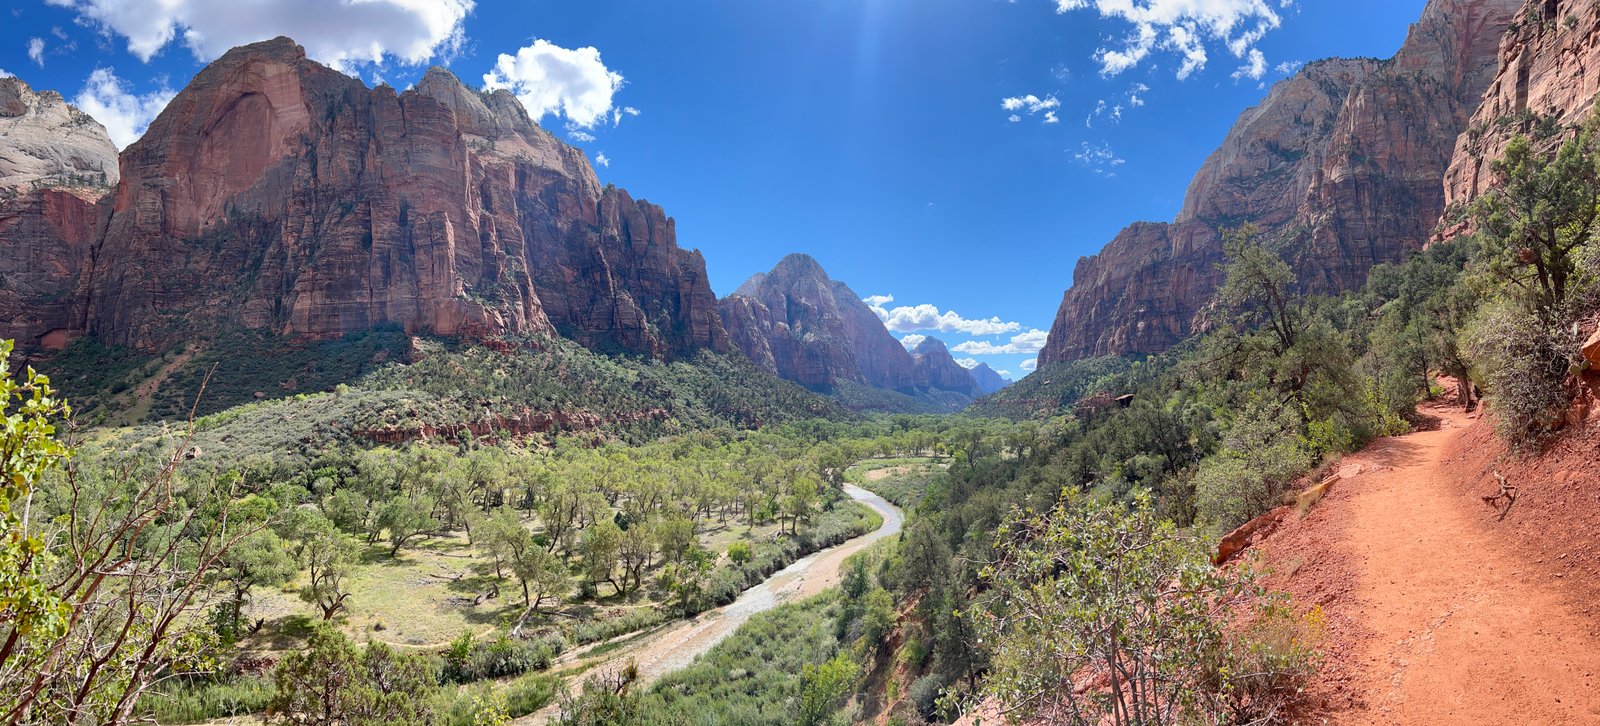
- Distance: 2.0 Miles (often combined with Emerald Pools)
- Difficulty: Moderate
- Elevation Gain: 204 FT.
- Time Needed: 1.5 – 2 Hours
- Trailhead Location: The Grotto (Shuttle Stop #6)
With over 90 miles of trails in the park, the Kayenta Trail is a wonderful option if you want to escape some of the heavier crowds while still taking in stunning scenery. This moderate trail climbs gently along a cliff band high above the canyon floor, connecting The Grotto over to the Emerald Pools.
As you hike, you’ll be treated to a fantastic vantage point to explore unique desert plant life and look down at the Virgin River winding far below. Because it sits higher up on the canyon wall than the river walks, it offers sweeping, elevated views across the canyon without requiring a punishing climb.
Pro-Tip: Many hikers combine the Kayenta Trail with the Emerald Pools trails to create a seamless loop starting at Shuttle Stop #6 (The Grotto) and ending at Shuttle Stop #5 (Zion Lodge).
6. Angels Landing & Scout Lookout
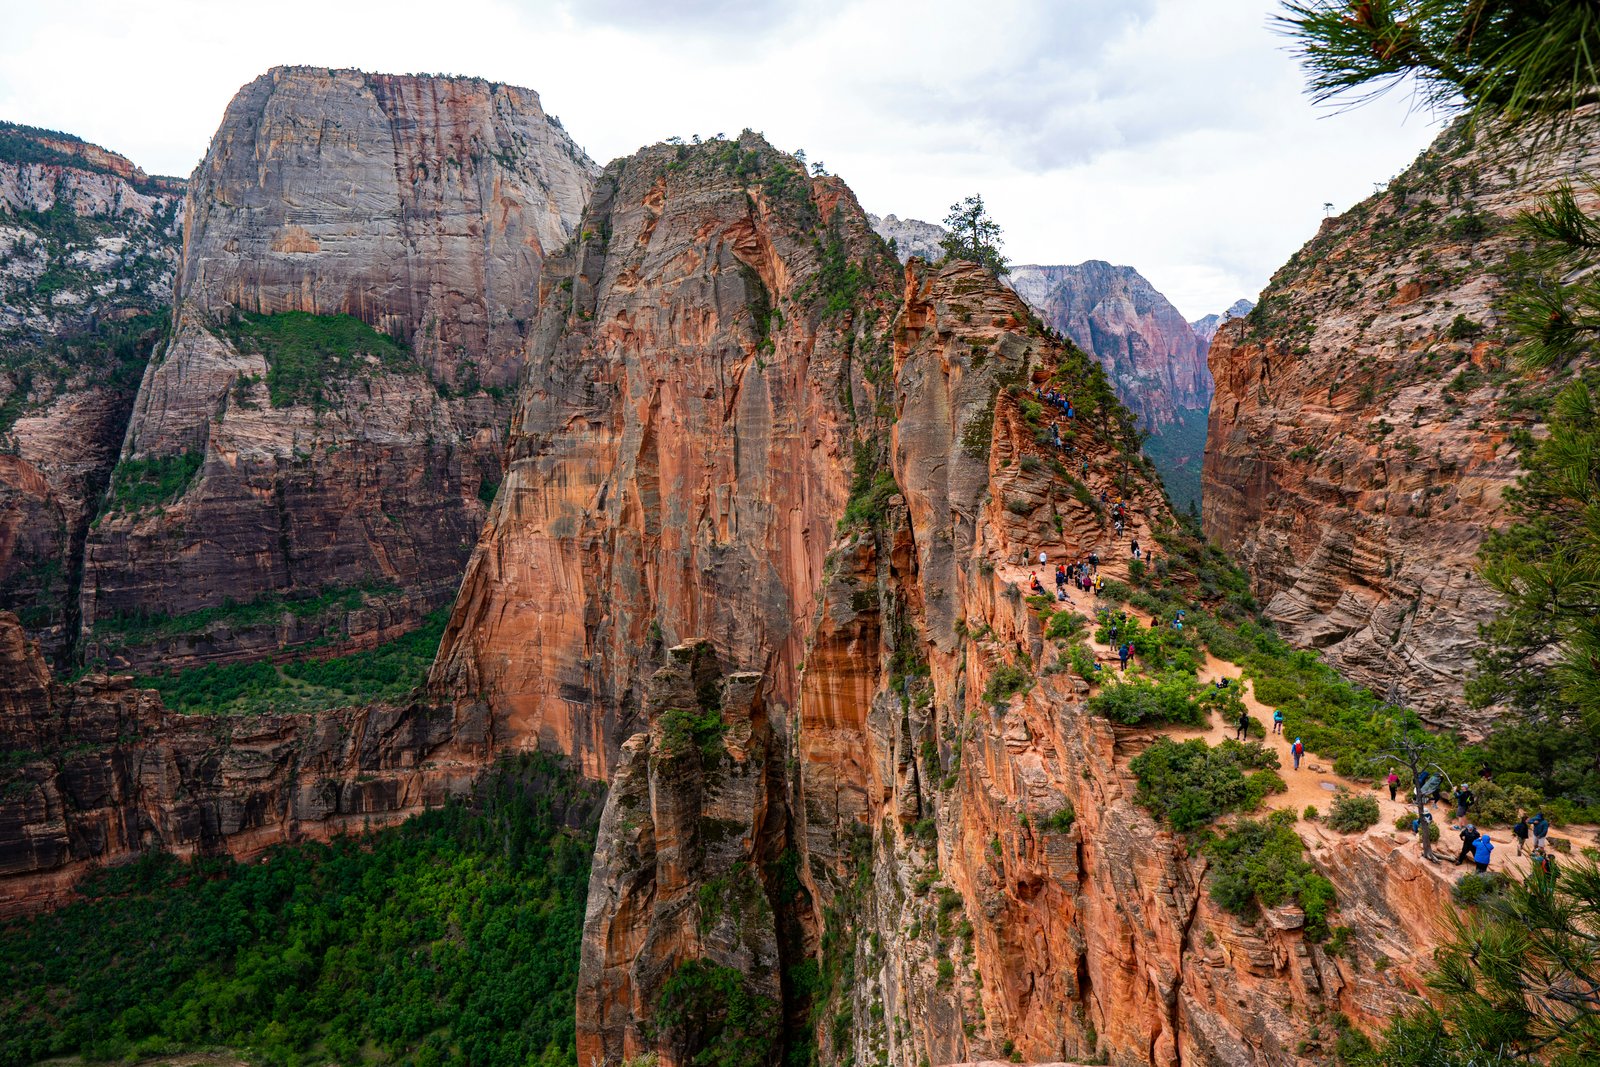
- Distance: ~4.8 miles round-trip (to the summit) / ~3.6 miles round-trip (to Scout Lookout only)
- Difficulty: Strenuous
- Elevation Gain: ~1,745 feet
- Time Needed: 3 to 5 hours
- Trailhead Location: The Grotto (Shuttle Stop #6)
- Permit Required: Yes, for the final chained section to Angels Landing summit (via recreation.gov lottery)
Without a doubt, Angels Landing is Zion’s most famous and thrilling adventure. The trail begins at The Grotto, crossing the canyon floor before climbing the steep switchbacks of the West Rim Trail. You’ll navigate through the cool shade of Refrigerator Canyon and conquer Walter’s Wiggles—a famous set of 21 tight, steep switchbacks—before arriving at Scout Lookout.
Scout Lookout offers sweeping, incredible views of the canyon and serves as the turning point for hikers. If you have a permit and a head for heights, the final half-mile takes you across a narrow sandstone fin with sheer 1,000-foot drop-offs on both sides, guided by anchor chains.
Pro-Tip: Didn’t win the permit lottery, or uneasy about sheer drop-offs? Don’t skip this hike entirely! Hiking just to Scout Lookout gives you an incredible workout, most of the visual reward, and zero requirement for a permit.
7. Riverside Walk
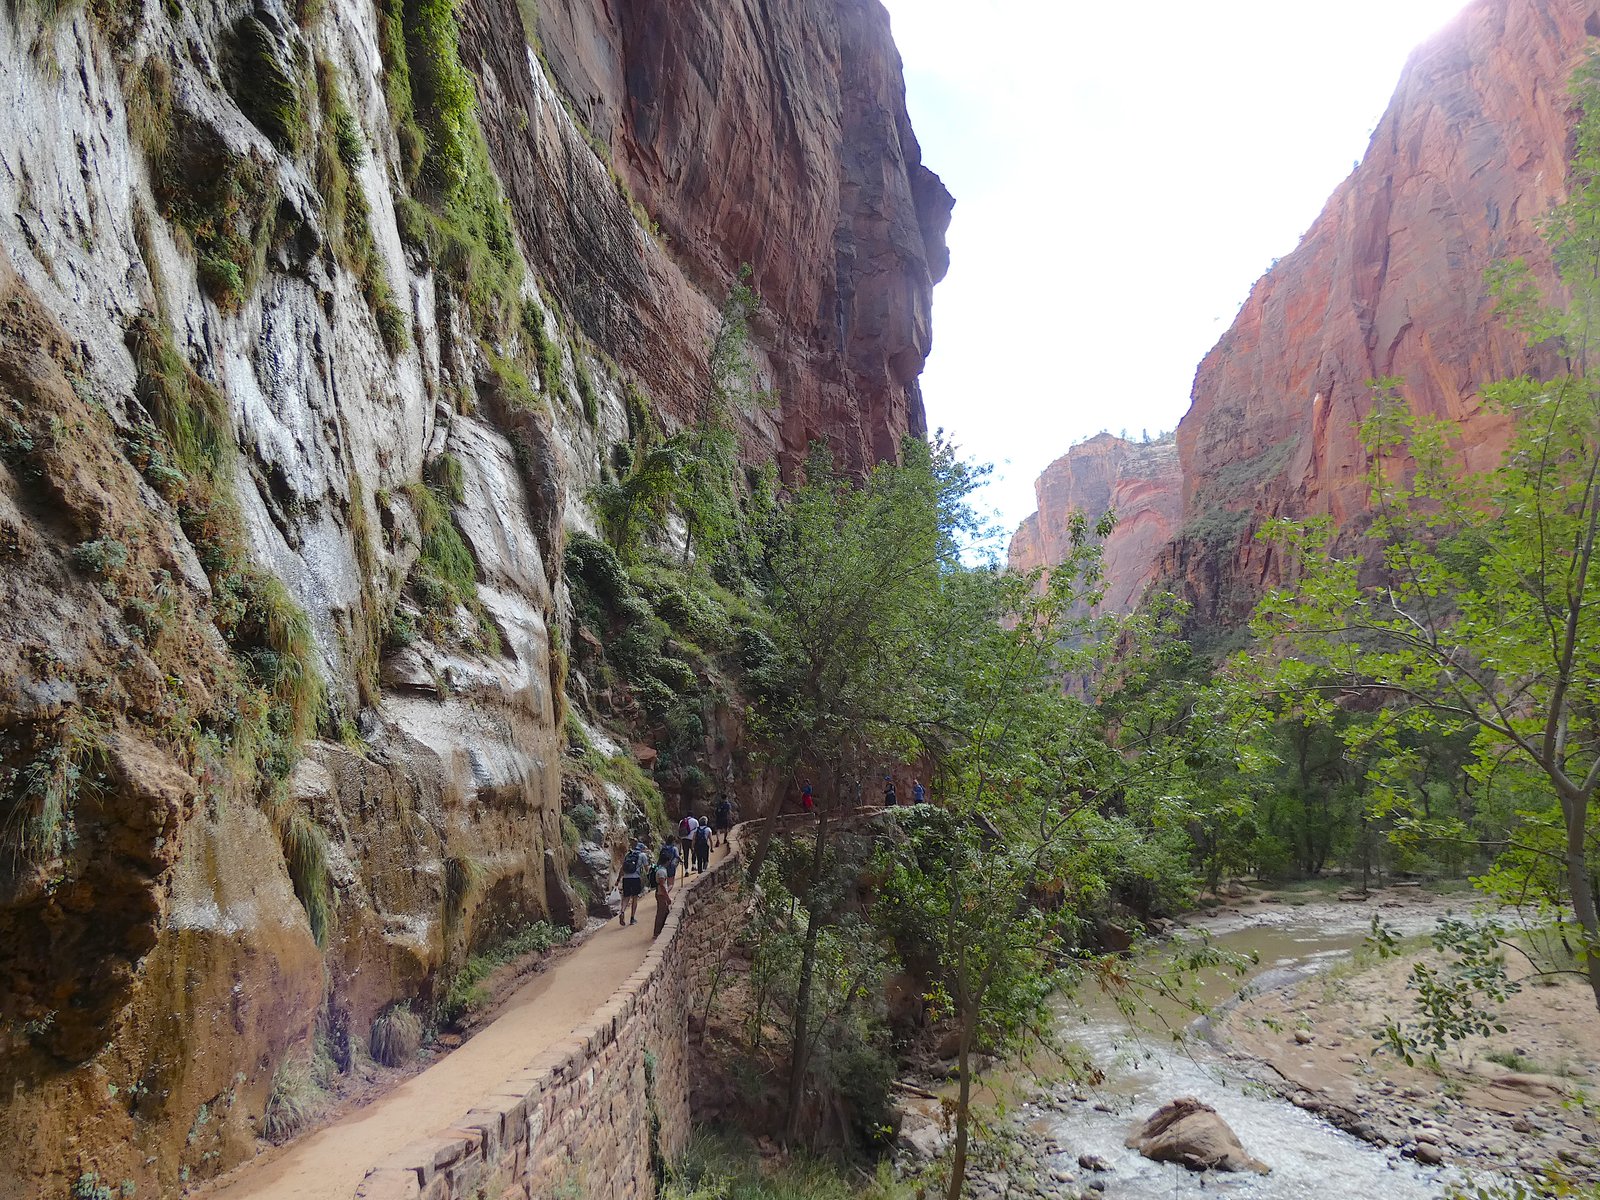
- Distance: ~2.2 miles round-trip
- Difficulty: Easy (Paved, mostly flat)
- Elevation Gain: 154 feet
- Time Needed: 1 to 1.5 hours
- Trailhead Location: Temple of Sinawava (Shuttle Stop #9)
If you are looking for a gentle, shaded stroll that still delivers jaw-dropping canyon scenery, the Riverside Walk is an absolute delight. Often called the gateway to The Narrows, this paved trail meanders alongside the roaring Virgin River beneath towering, weeping walls draped in lush hanging gardens.
The path is mostly flat and accessible, making it a great option for all ages and fitness levels. Along the way, keep your eyes peeled for local wildlife like mule deer, wild turkeys, and rock squirrels, as well as numerous tiny waterfalls weeping from the canyon walls.
Pro-Tip: This is the exact path you take to reach the starting point of The Narrows. Even if you aren’t planning to wade into the river, walking this trail is well worth the shuttle ride to the very end of the canyon for its peaceful, cathedral-like atmosphere.
8. The Narrows (Bottom-Up)
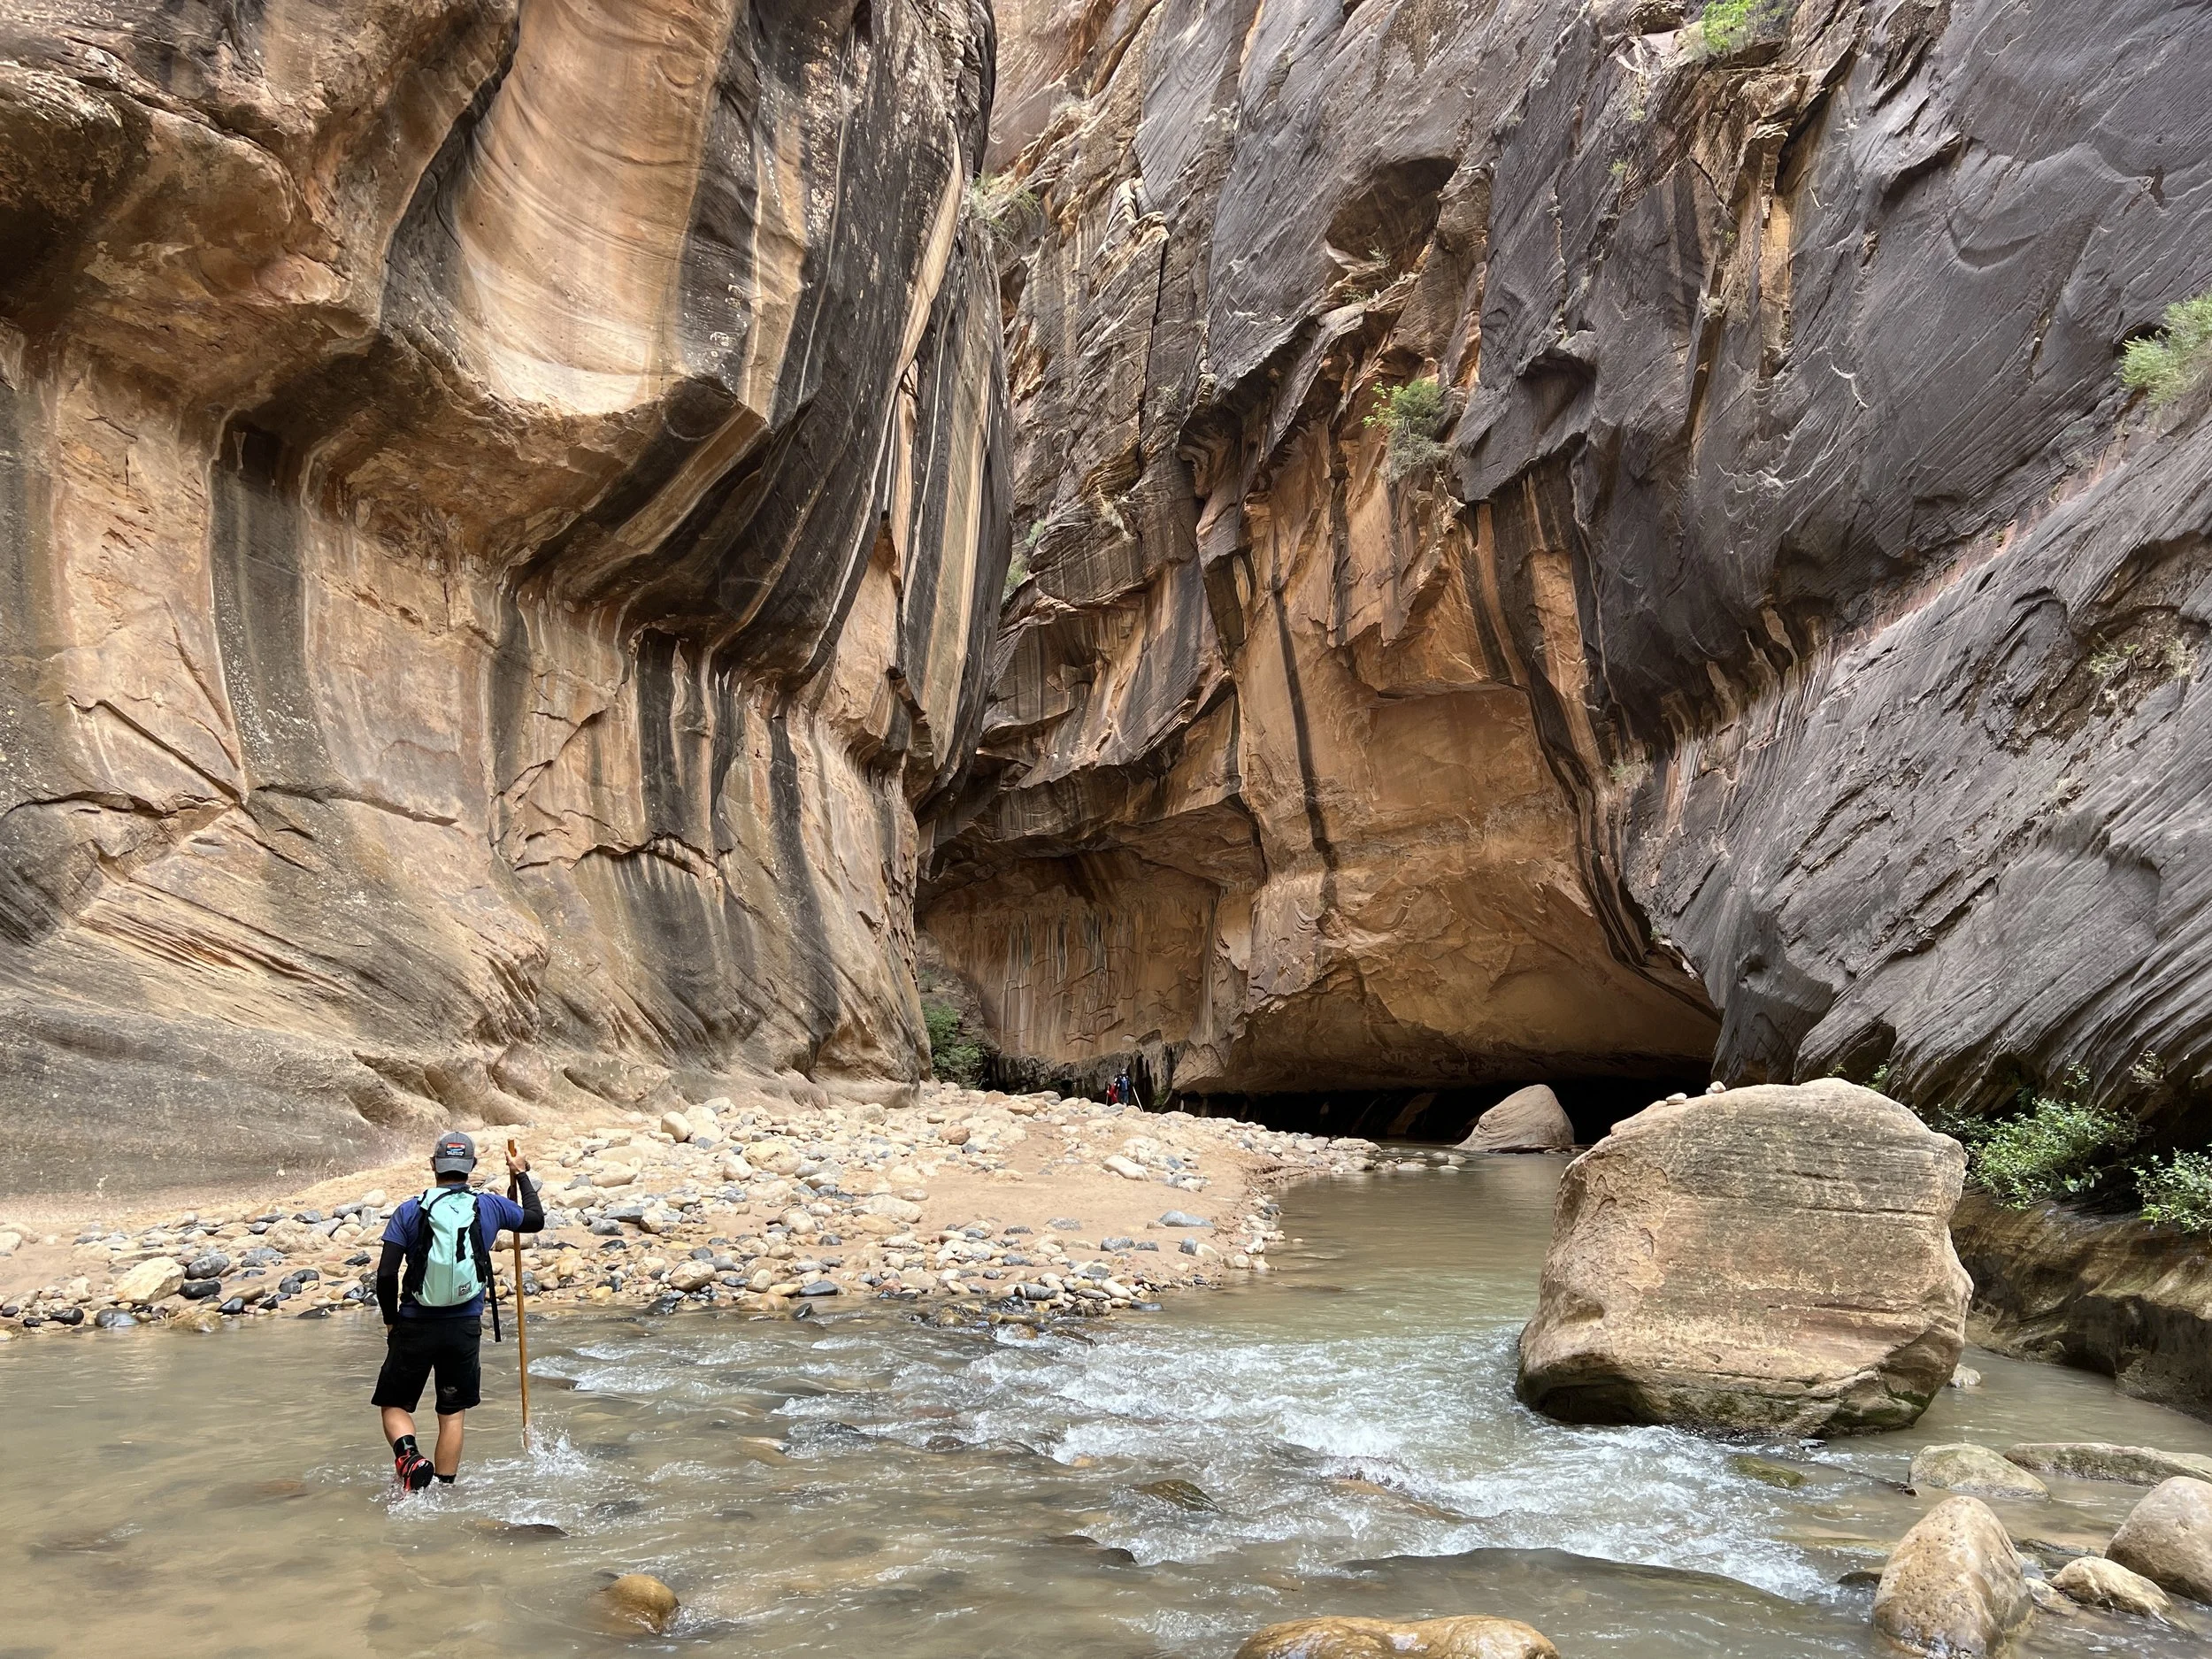
- Distance: Up to 9.4 miles round-trip (you can turn around whenever you want)
- Difficulty: Strenuous (due to hiking in moving water on slippery, uneven river rocks)
- Elevation Gain: ~334 feet
- Time Needed: 4 to 8 hours (or less if you just go a short distance)
- Trailhead Location: Temple of Sinawava (Last Zion Canyon Shuttle Stop #9)
No trip to Zion is complete without experiencing The Narrows. Instead of a traditional dirt path, your hiking trail here is literally the Virgin River! Flanked by massive, thousand-foot sheer sandstone walls that occasionally narrow to just 20 or 30 feet wide, this is widely considered one of the premier slot canyon hikes in the world.
The route begins at the end of the Riverside Walk. You’ll step right into the water and hike upstream against the current, making your way past famous sections like Wall Street. You choose your own turnaround point—whether you just want to wade in for an hour to experience the towering walls or push all the way to Big Springs (about 4.7 miles up).
Pro-Tip: Renting specialized gear (like neoprene socks, sturdy canyoning boots, and a wooden walking stick) from an outfitter in Springdale makes a world of difference. Always check the flash flood forecast with the visitor center before heading out!
What to Pack for Hiking in Zion
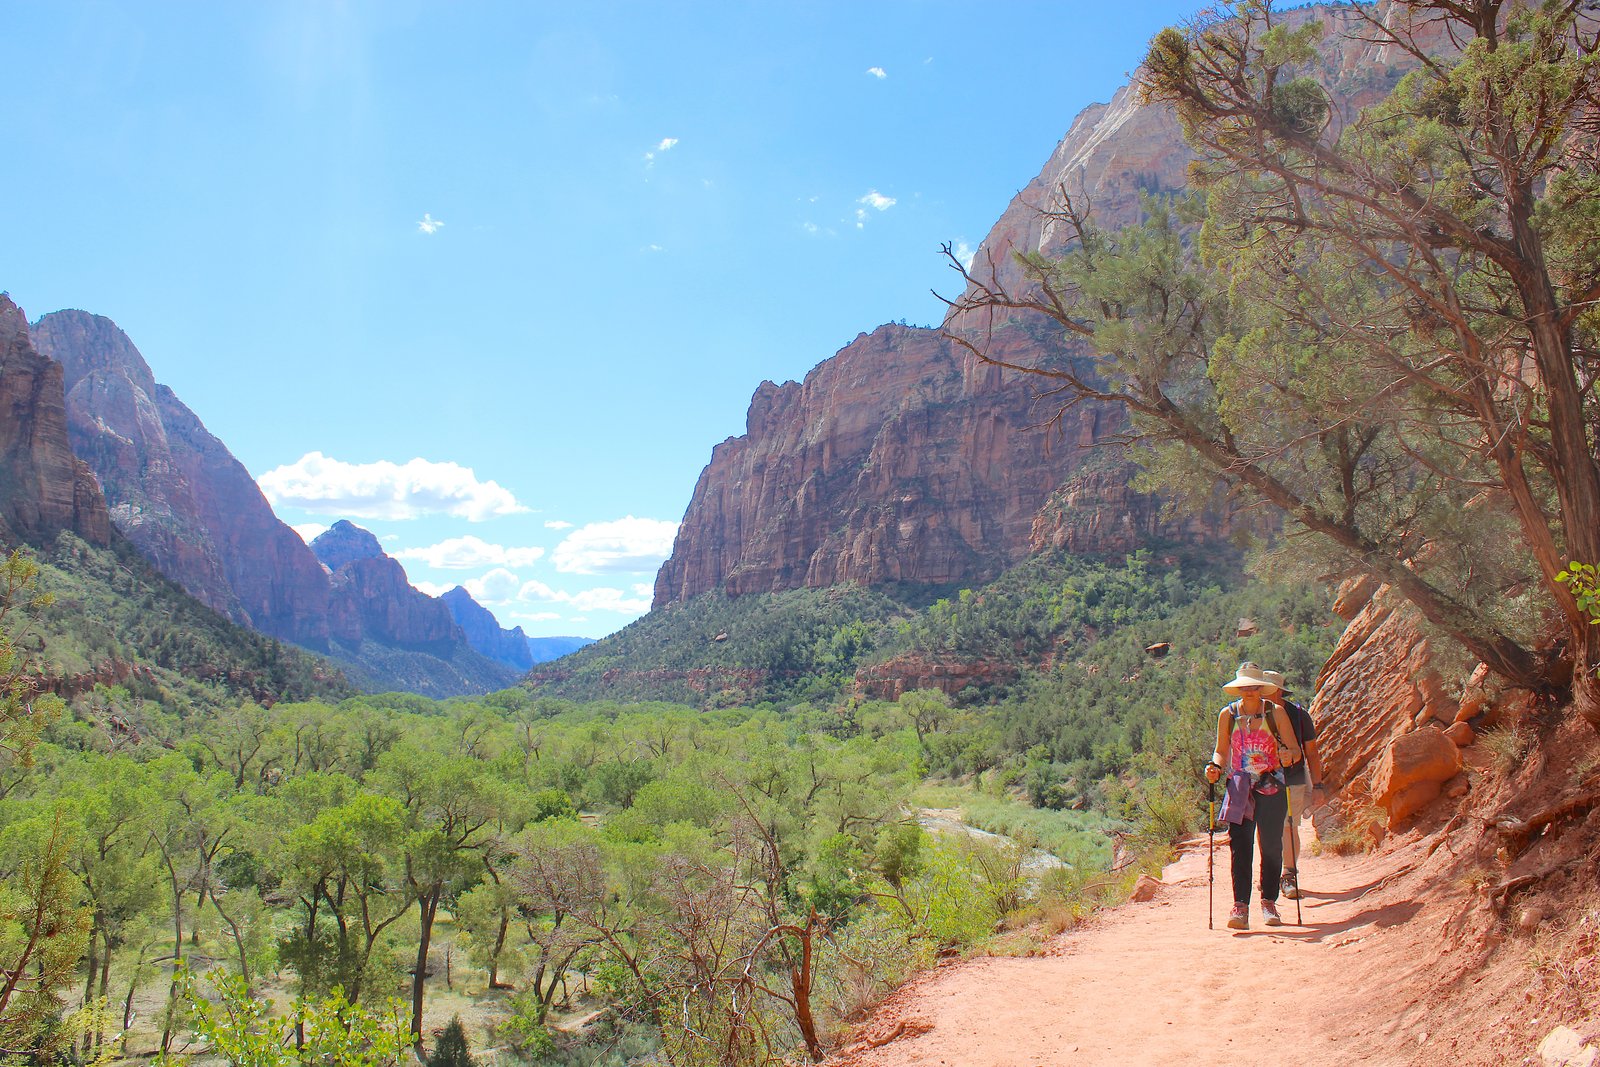
Because Zion ranges from exposed, baking desert mesas to rushing, cold river slot canyons, your packing list requires a bit of versatility. Make sure your daypack includes these essentials:
- Footwear with Serious Traction
- Why You Need Them: Zion’s trails are heavily built on slickrock and loose sand, meaning smooth-soled fashion sneakers will leave you slipping; sturdy hiking shoes or trail runners with great grip are essential for safety.
- The Benefit: High-traction rubber outsoles bite into loose gravel and grip slick stone, while cushioned midsoles absorb heavy impact to keep foot fatigue at bay over long miles.
- Our Recommendation: Mike and I have been wearing Columbia Newton Ridge Plus Hiking Boots for over five years, and they are still our favorite hiking boots for rocky trails—we never hike without them.
- The Narrows Special Gear
- Why You Need Them: If you plan on tackling The Narrows, standard hiking boots won’t cut it against the swift current and hidden hazards.
- The Benefit: Renting specialized gear will save your ankles and keep you stable on slippery river rocks.
- Our Recommendation: Rent a complete package from a Springdale outfitter that includes neoprene socks, sturdy canyoning boots, and a wooden walking stick.
- Plentiful Water & Electrolytes
- Why You Need Them: The desert sun is intense, and dehydration sneaks up fast on exposed canyon climbs.
- The Benefit: Proper hydration and electrolyte balance stave off heat exhaustion, prevent painful muscle cramps, and sustain your energy levels over long, strenuous miles in the heat.
- Our Recommendation: We swear by sugar-free LMNT electrolyte packets paired with leak-proof, ice-cold Simple Modern bottles to stay hydrated and energized on the trail.
- Sun Protection
- Why You Need Them: Shade is sparse on exposed trails like Kayenta, the Watchman, and the Pa’rus Trail, making a wide-brimmed hat, polarized sunglasses, and broad-spectrum SPF 30+ sunscreen essential.
- The Benefit: Shielding your skin and eyes from intense UV rays prevents painful sunburns and overheating, while cutting down harsh glare so you can navigate exposed slickrock with ease.
- Our Recommendation: I’ve had my FURTALK Wide Brim Sun Hat for over five years now—it’s adjustable, packable, and folds up small—paired with Earth Mama’s Mineral Sunscreen, our favorite family-friendly, non-toxic SPF 40 option that comes in both a lotion and an easy on-the-go stick.
- Smart Clothing Layers
- Why You Need Them: Desert temperatures swing drastically—early mornings in the canyon can be surprisingly chilly, while afternoons heat up fast.
- The Benefit: Dressing in moisture-wicking layers allows you to easily shed or add clothing to stay comfortable and protected from the sun.
- Our Recommendation: The Soothfeel Women’s UPF 50+ Sun Protection Hoodie has become my go-to layer; I throw it over whatever I’m wearing to stay cool, comfortable, and covered on every sunny trip.
- A Compact Daypack with Safety Extras
- Why You Need Them: Spotty cell service, rugged terrain, and unexpected delays mean you need to be self-sufficient on Zion’s trails.
- The Benefit: A well-stocked daypack handles minor emergencies like blisters, keeps your navigation accessible, and ensures you aren’t caught in the dark after sunset.
- Our Recommendation: Pack a comfortable daypack loaded with a lightweight first-aid kit, a portable phone charger for offline AllTrails or NPS maps, and a reliable headlamp just in case.
- Trekking Poles for Stability and Joint Relief
- Why You Need Them: Zion’s diverse terrain—ranging from steep, loose dirt on the Watchman to slickrock climbs and navigating river stones—can put a lot of strain on your knees.
- The Benefit: Collapsible trekking poles provide crucial balance on uneven ground and significantly reduce impact during steep descents.
- Our Recommendation: We love using the Montem Ultra Strong Trekking, Walking, and Hiking Poles —they are lightweight, incredibly durable, adjust easily to different heights, and strap right onto our daypacks when we don’t need them.
Frequently Asked Questions About Hiking in Zion
1. How does the Zion Canyon shuttle system work?
During peak season (March through November), private vehicles are not allowed on the Zion Canyon Scenic Drive.Instead, you will use the free, reservation-free park shuttle.
- The Zion Canyon Line: Runs from the Visitor Center (Stop 1) up to the Temple of Sinawava (Stop 9), stopping at all major trailheads.
- Pro-Tip: Pay close attention to the time of the last return shuttle of the evening. Missing it means a grueling 9-mile walk back to the visitor center in the dark!
2. Do I need permits for any of the hikes?
- Angels Landing: Yes! You must secure a permit in advance via the recreation.gov seasonal or day-before lottery system to hike past Scout Lookout to the final chain section.
- The Narrows (Bottom-Up): No permit is required if you are just doing a day hike starting from the Temple of Sinawava. (Permits are required if you are hiking top-down through the entire slot canyon from Narrows Chamberlain’s Ranch).
3. When is the best time of year to visit Zion?
- Spring (April – May) & Fall (September – November): Widely considered the absolute best times to hike. Temperatures are mild, though spring can bring higher, colder water levels in The Narrows due to snowmelt.
- Summer: Extremely hot (frequently topping 100°F) and crowded. If you visit in the summer, you must start your hikes at dawn to beat both the heat and the midday shuttle lines.
4. Are dogs allowed on the trails?
Zion is notoriously strict about pets to protect the local wildlife and fragile ecosystems. Dogs are not allowed on any dirt hiking trails in the park. The only trail where leashed pets are permitted is the paved Pa’rus Trail.
Start Planning Your Zion Adventure
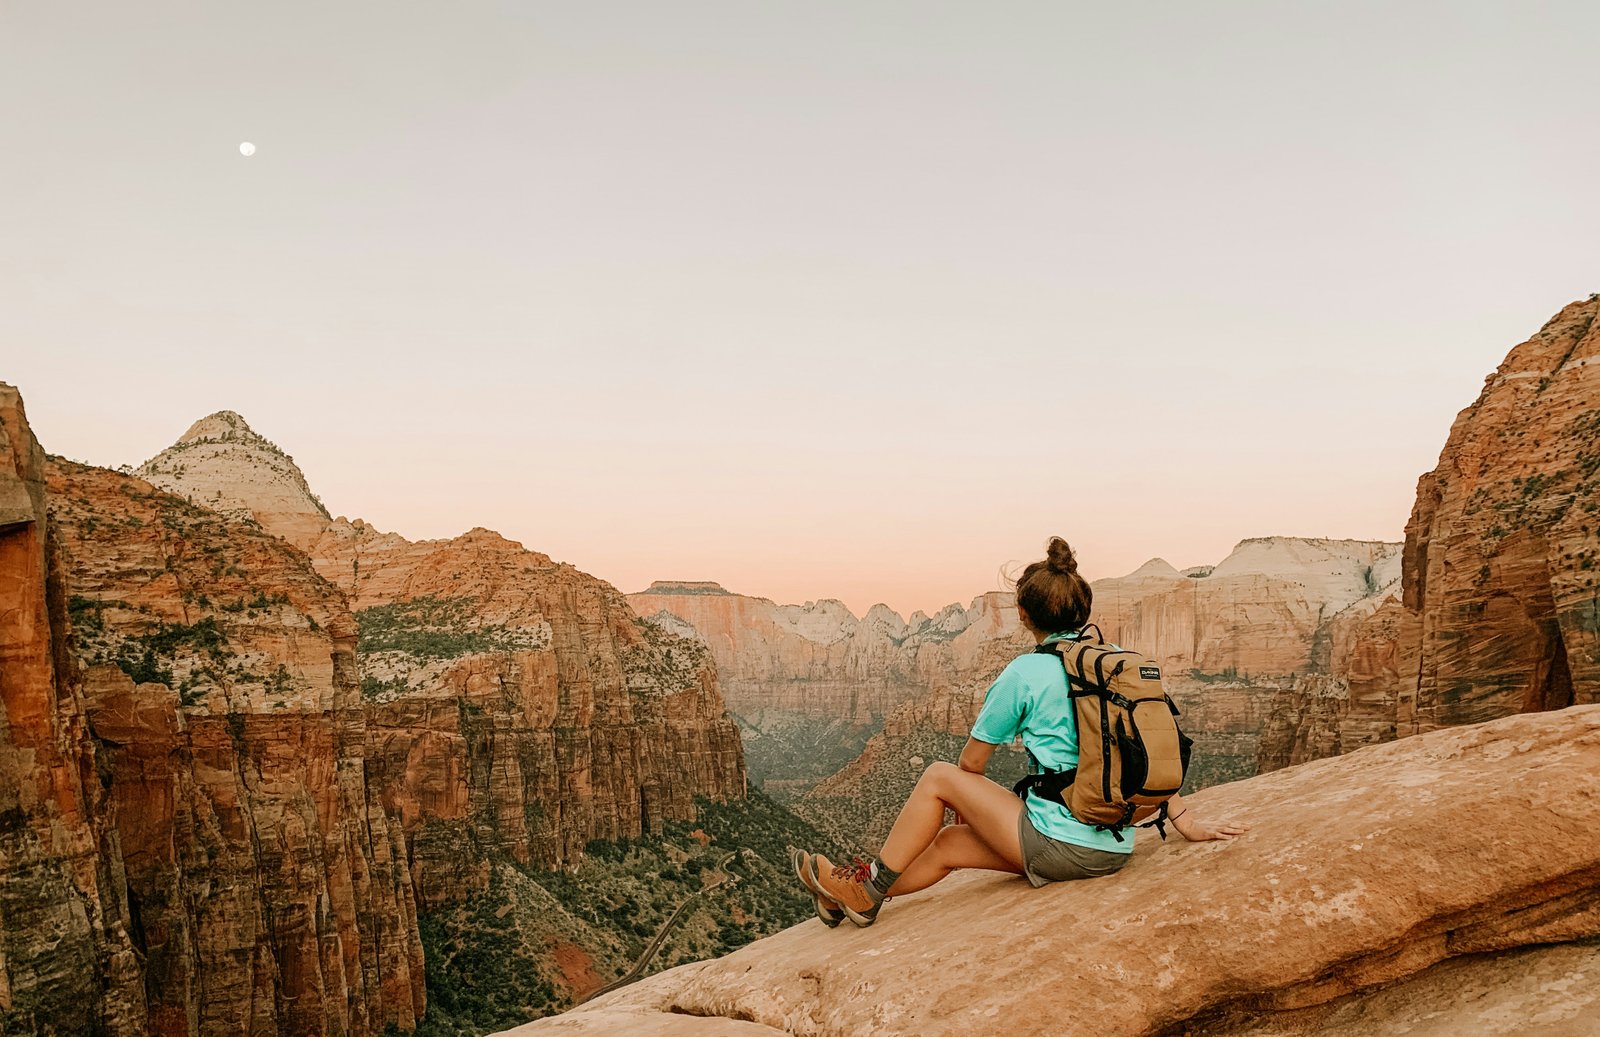
Whether you are looking for the heart-pounding heights of Angels Landing, a peaceful stroll along the Pa’rus Trail, or an unforgettable trek wading through the towering slot canyons of The Narrows, Zion National Park offers a landscape unlike anywhere else on Earth. By mixing easy riverside walks with breathtaking overlooks, you can easily tailor an itinerary that matches your hiking style and comfort level.
We want to hear from you! Which of these 8 incredible trails is at the top of your Zion bucket list? Did you manage to score an Angels Landing permit, or do you have a favorite hidden tip to share? Drop a comment below and let us know!
Helpful Official Links & Resources
To ensure your trip goes off without a hitch, keep these essential planning resources bookmarked:
- National Park Service – Official Zion National Park Website: Check current alerts, road closures, and weather updates directly from the park rangers.
- Recreation.gov – Angels Landing Permits: The official portal to enter the seasonal or day-before lottery system for the chained summit route.
- Zion National Park Shuttle Information: Review the latest seasonal schedule, route maps, and operating hours for the free canyon and Springdale shuttle lines.National Park Service
- NPS Current Conditions & Weather: Monitor flash flood risks, river flow rates for The Narrows, and air quality before heading out on the trails.