Take a tour through our remodeled 30 ft travel trailer. Featuring before & after pictures of each room, things we modified and upgraded, how we organized, and much more.
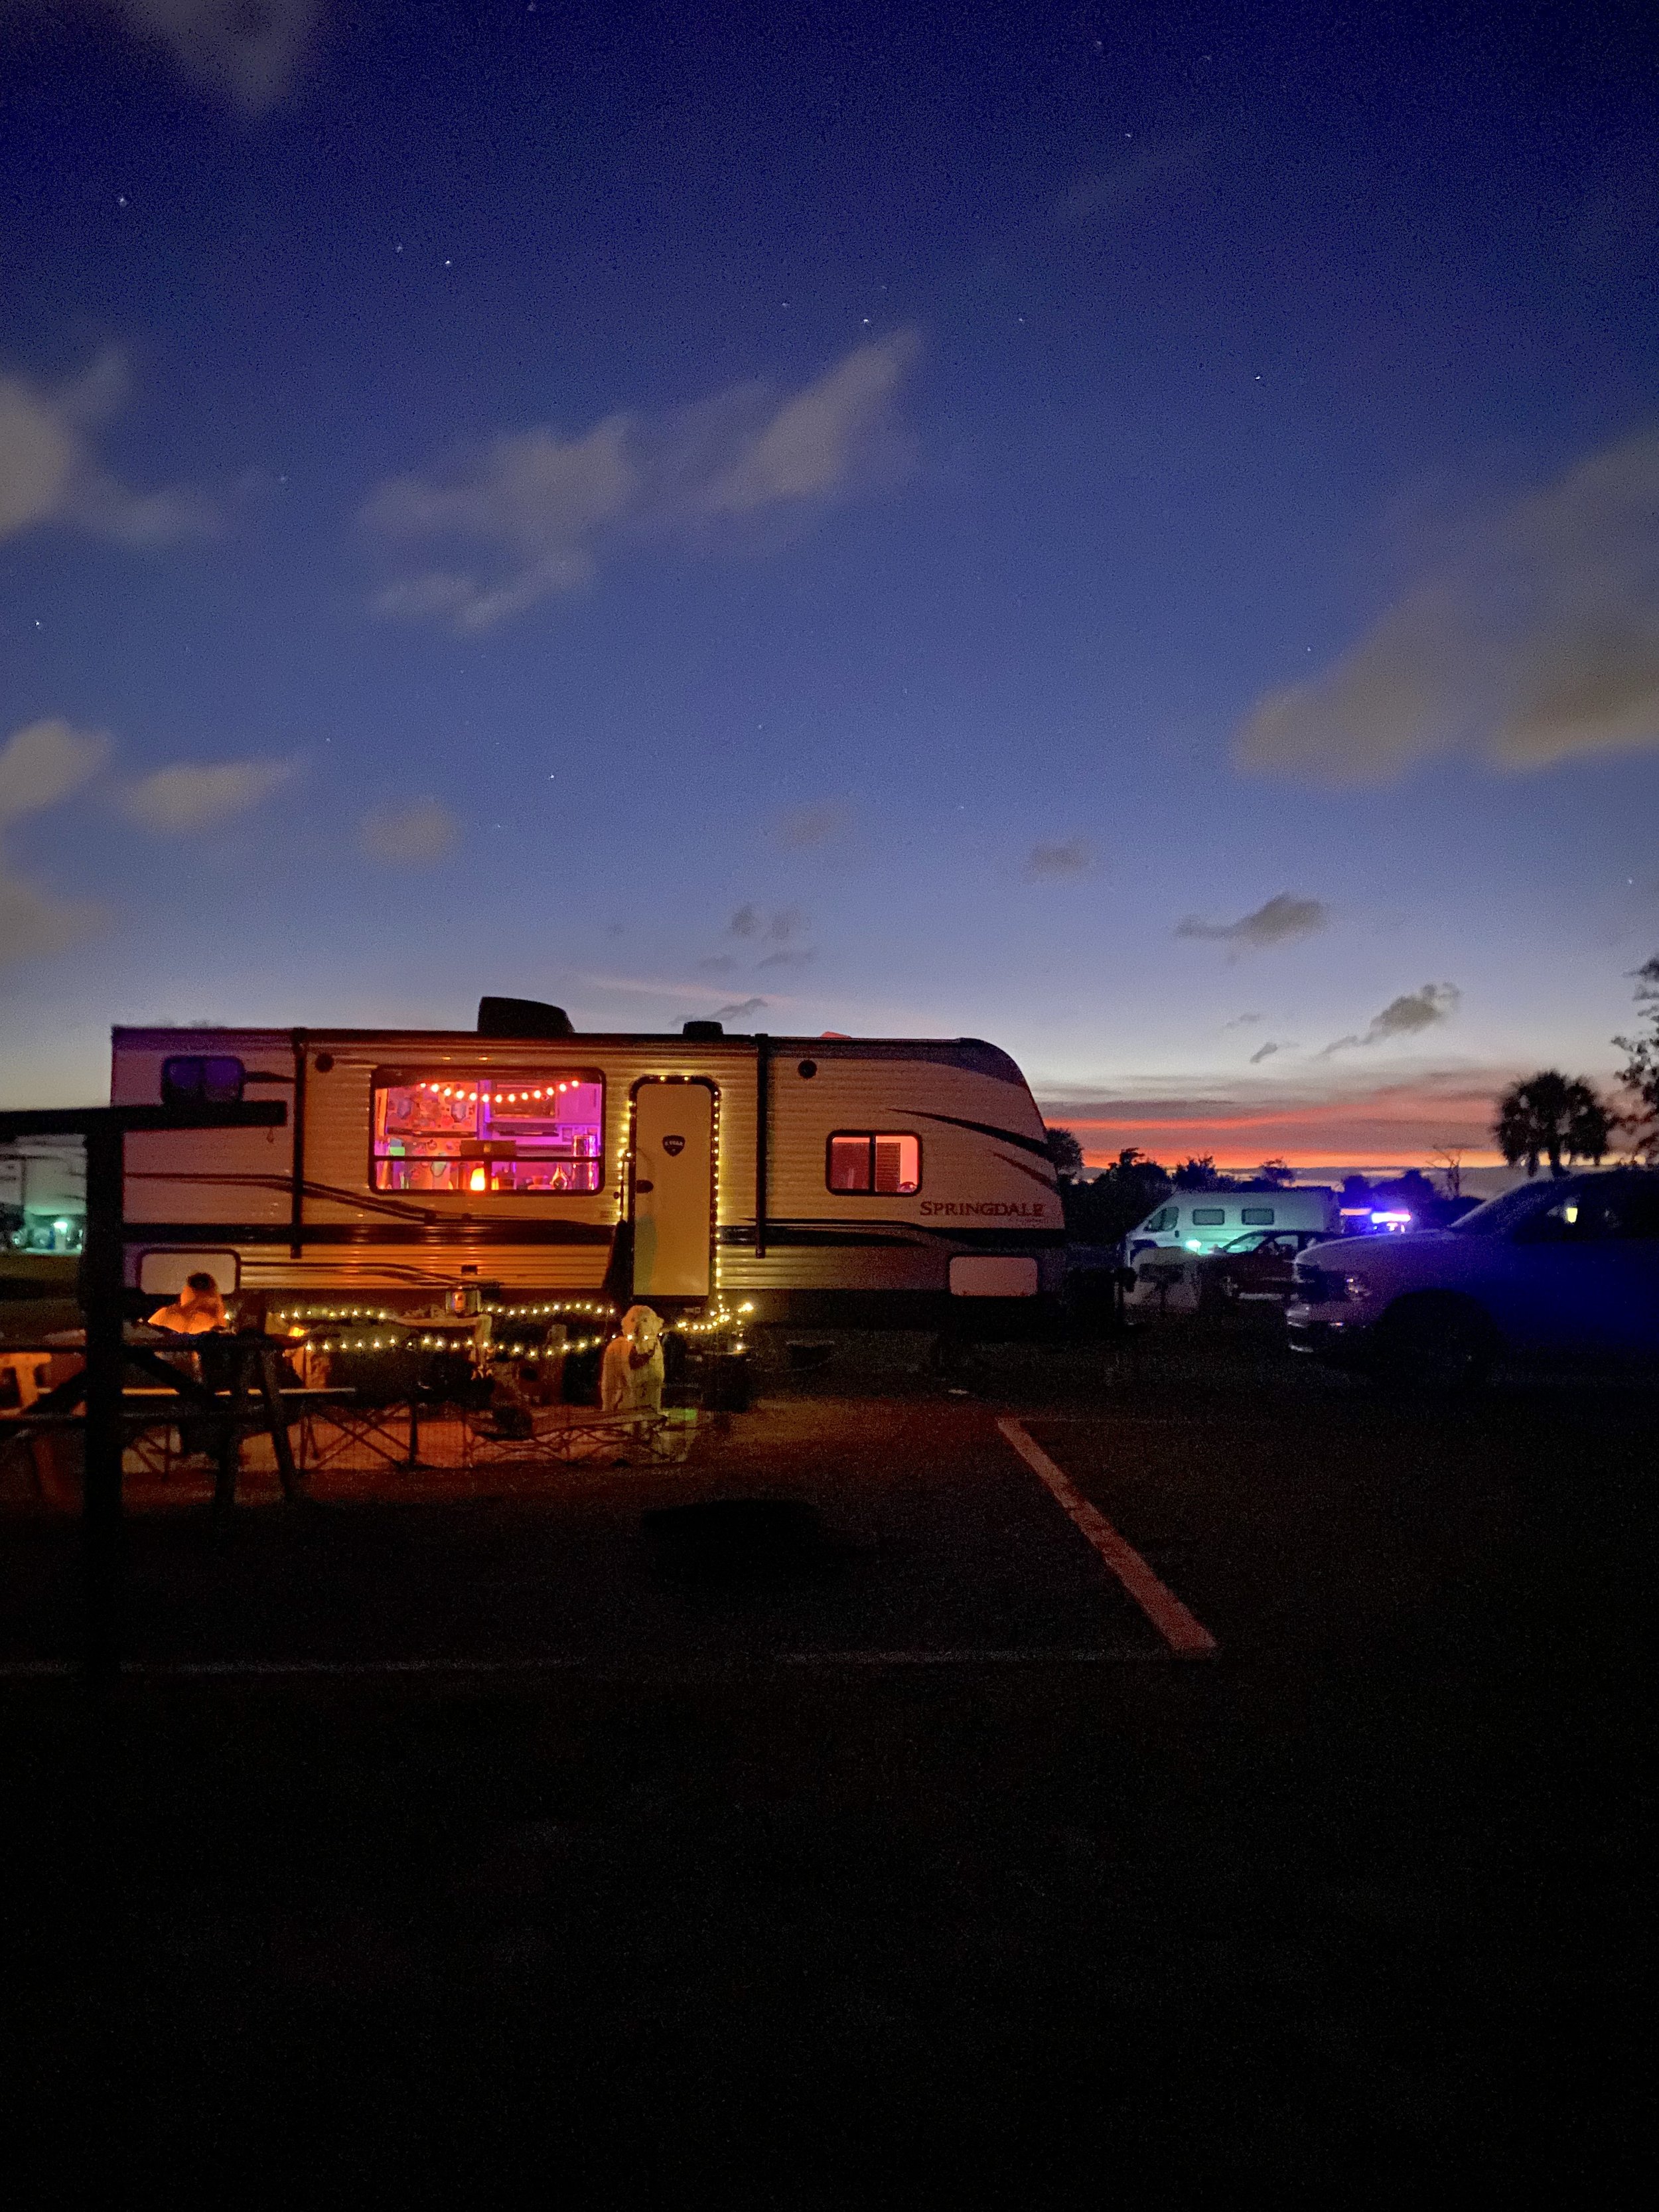
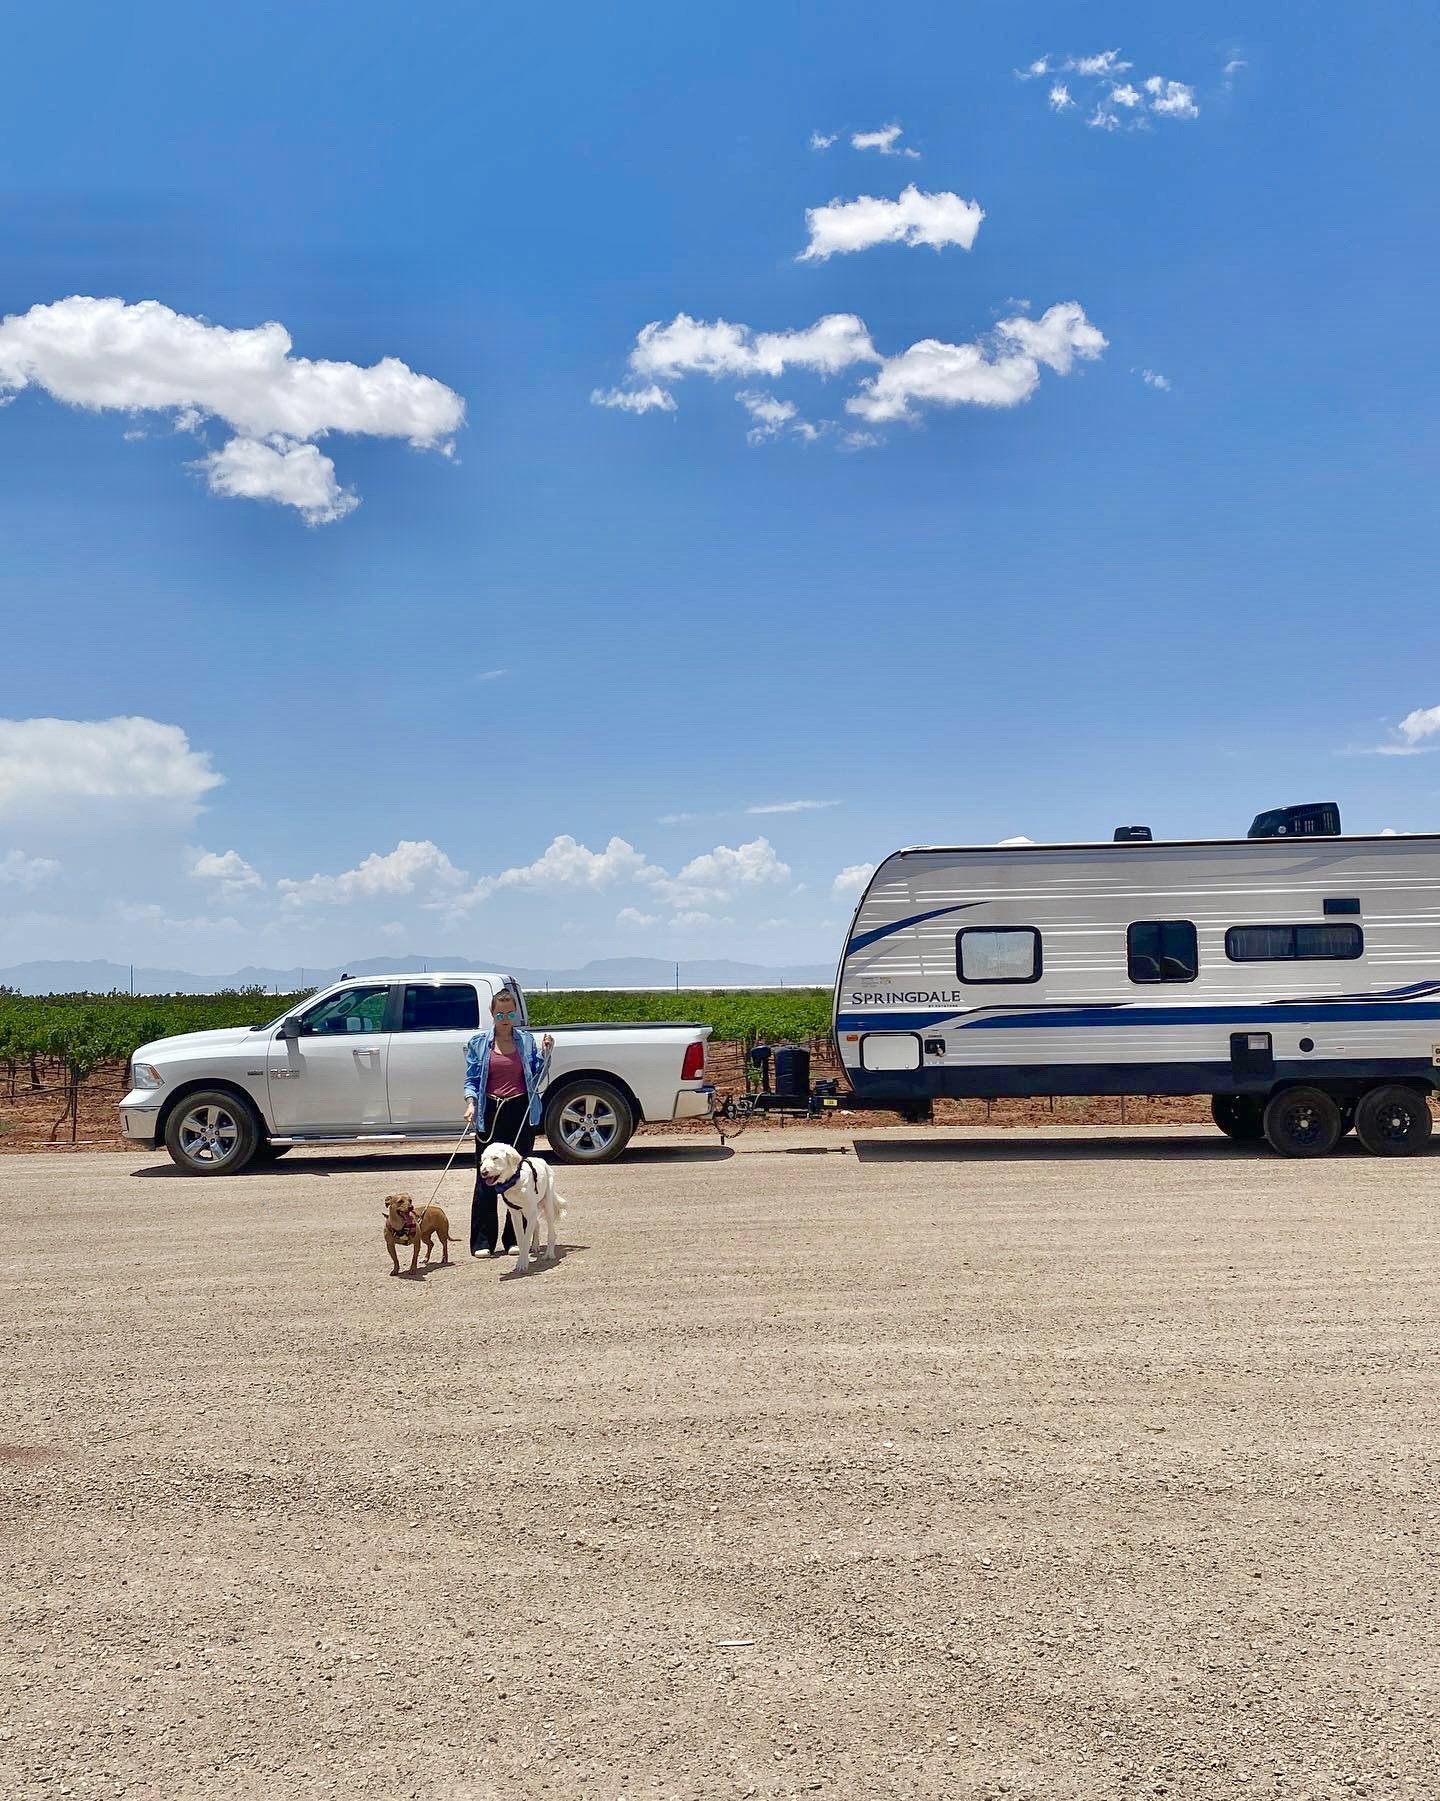
Welcome to our 2021 Keystone Springdale 260 BH!
Mike & I knew as soon as we bought this RV that we would be making some changes to create a layout that worked for us. Since we didn’t have slides and we were moving into it full time we wanted to maximize the space for ourselves and our dogs. We started making changes shortly after we bought the RV with some of the biggest changes, such as, painting and redoing our couch, about 2 years in. We’ve worked on the RV all over the place, our storage unit, campsites around the country, and while staying on family property.
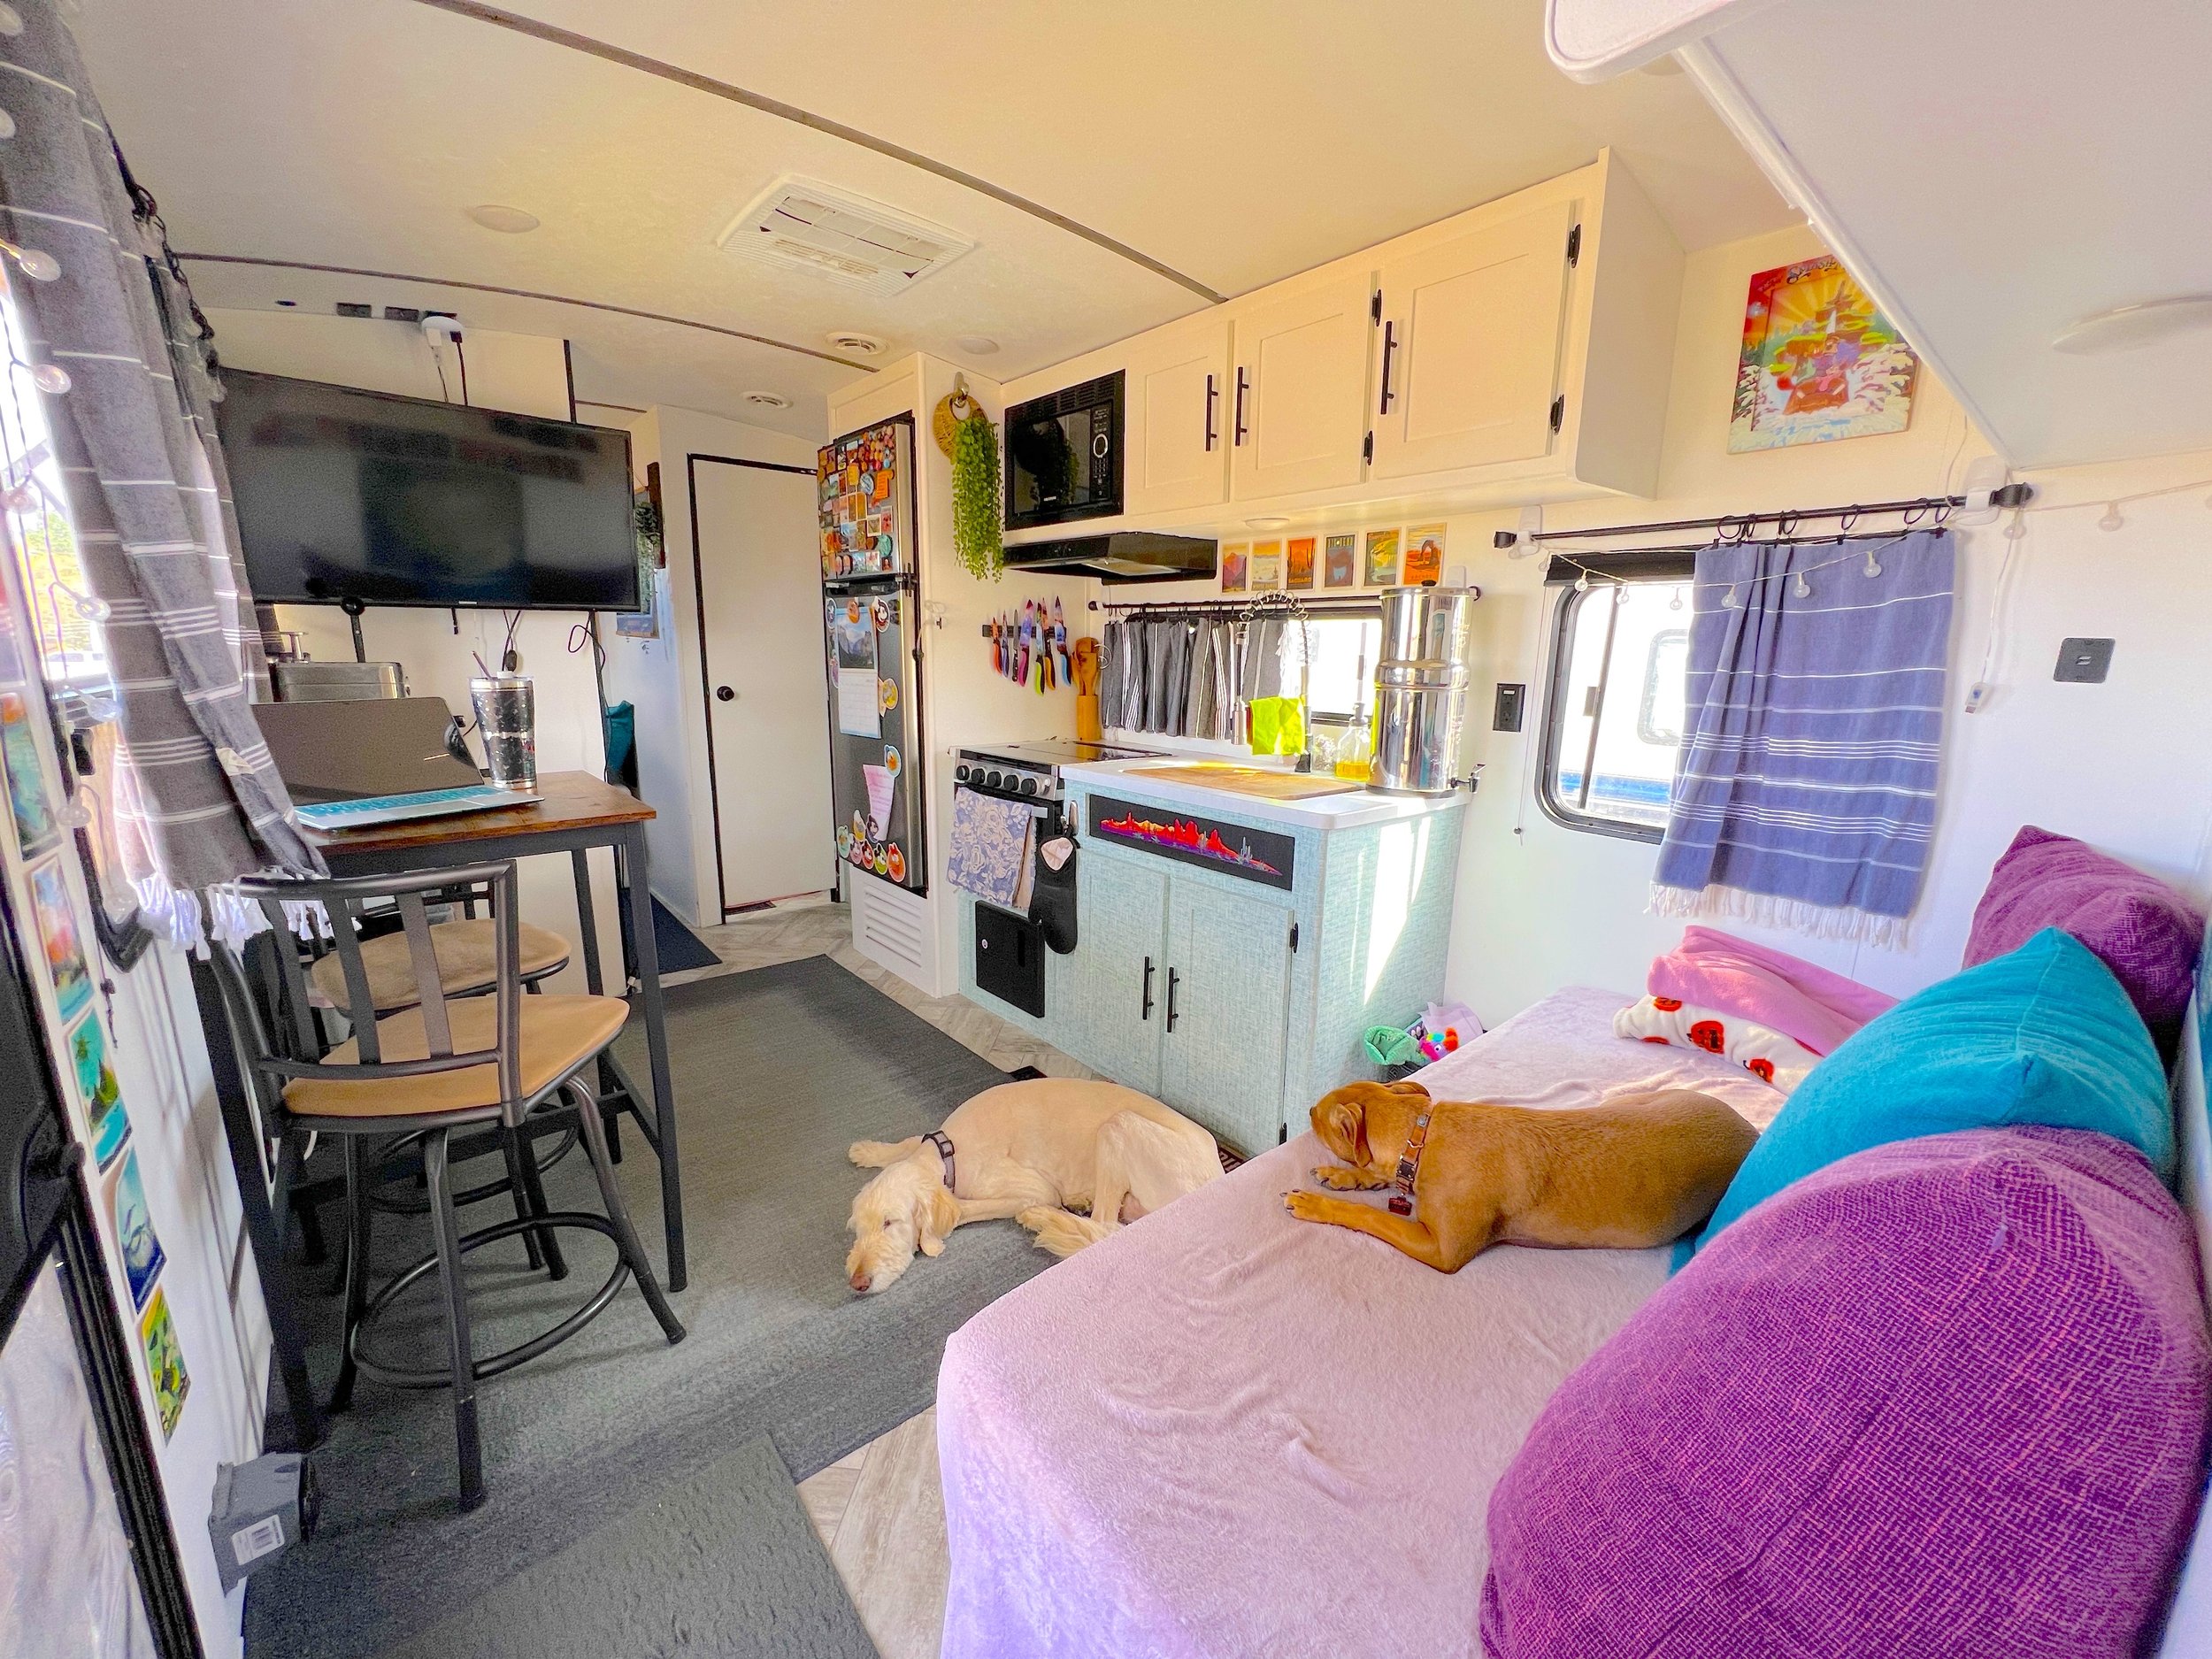
In this post we are sharing before & after pictures of each room, things we modified and upgraded, how we organized, and what we thought the pros & cons were with the RV. Hope you enjoy!
This post contains affiliate links, so we may earn a small commission when you make a purchase through links on our site at no additional cost to you.
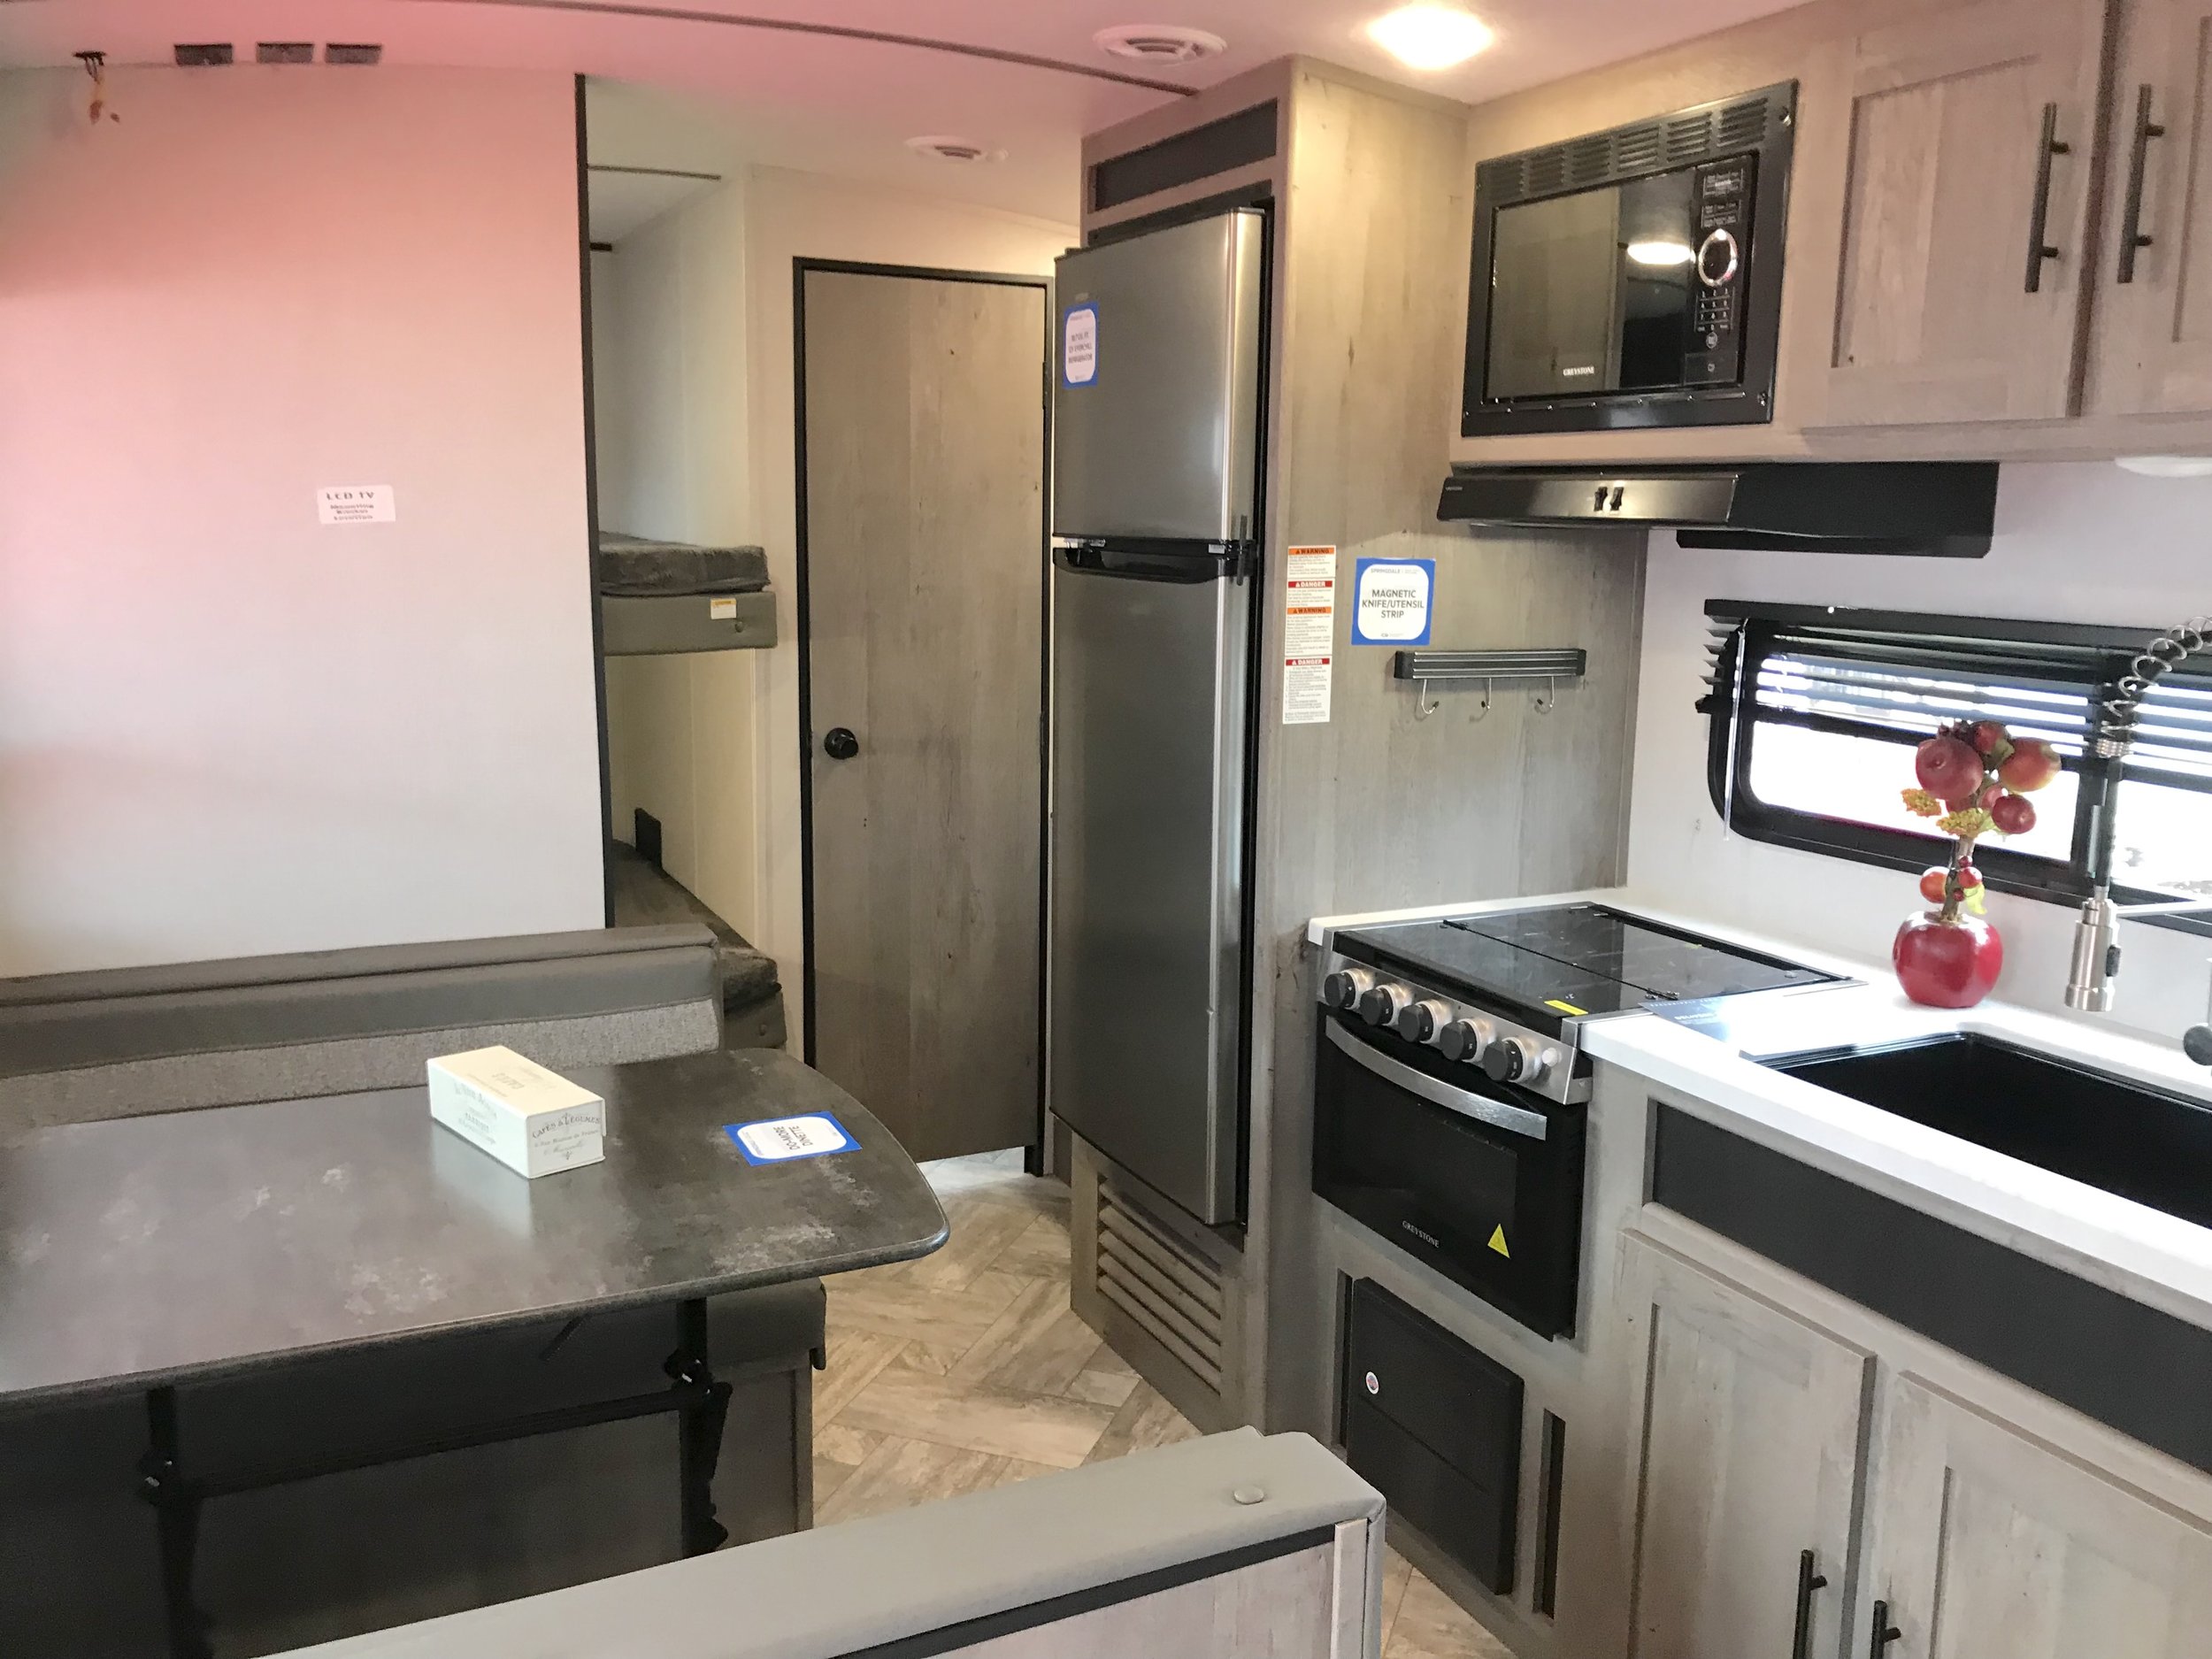


THE BEDROOM
Upgrades/ Modifications
The biggest change we made to the bedroom was painting the walls Whisper White ( from Home Depot ). We did try out a Shiplap Peel N Stick Wallpaper for awhile but found that our walls flexed too much when we drove creating bubbles in the wallpaper.
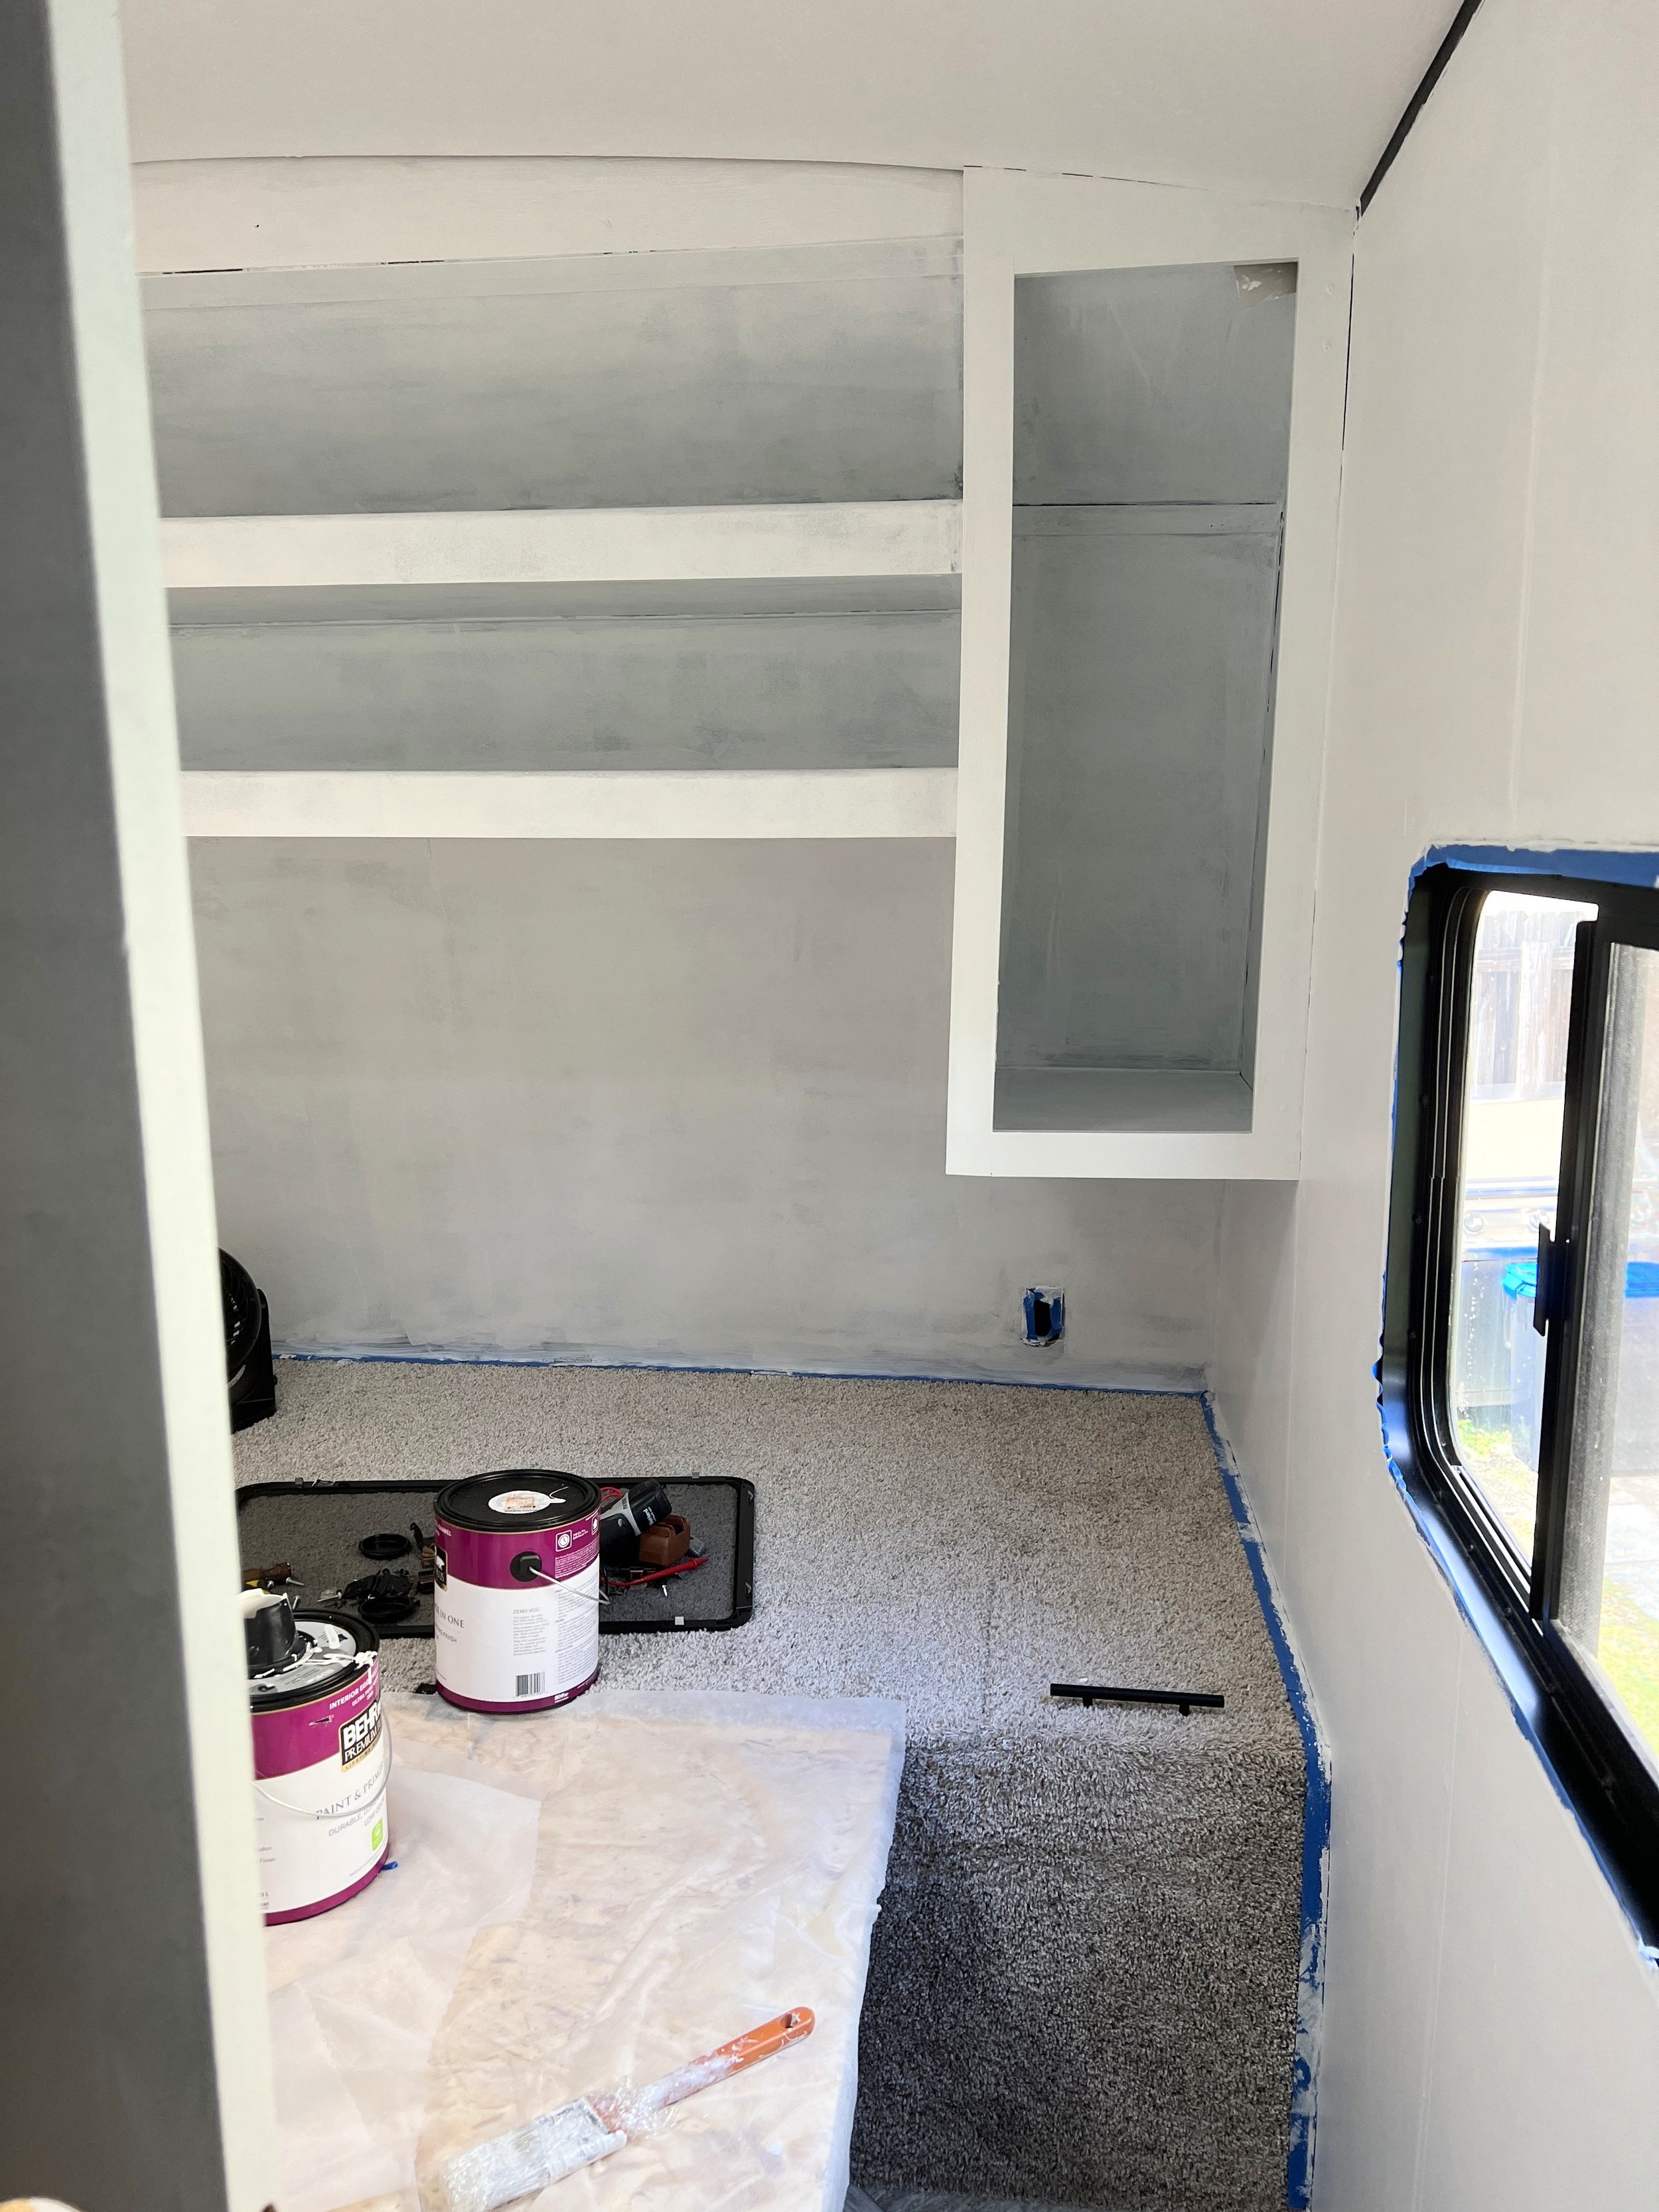
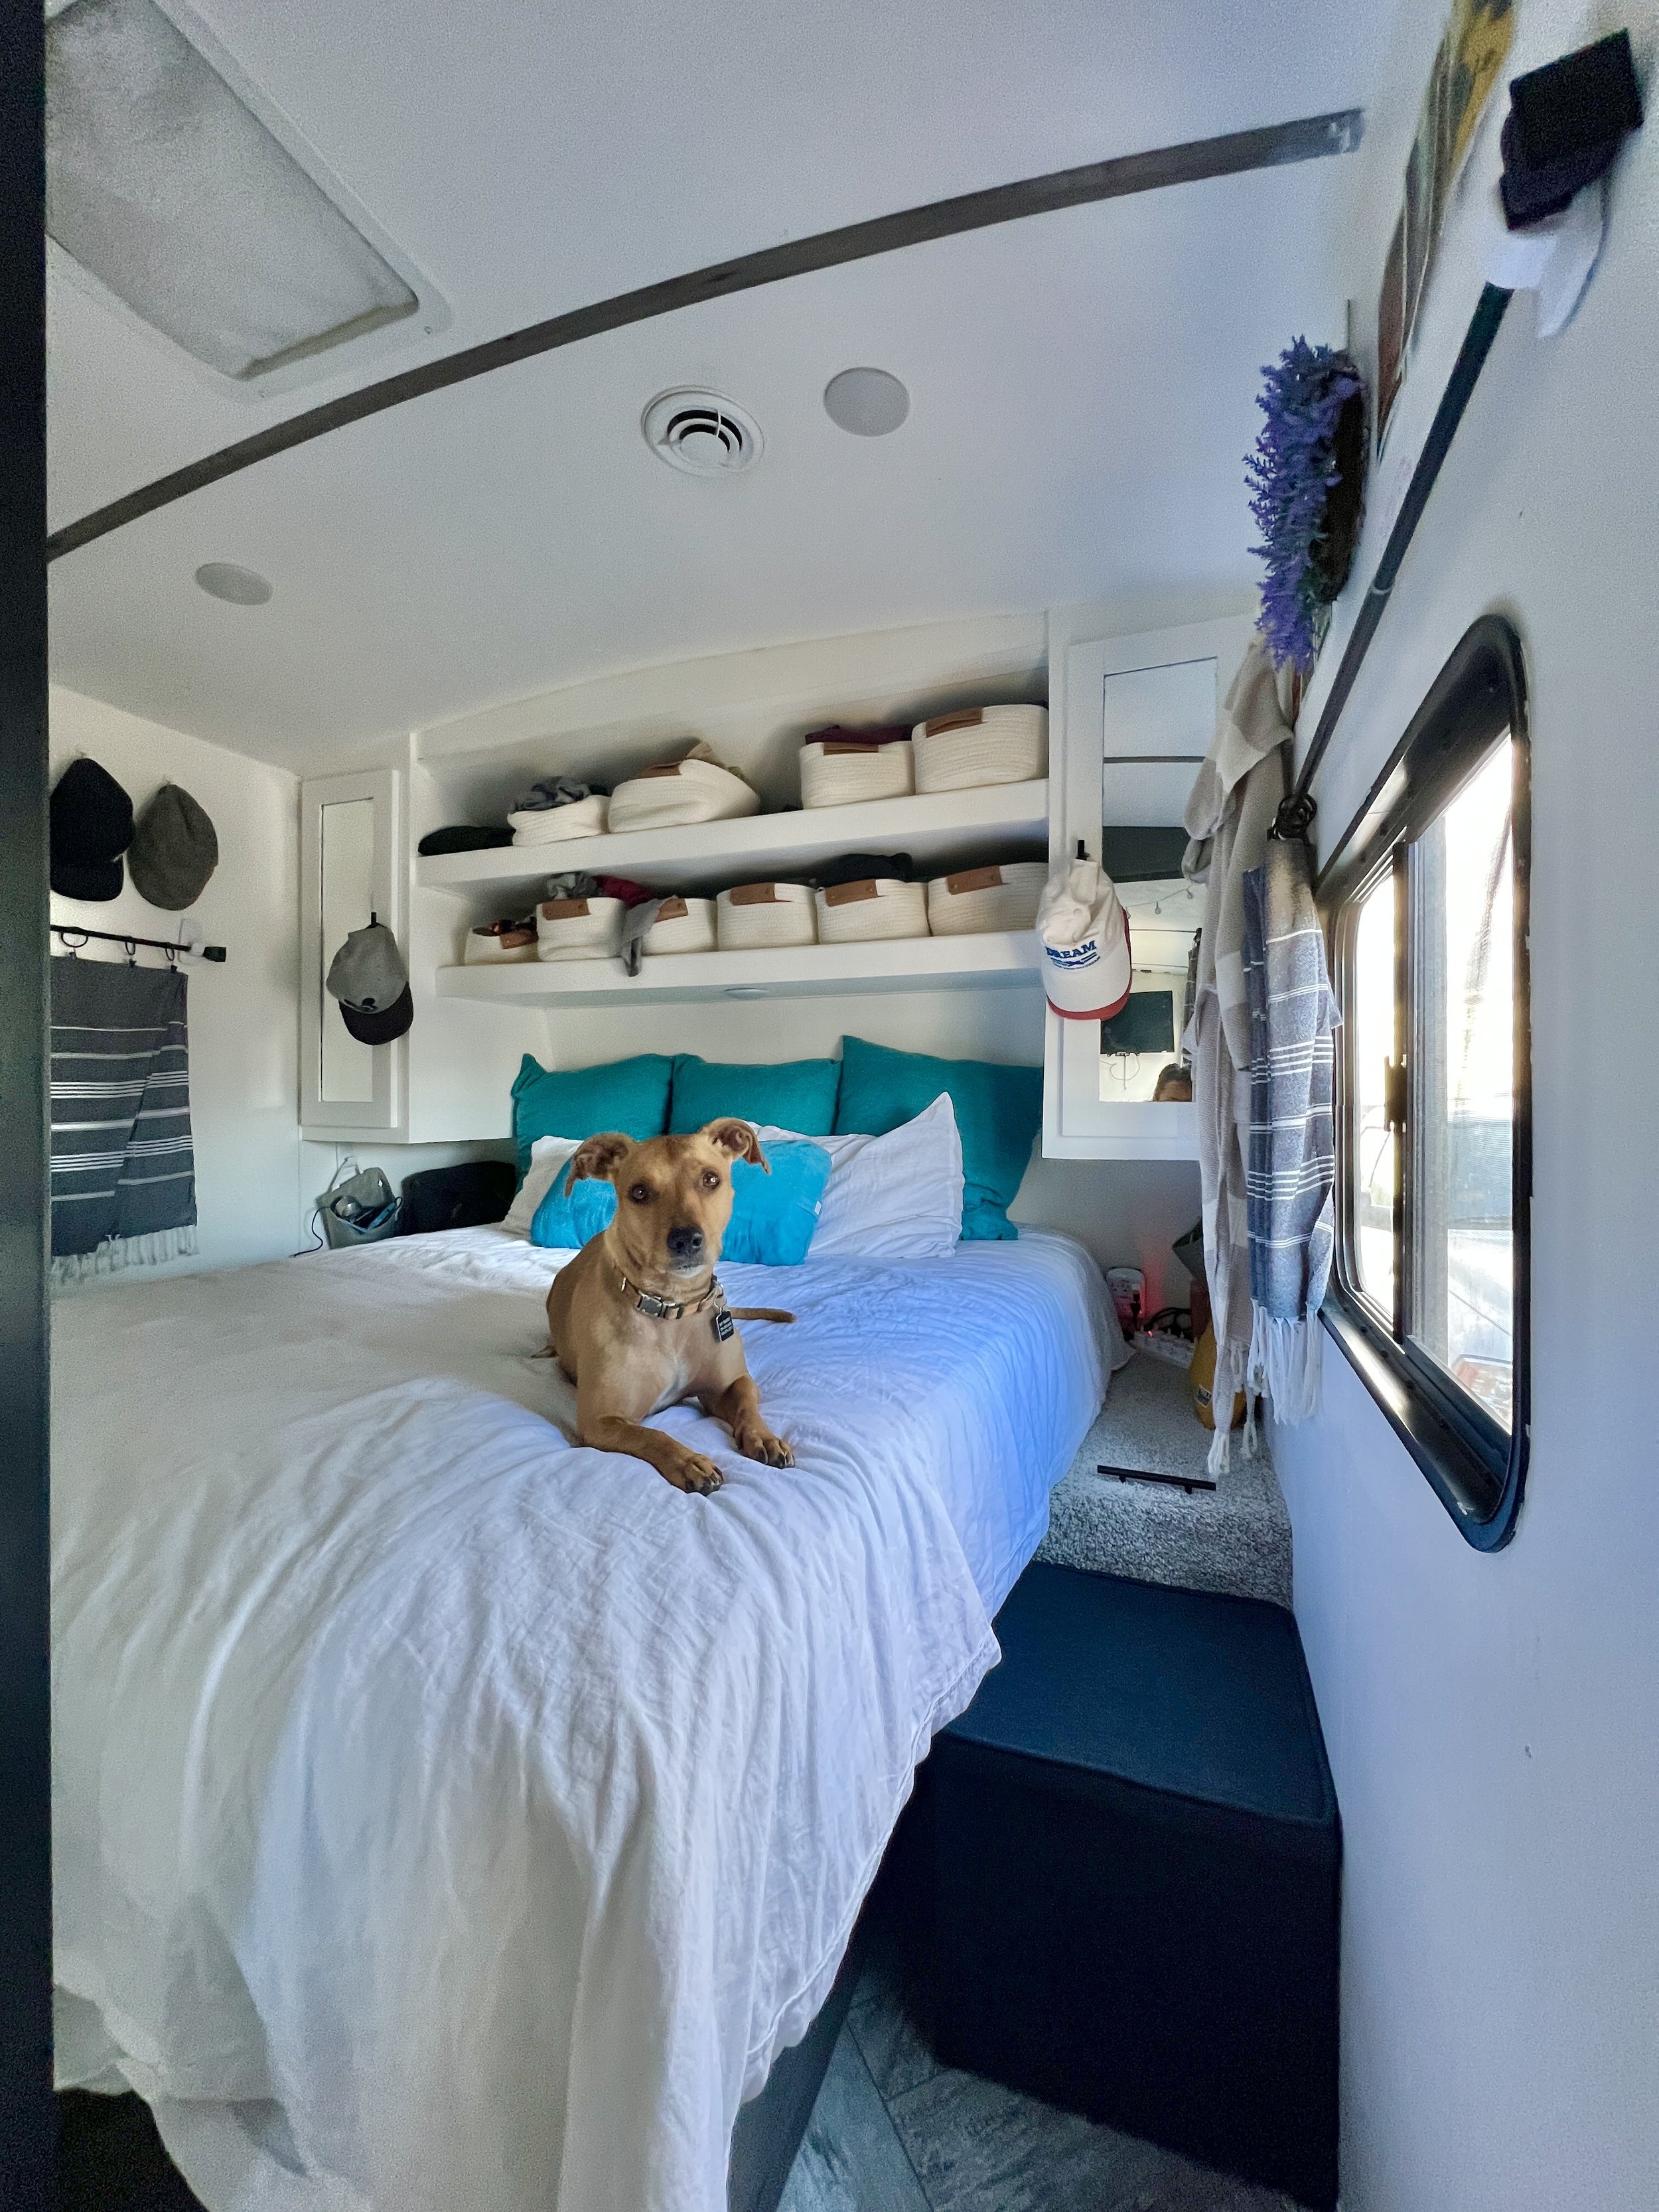
We removed the sliding bedroom door, added our own DIY Curtains to the windows, and set up a Projector on the shelf above the bed & used the wall space as the screen. So awesome. If you have the wall space, definitely give it a try.
We also added a Memory Foam Mattress Topper then eventually upgraded to the Avocado Green Mattress ( which we love ).
We also added some National Park Postcards and artificial plants for decor. For more ways on how we decorate RV, check out our post, RV Decorating Ideas: Top Ways to Make Your RV Feel Like a Home
How We Organized
- White Woven Basket for our clothes.
- Stackable Locker Storage for the closet.
- Command Hooks for hanging.
- Ottoman for shoe storage and doggie step.

The Pros
- The white paint brighten up the room a lot.
- Under the bed had a decent amount of storage.
- The two windows and skylight brought in a lot of natural light.

The Cons
- Minimal space to move around the bed which made changing in the room a little difficult.
- Small doorway and wall made the room feel confined.
- Windows weren’t tinted which could bring in a lot of heat.

THE KITCHEN
Upgrades/ Modifications
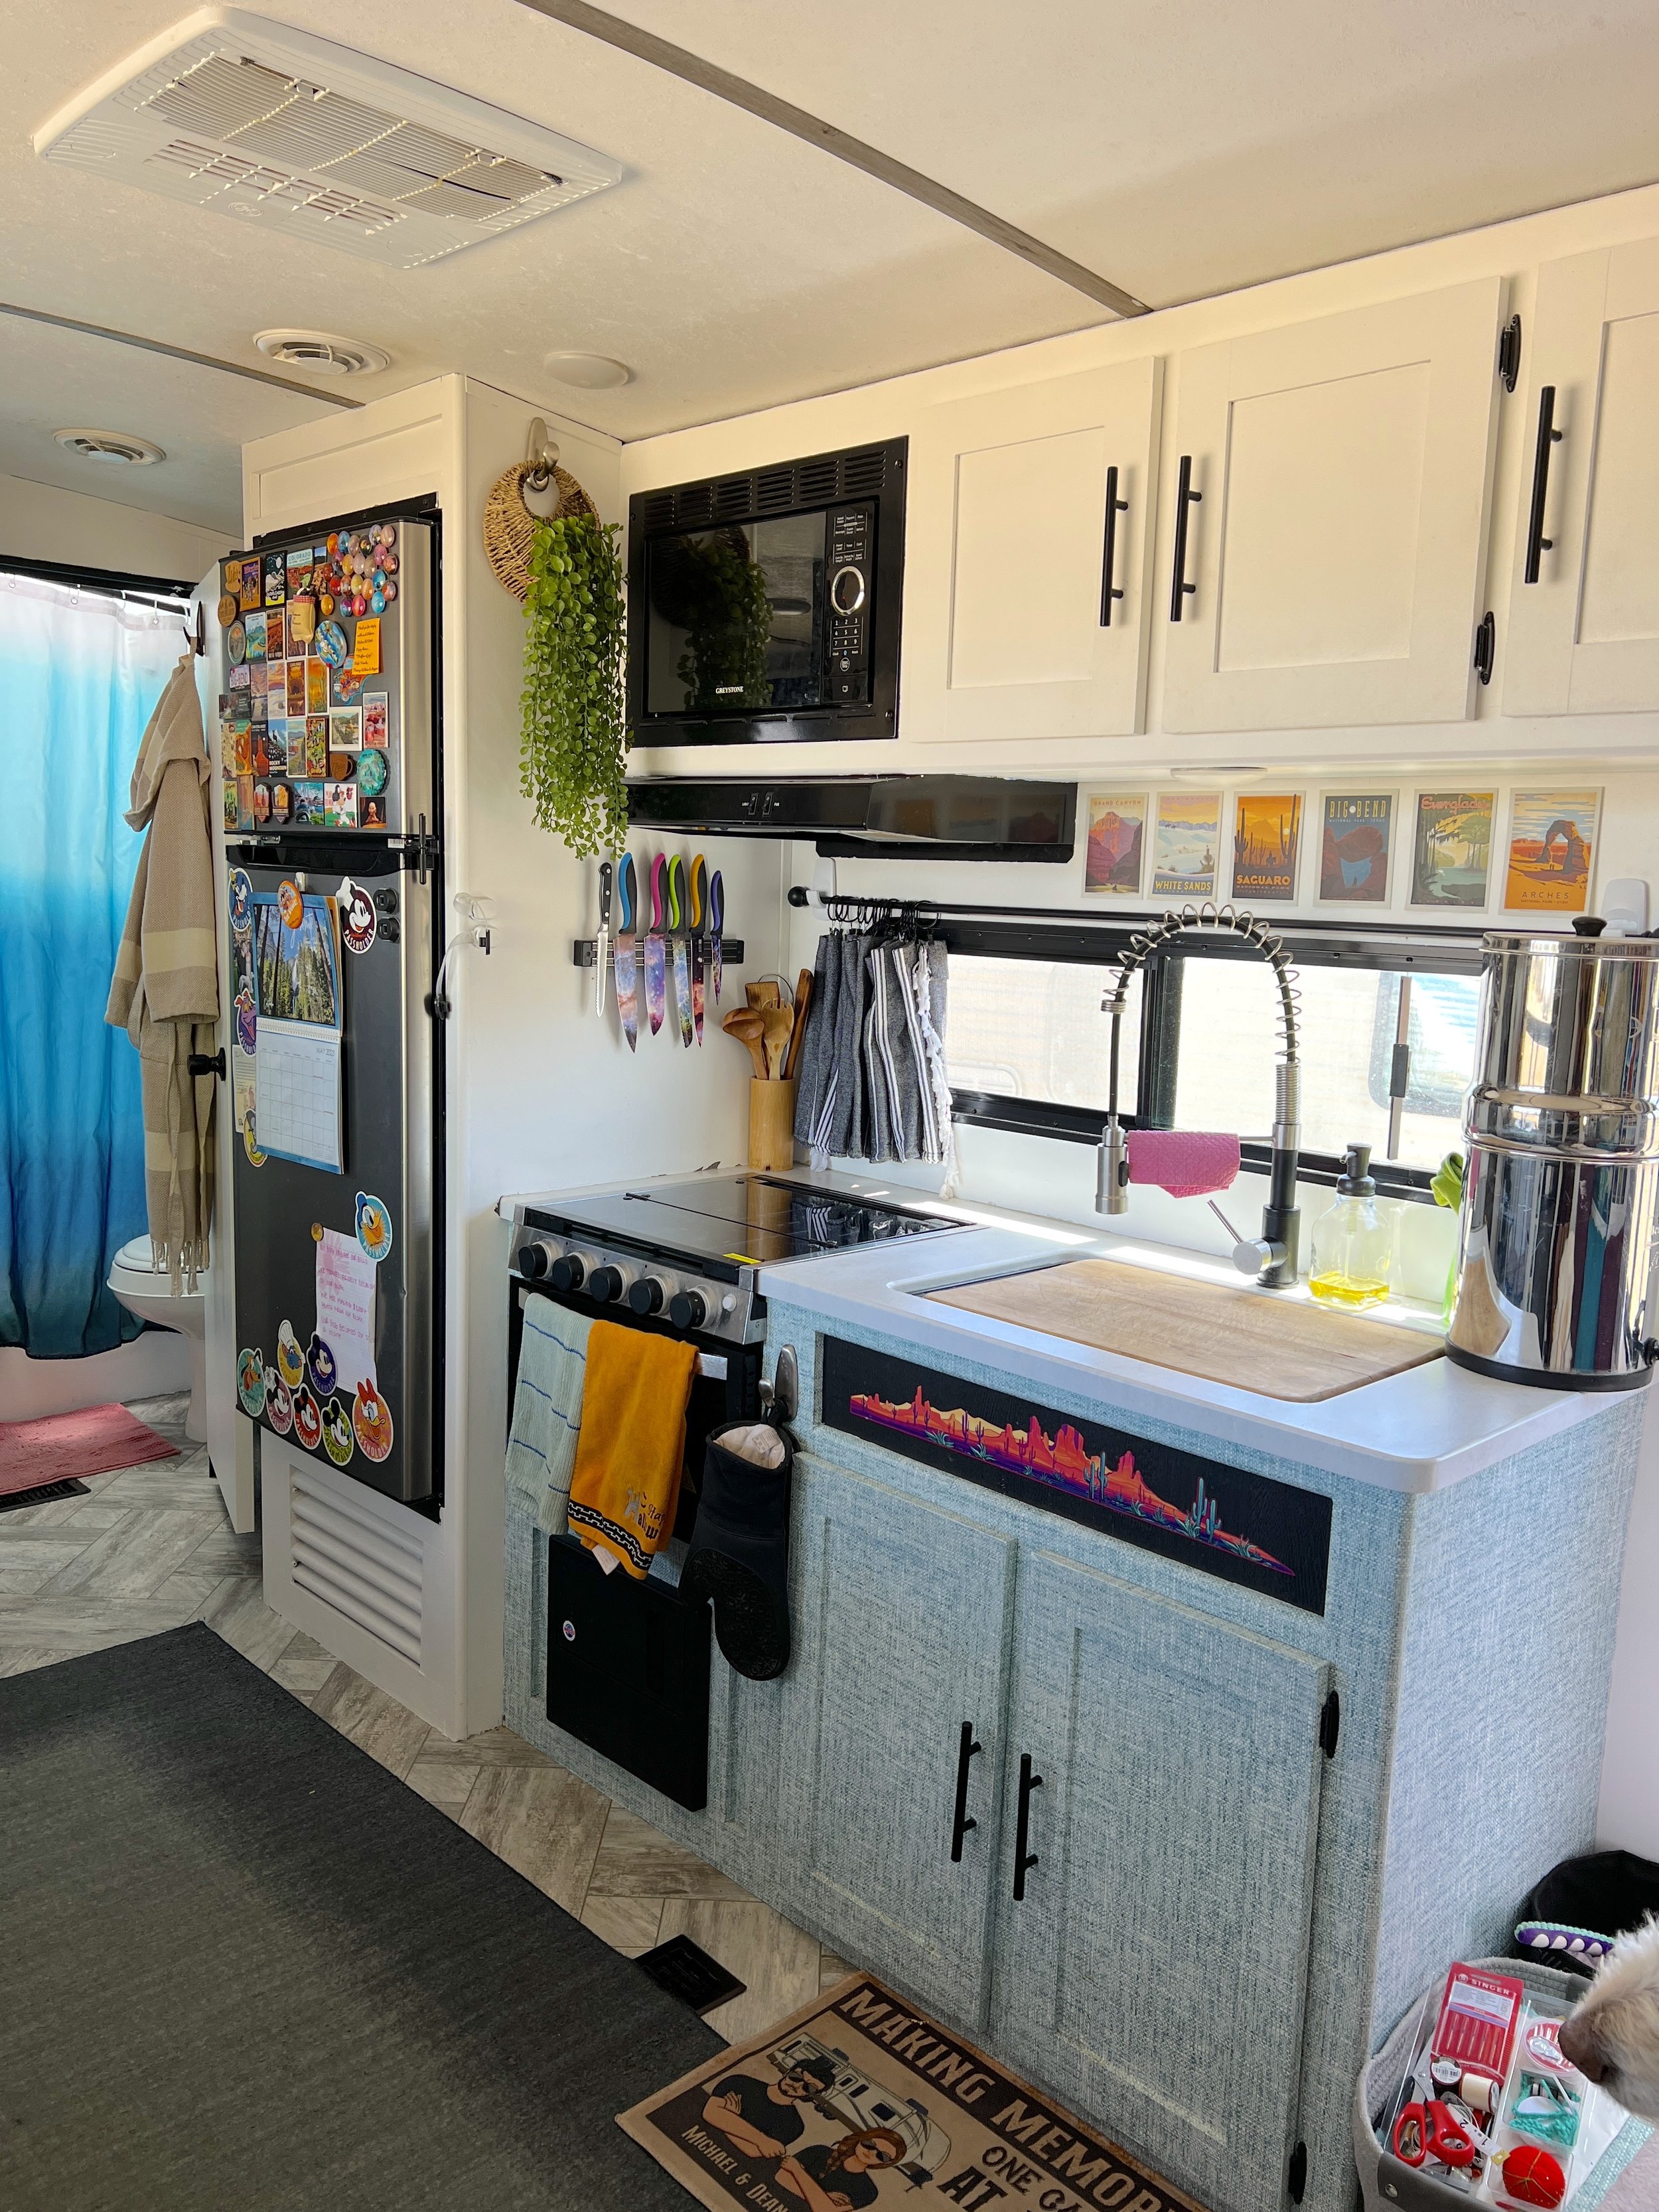
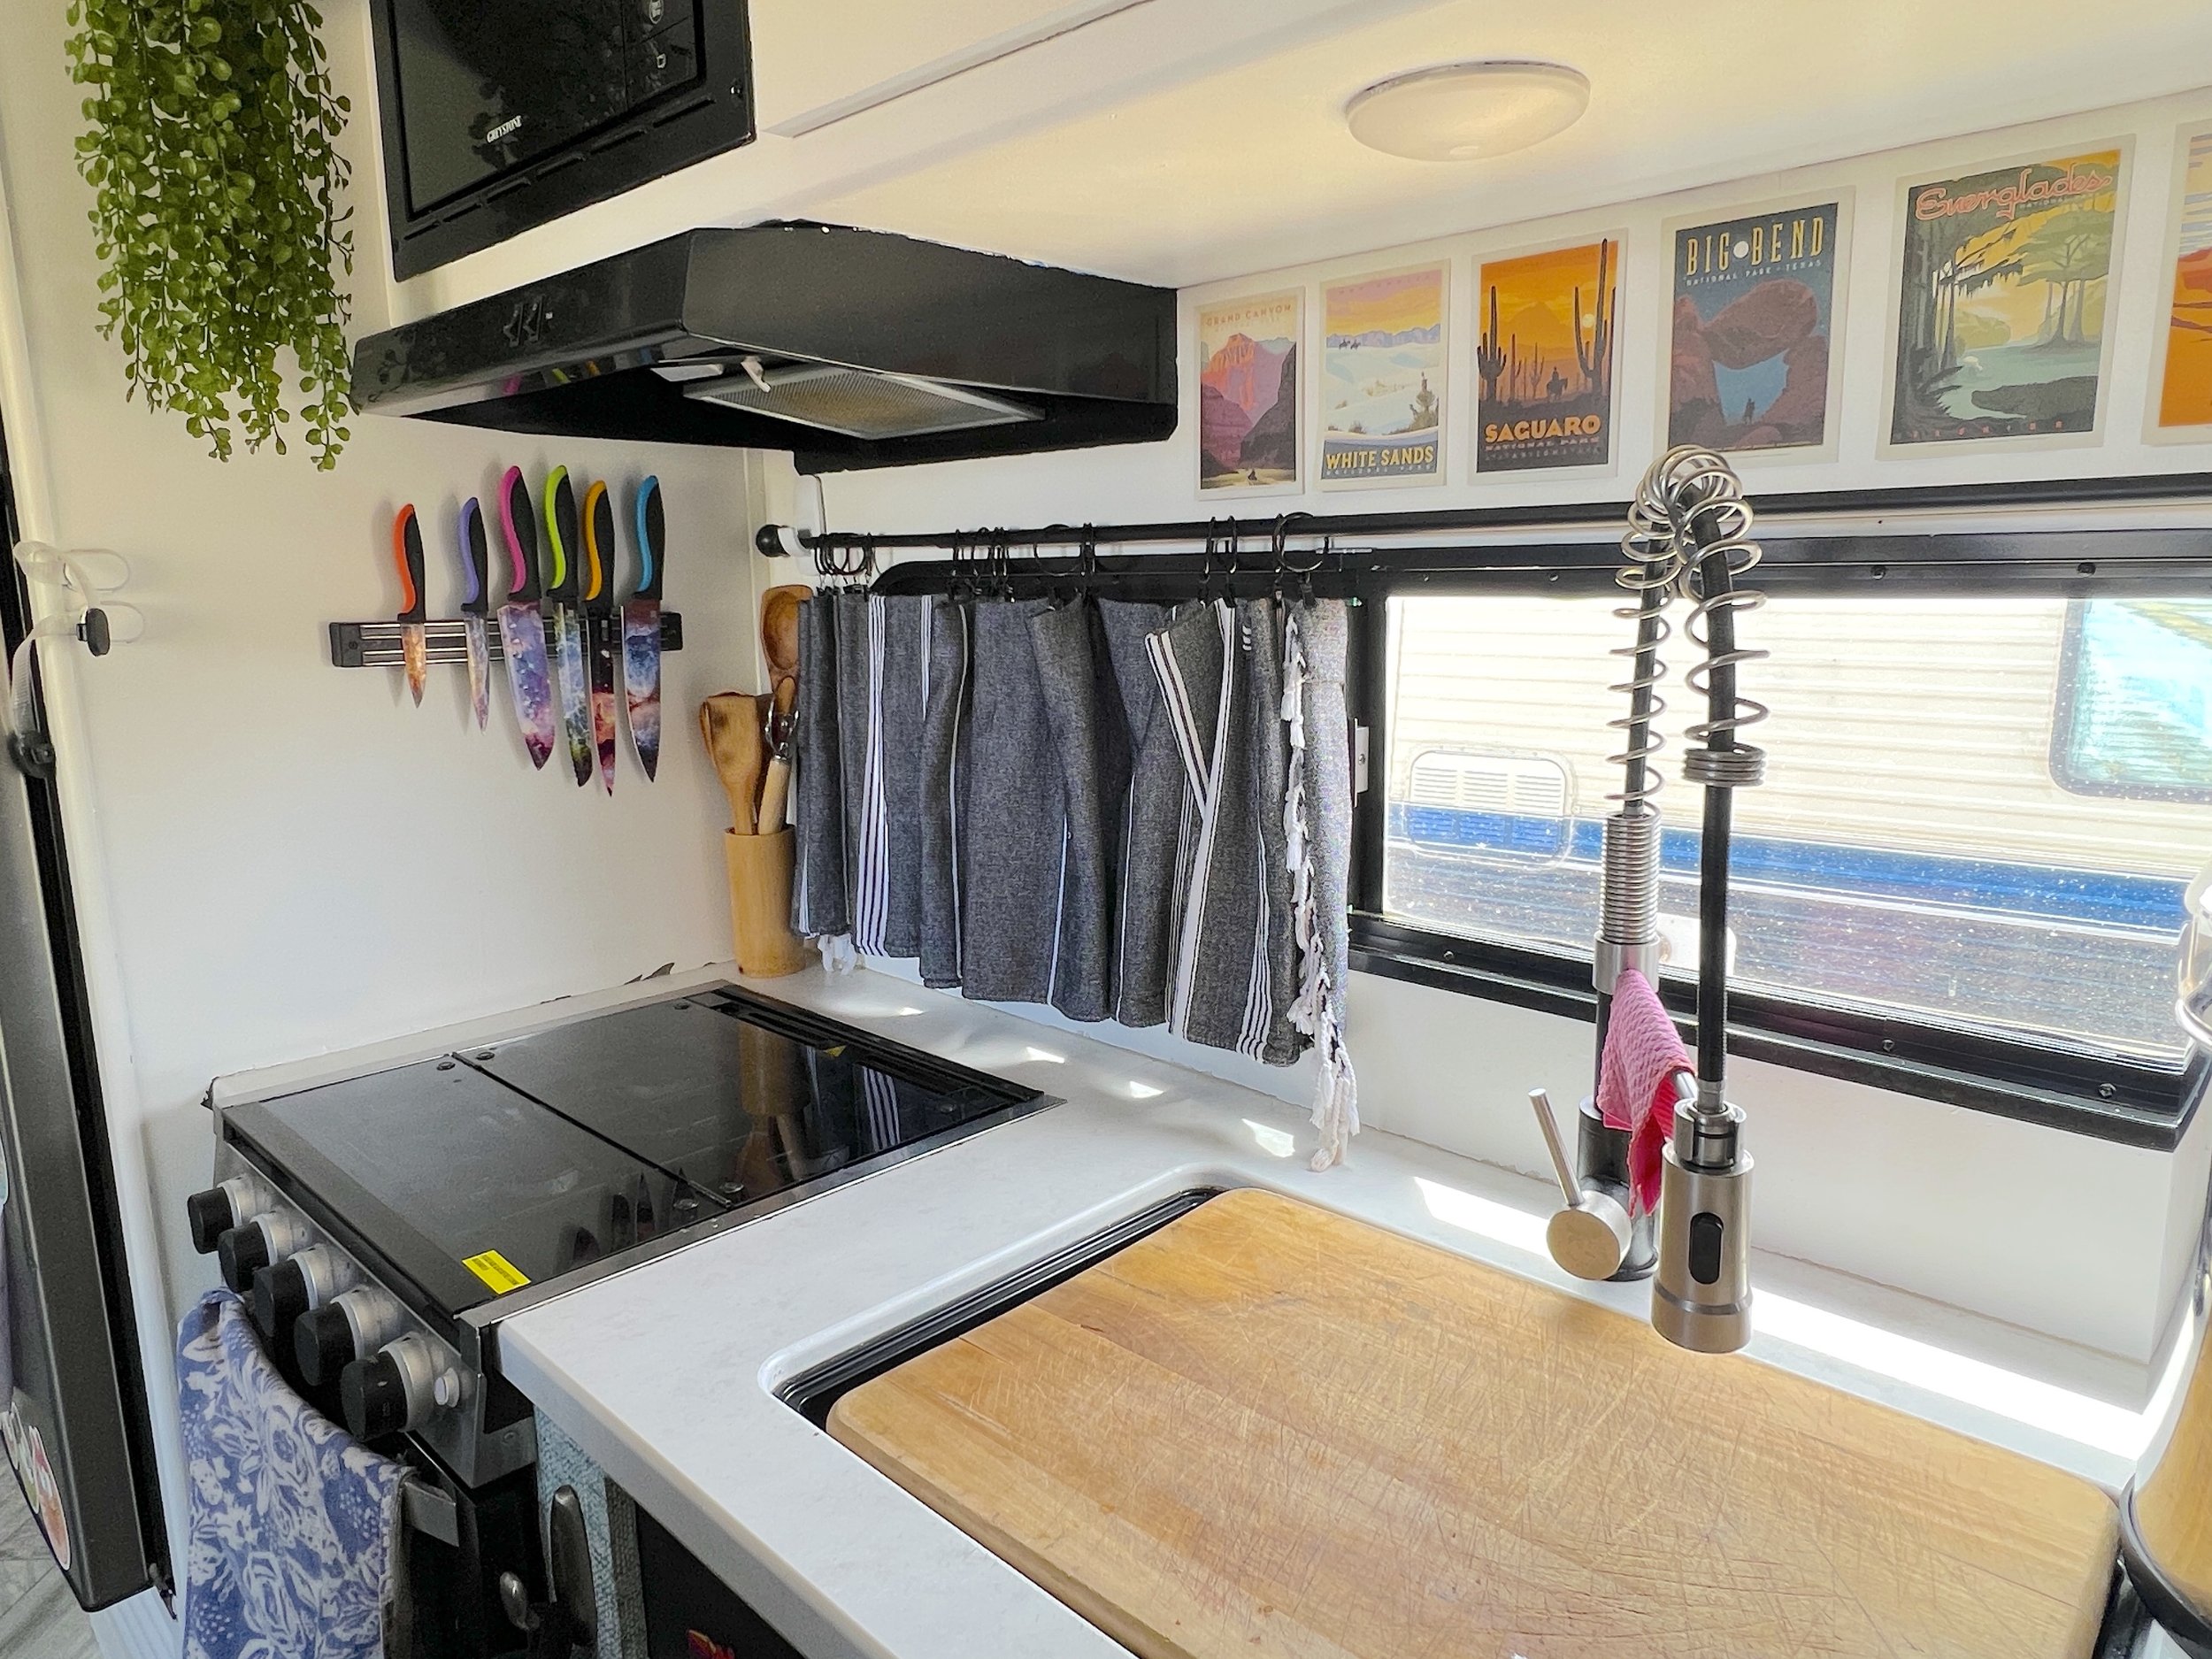
In the kitchen, we continued with the walls painted Whisper White from Home Depot and added NuWallpaper Aqua Poplin Texture Peel & Stick Wallpaper to the lower cabinets. We also added an Extra Large Cutting Board/ Sink Cover to create more counter space, DIY Curtains to the windows and an additional lock to the fridge.
How We Organized
- Metal Stacking Storage Shelves for the upper cabinets.
- Plastic Storage Bins for cups, plates, other kitchen items.
- Magnetic Knife Holder ( came stock with the RV ).
Check out our post, RV Kitchen Hacks: 12 Simple & Effective Items for more information on our favorite RV kitchen supplies.
The Pros
- Sink faucet was large and modern.
- Fridge is a great size and ran off 12 Volt.
- Large size sink
- Microwave, stove, & oven all worked great.
The Cons
- Minimal counter space. We had to constantly the change space for cleaning or cooking.
- Fridge lock that came standard did a terrible job. Fridge would open while driving and contents would fall out on occasion.
- Sink was plastic.
- Plastic blinds were lower quality and didn’t operate well.


THE DINETTE
Upgrades/ Modifications
The first modification Mike & I did to this RV was remove the stock dinette. Our 60 pound Golden Doodle had a hard time getting around with just a slim aisle so after our first camping trip we knew we needed to make some changes.
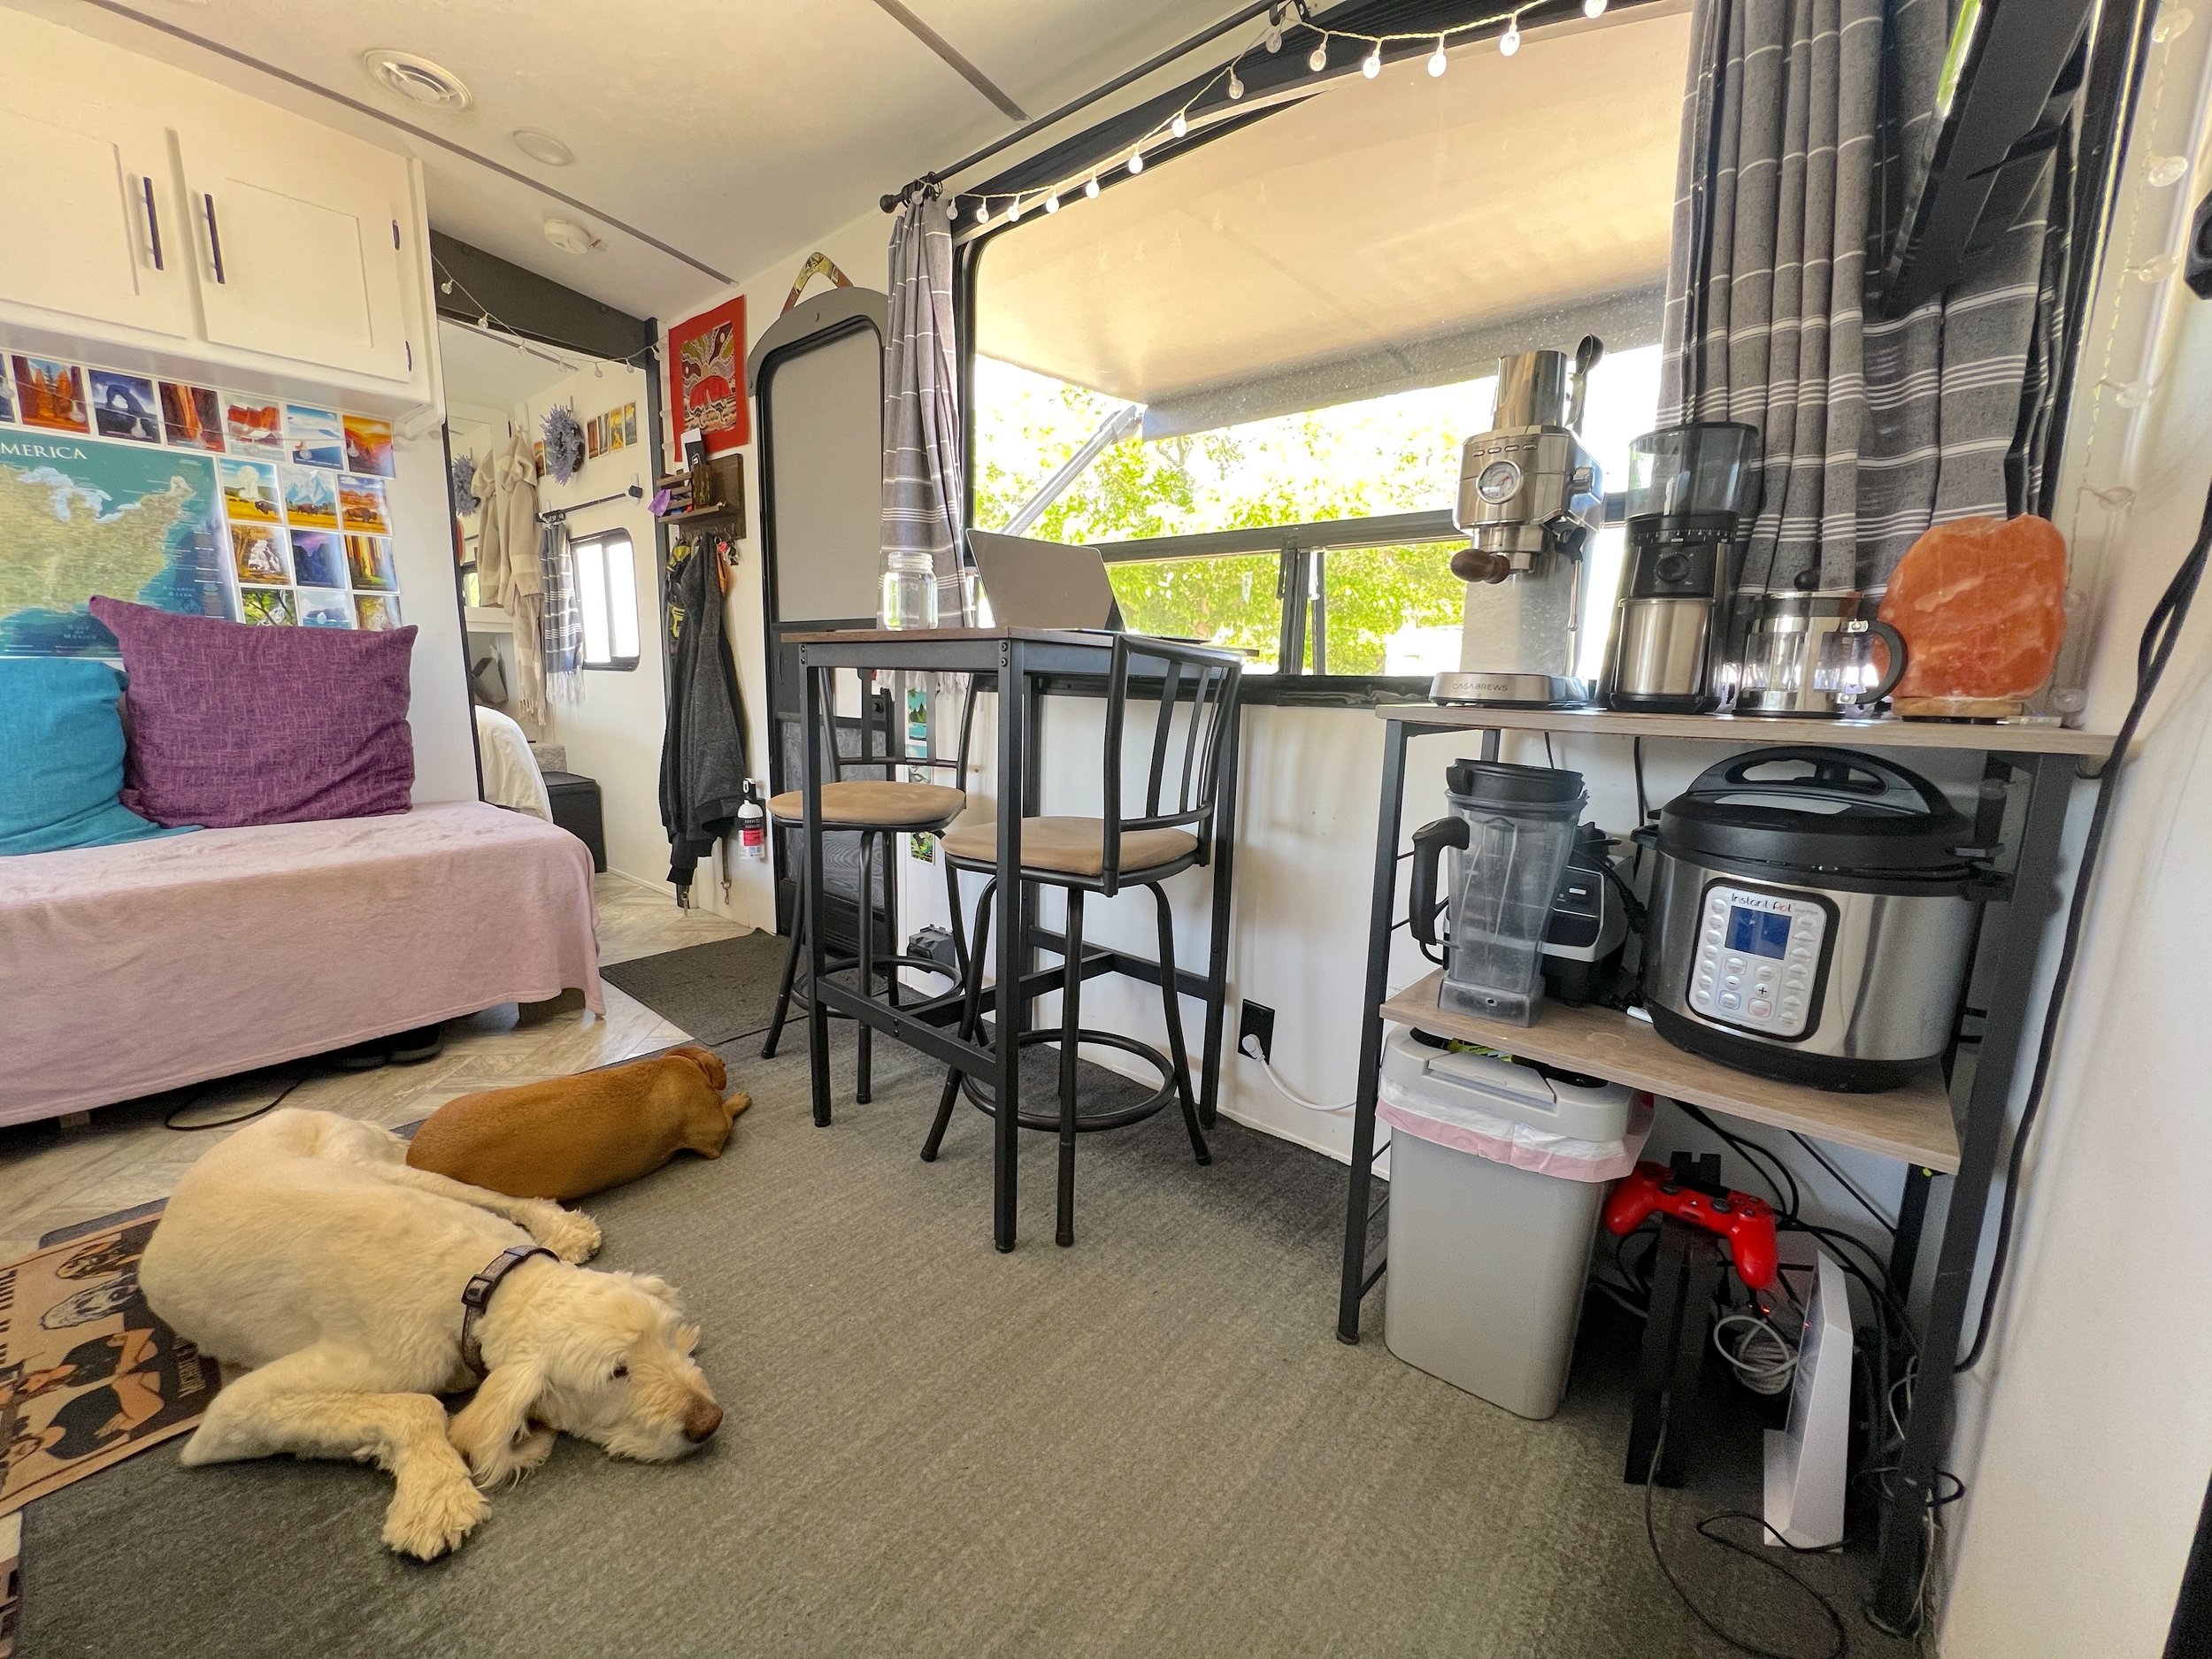
To replace the dinette, we added 2 bakers racks for storage, counter space, and bar top style seating. We loved the look and functionality of the bakers racks. After some time we decided to modify the bakers rack and add a stand alone table & chairs.
How We Organized
- VASAGLE Baker’s Rack, Microwave Stand with Wire Basket
- VASAGLE Bar Table, Small Kitchen Dining Table

VASAGLE Baker’s Rack, Microwave Stand with Wire Basket, 6 Hooks, and Shelves, for Spices, Pots, and Pans, Greige and Black

VASAGLE Bar Table, Small Kitchen Dining Table, High Top Pub Table, Height Cocktail Table for Living Room Party, Sturdy Metal Frame, 23.6 x 23.6 x 36.2 Inches for Narrow Spaces, Ebony Black and Black
The Pros
- Created a lot more living space, storage and counter space.
The Cons
- On drive days, we had to make sure everything was secure.
THE LIVING SPACE
Upgrades/ Modifications
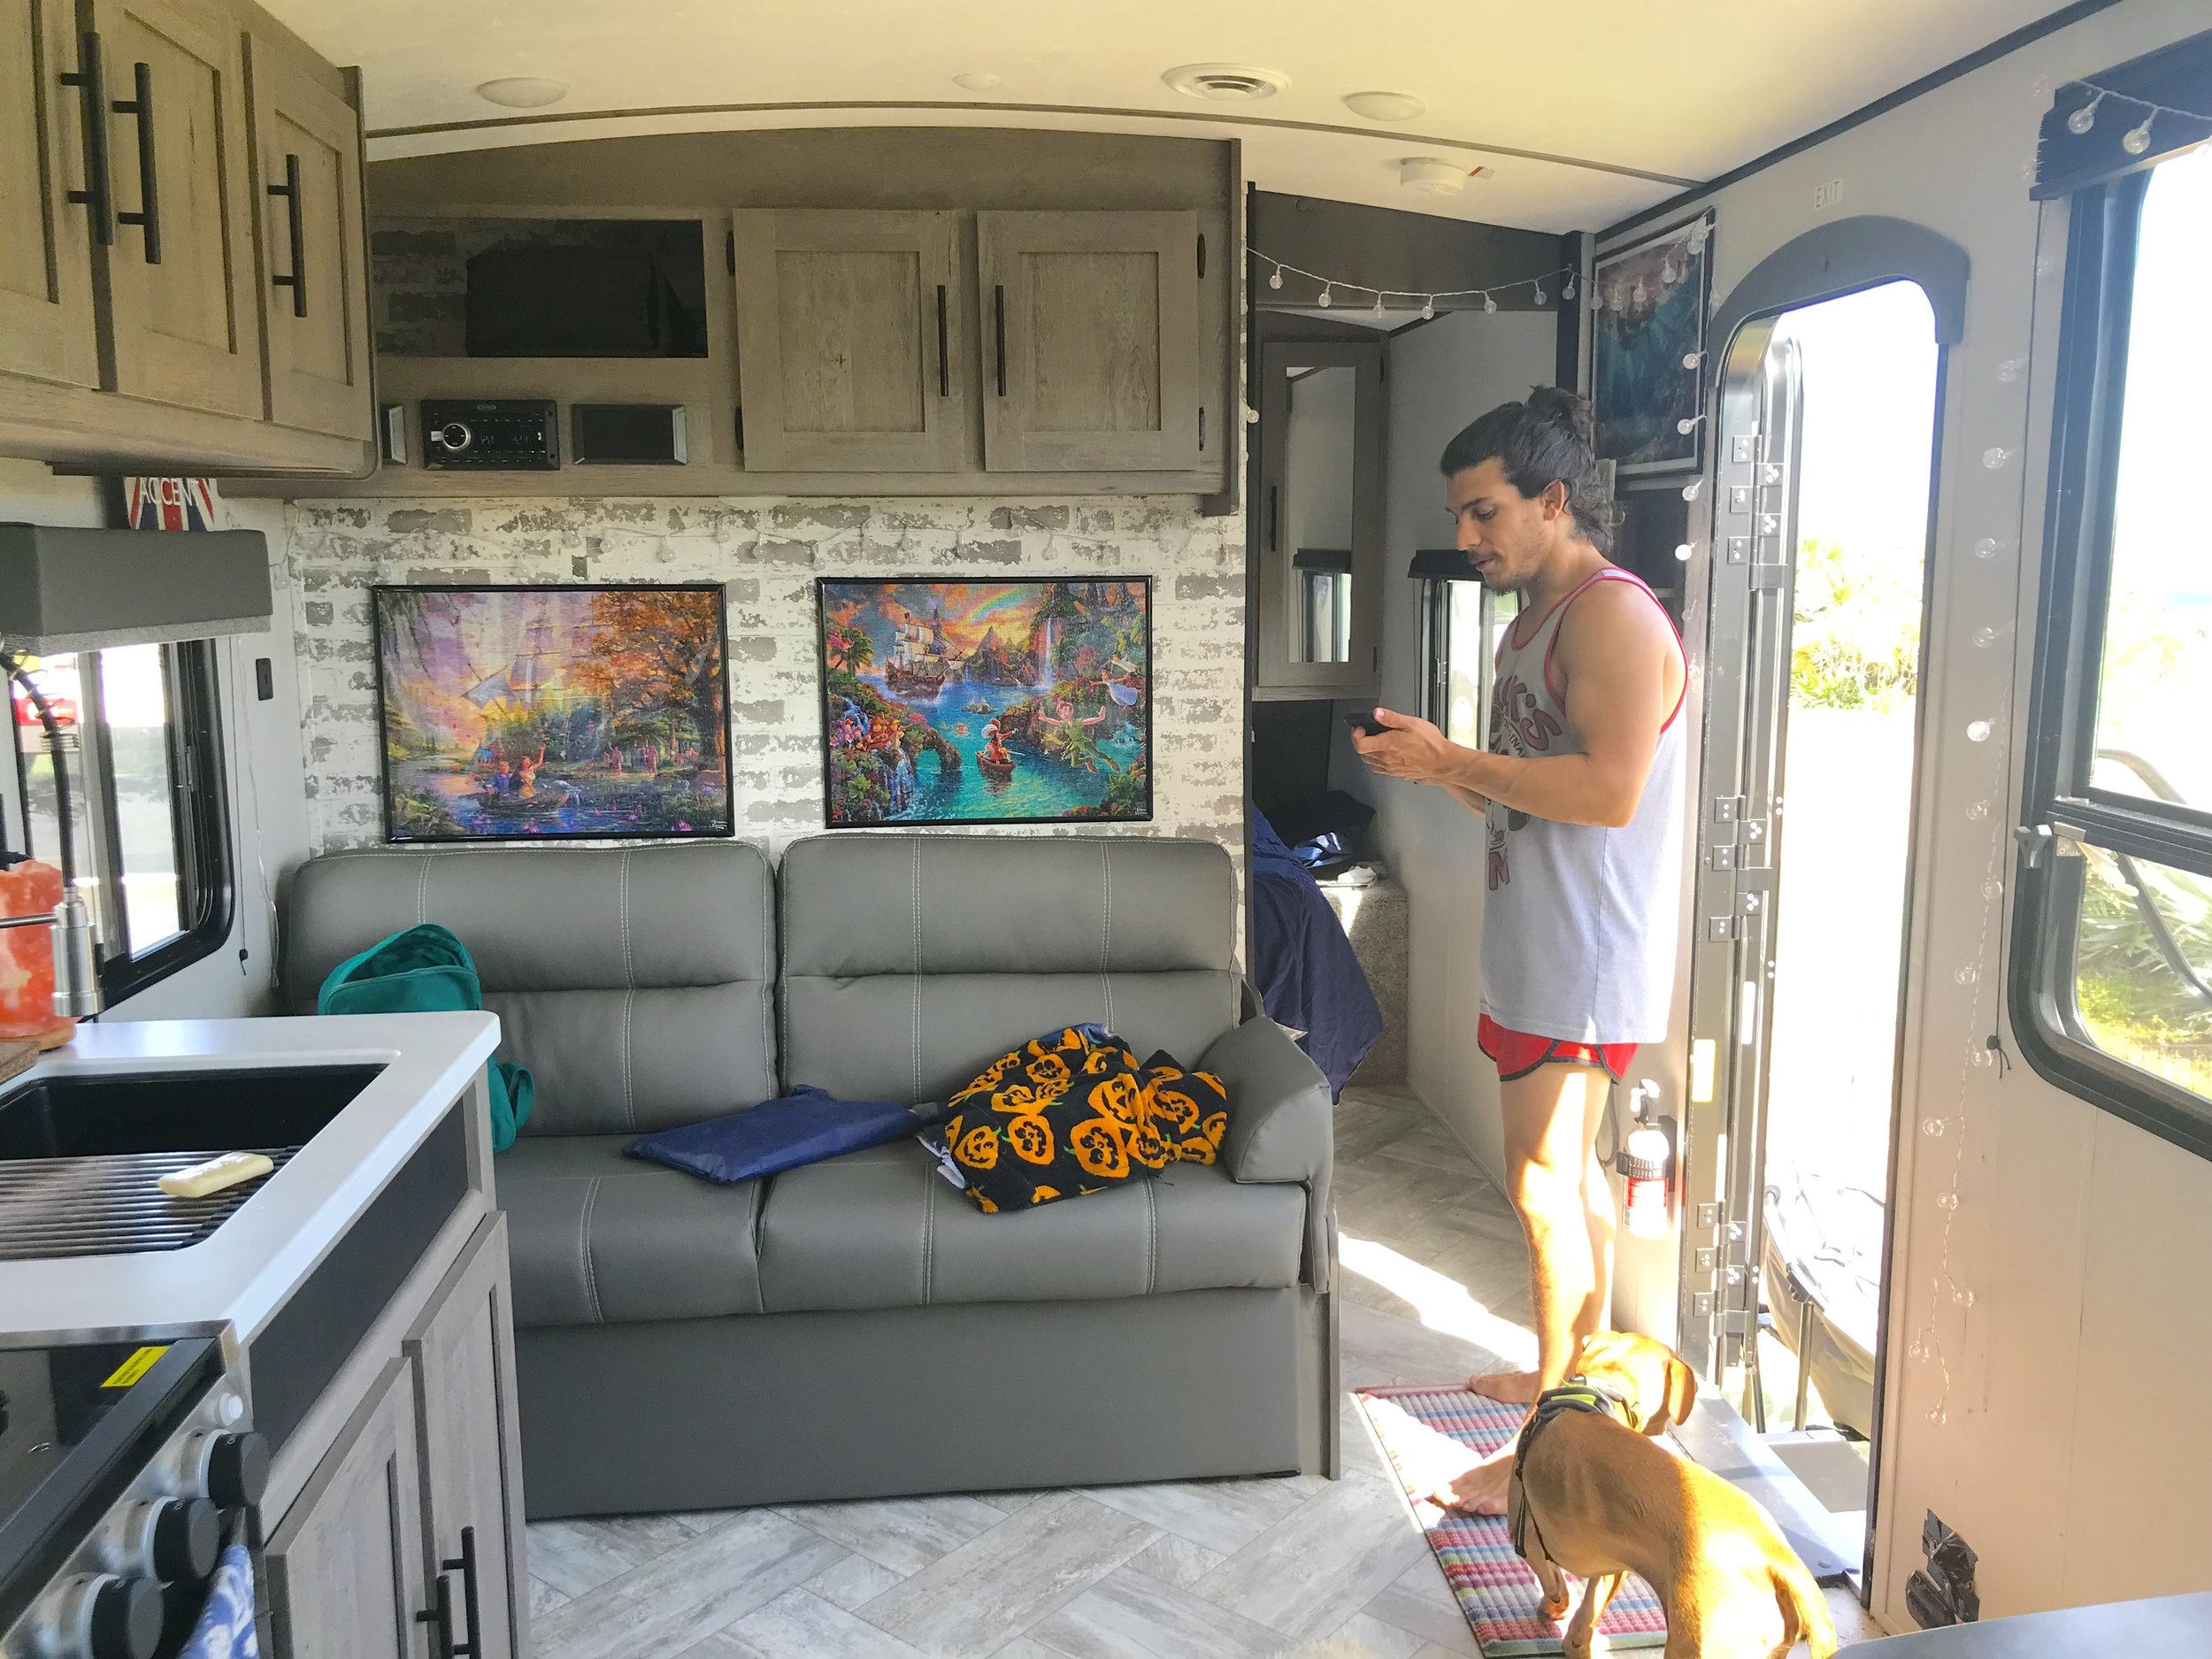
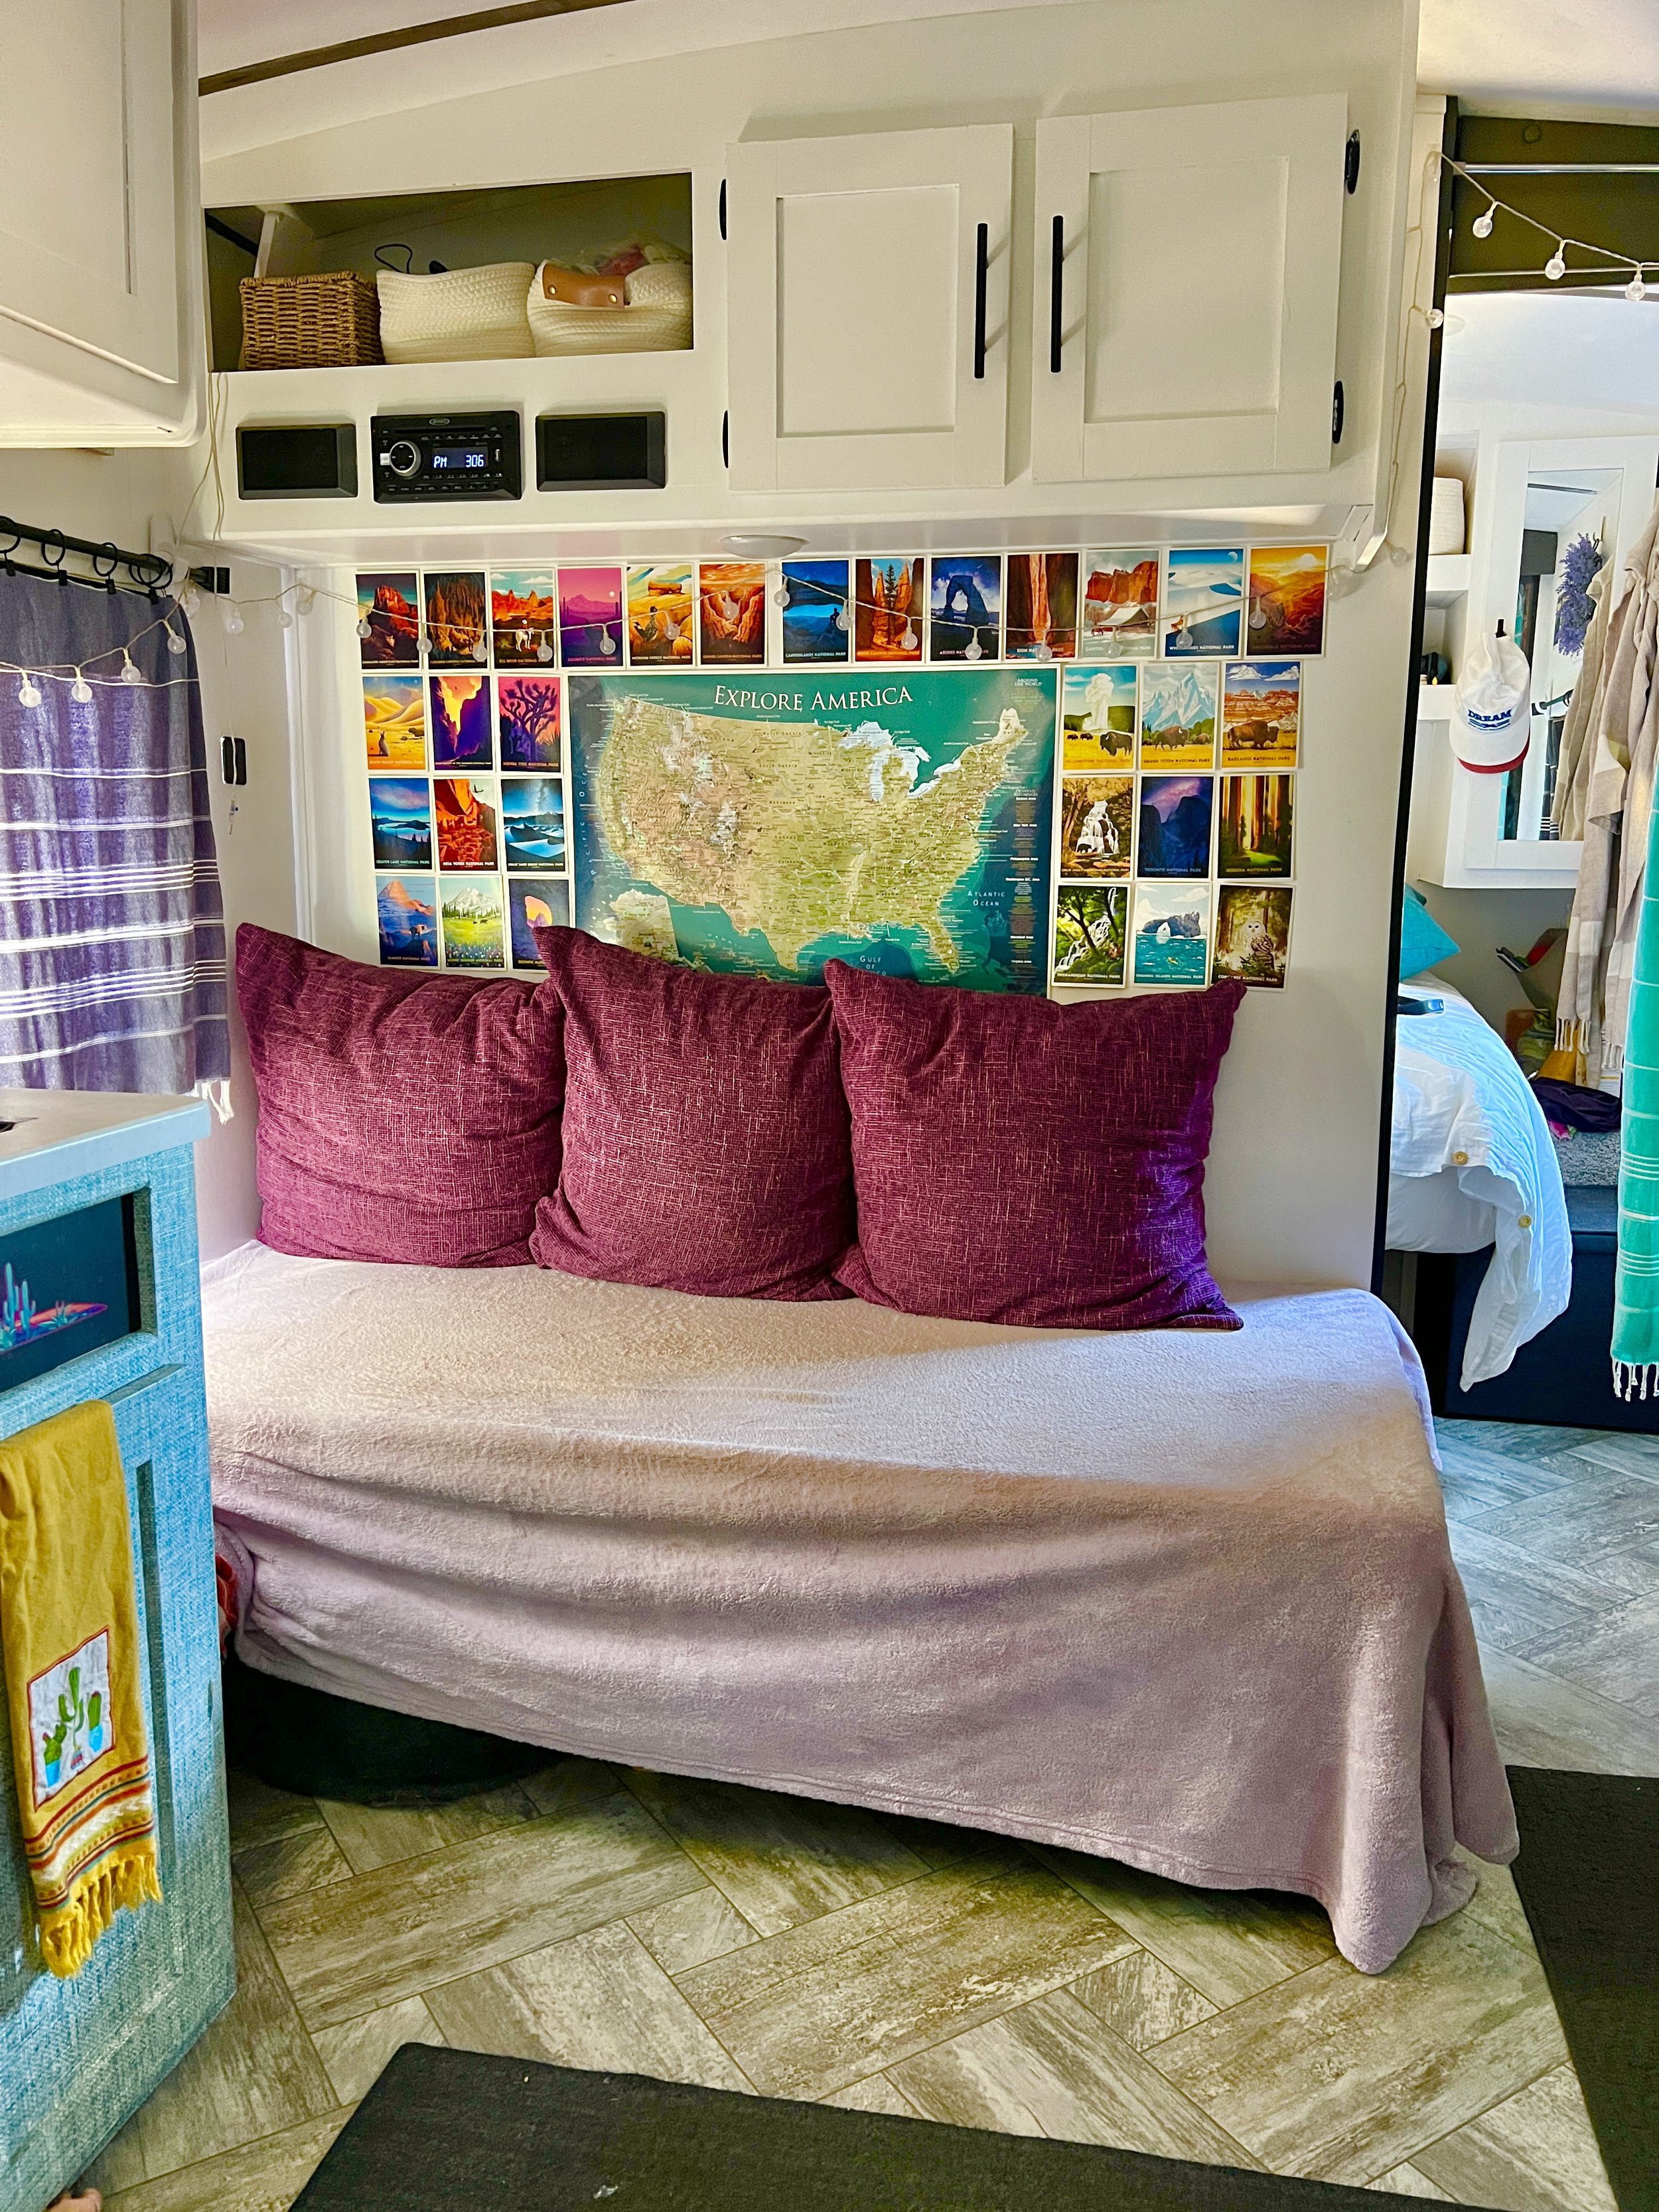
We kept the couch out as a futon for a larger and more comfortable sitting space, added large pillows and blankets. Removed the valance on the window and added our own DIY curtains over the windows. Eventually we removed the futon and built our own couch using a piece of wood from Home Depot and a GoTo Foam Cushion.
How We Organized
- Bins to organize under the couch.


The Pros
- Larger & more comfortable sitting area.
The Cons
- Not entirely comfortable for everyone to sit and put their feet up.

BUNKROOM & BATHROOM
Upgrades/ Modifications
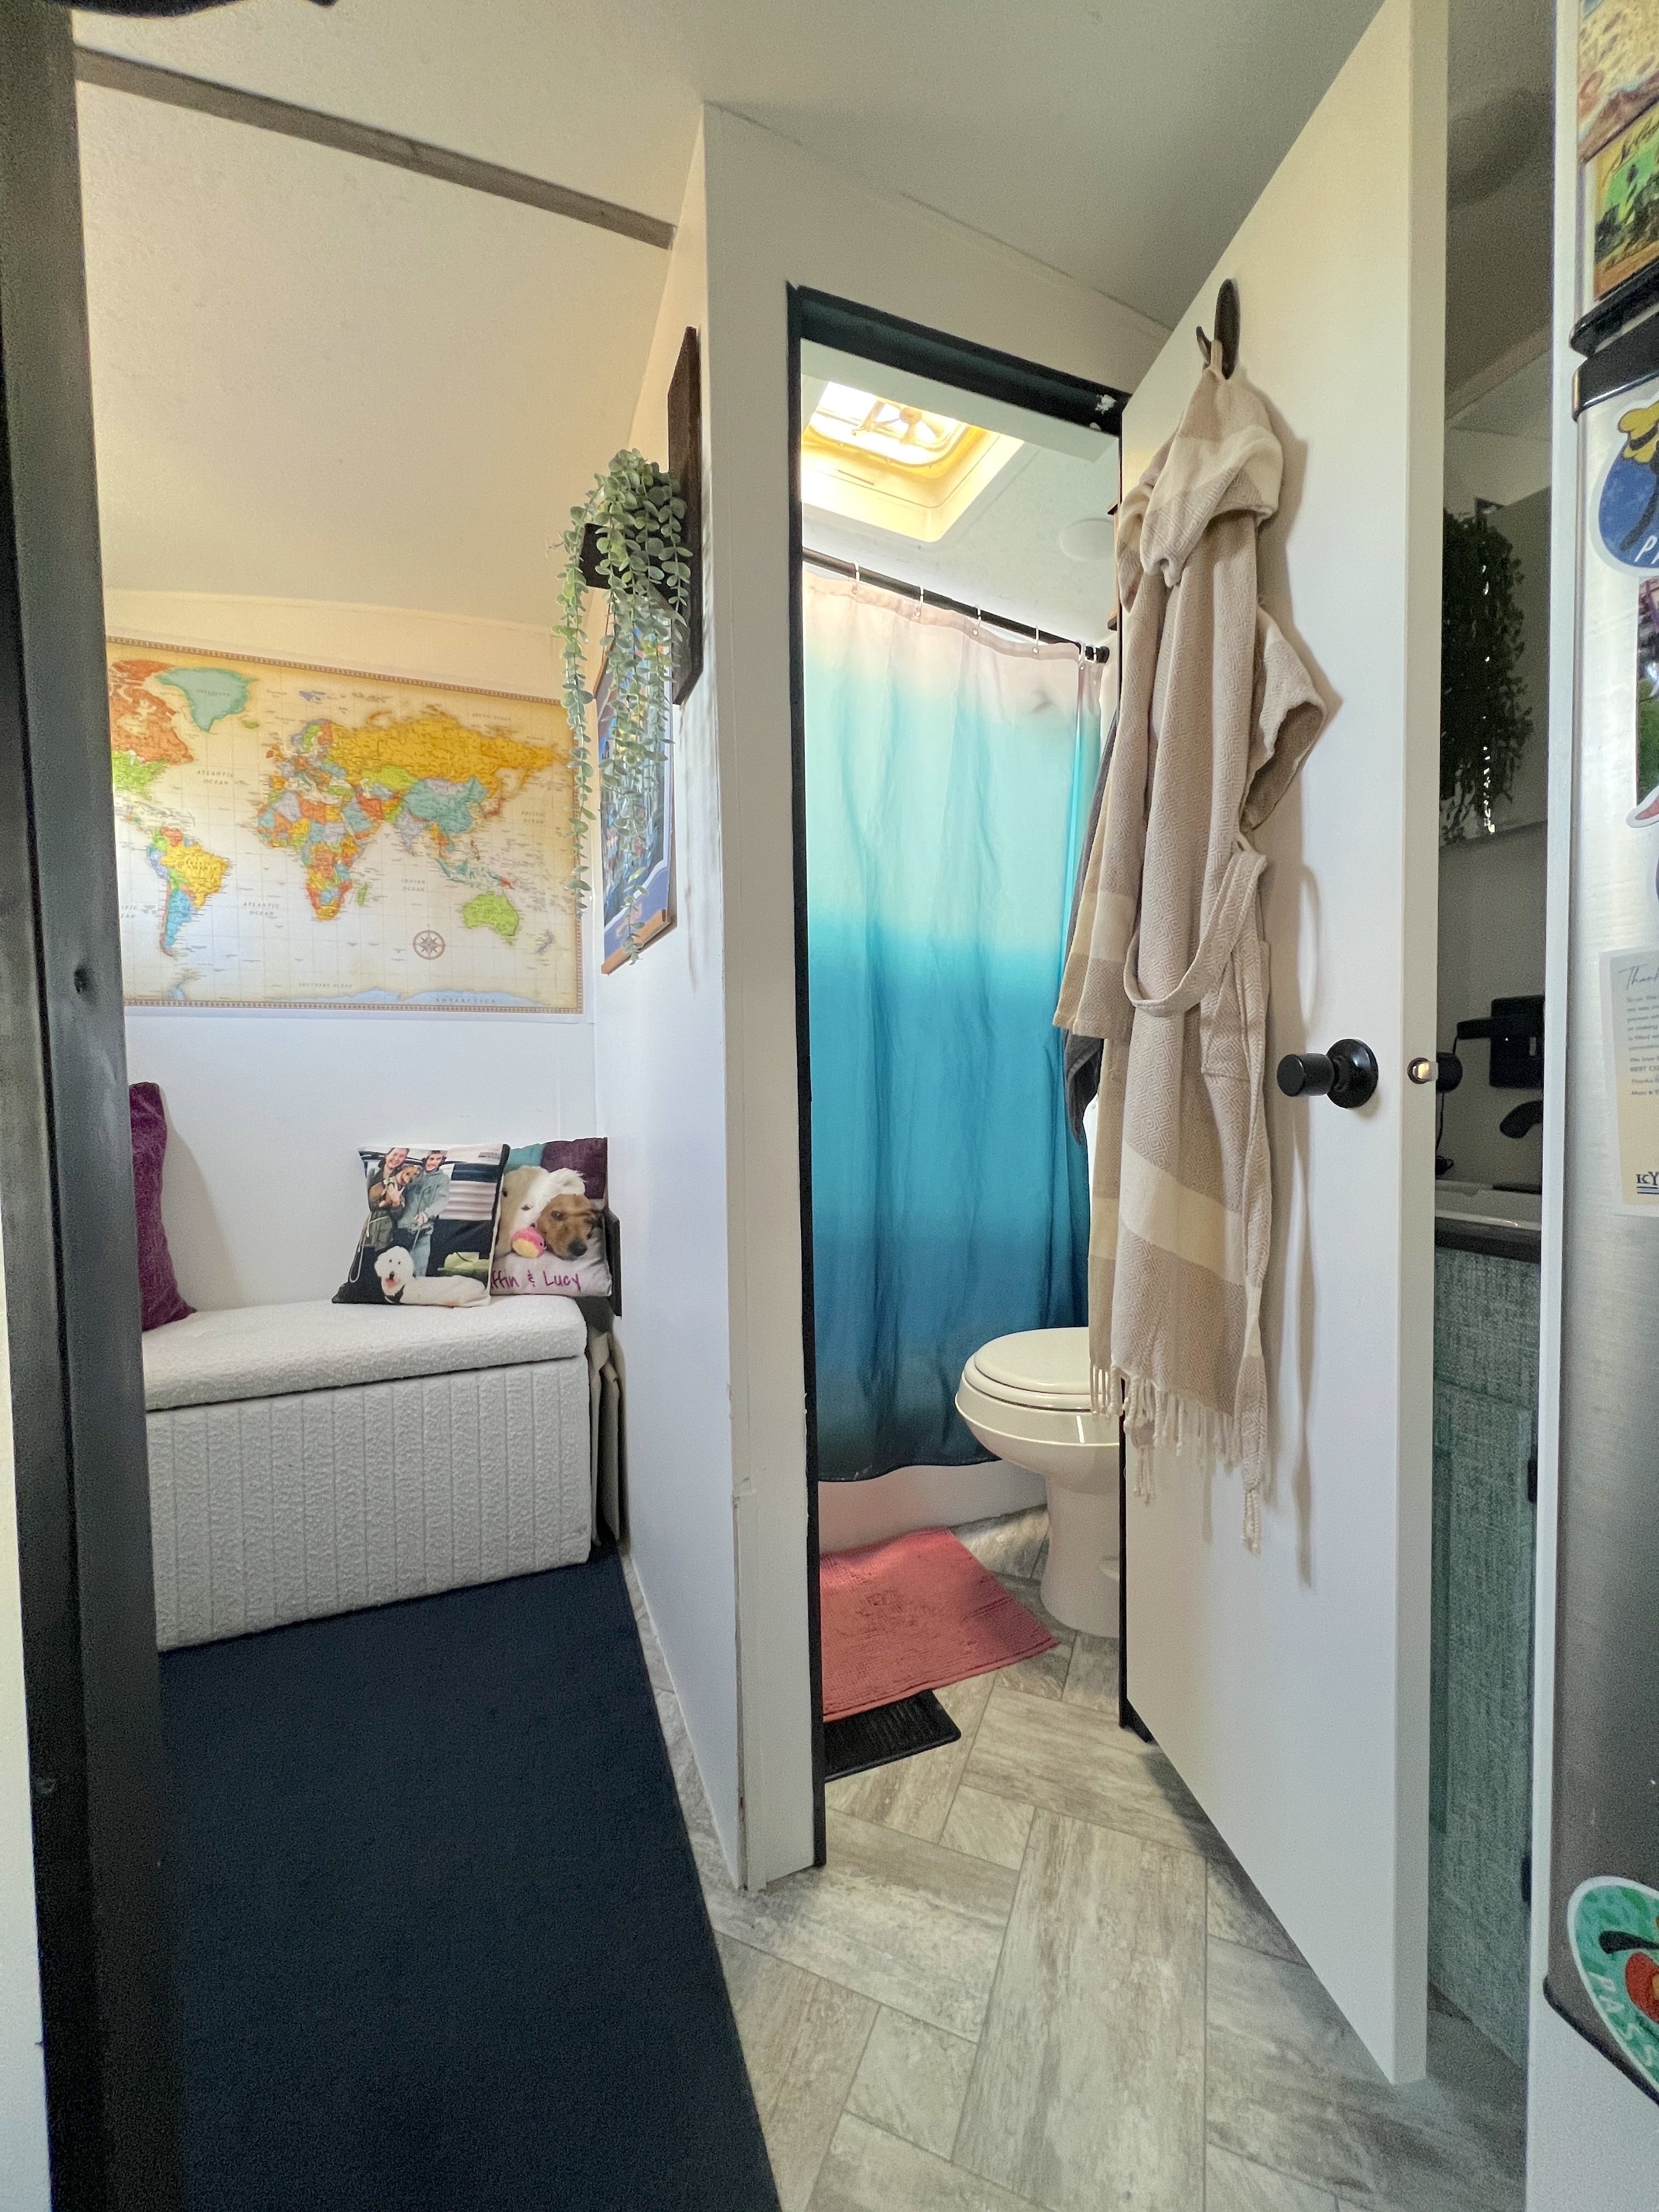
Another big change we made was removing both top and bottom bunks. This opened up the space a lot. We also added an Ottoman for extra storage & seating.
In the bathroom we removed the stock shower rod and curtain for a shower tension rod and washable shower curtain. We also replaced the stock shower head with a Oxygenics Fury Hand Held Sprayer. For the bathroom sink we replaced the faucet with a Black Matte Single Handle RV Faucet.


How We Organized
- Command hooks for our bath and hand towels
- Medicine Cabinet Organizer ( commanded so it wouldn’t fall out while driving. )
- Command Hand Towel Bar to hang our hand towel by the sink.


The Pros
- Furance vent in the bathroom which was nice when it was really cold
- Easy to clean.
- We placed the tension rod closer to the ceiling so the bathroom light wasn’t so bright while taking a shower.
- Removing bunks created an extra room.
The Cons
- Tight bathroom!
- Built in soap dish was in the middle of the wall creating even less space in the shower.
- Plastic toilet.
- Vents being on the floor could break from being stepped on.
- Challenging to access contents under the sink.


Let us know in the comments if and how you’ve remodeled your RV!



I love looking at all the things you kids have done, you are so adventurous & clever…And now a new life with a baby… You sure did make that RV homey ….Enjoy 🤩💙