The basic essential RV gear needed for your first trip.
Welcome RV Newbie! Whether you just bought your first RV or are planning on purchasing one soon, getting the full scoop on all the basic gadgets you need is crucial in starting your RV journey on the right foot!
I’m sure by now you’re aware that RVs don’t come with everything you need. Unless you buy from a private seller and they gift you with the essential items, you could be left in a pickle if you don’t pick up the necessary supplies before your first camping trip.
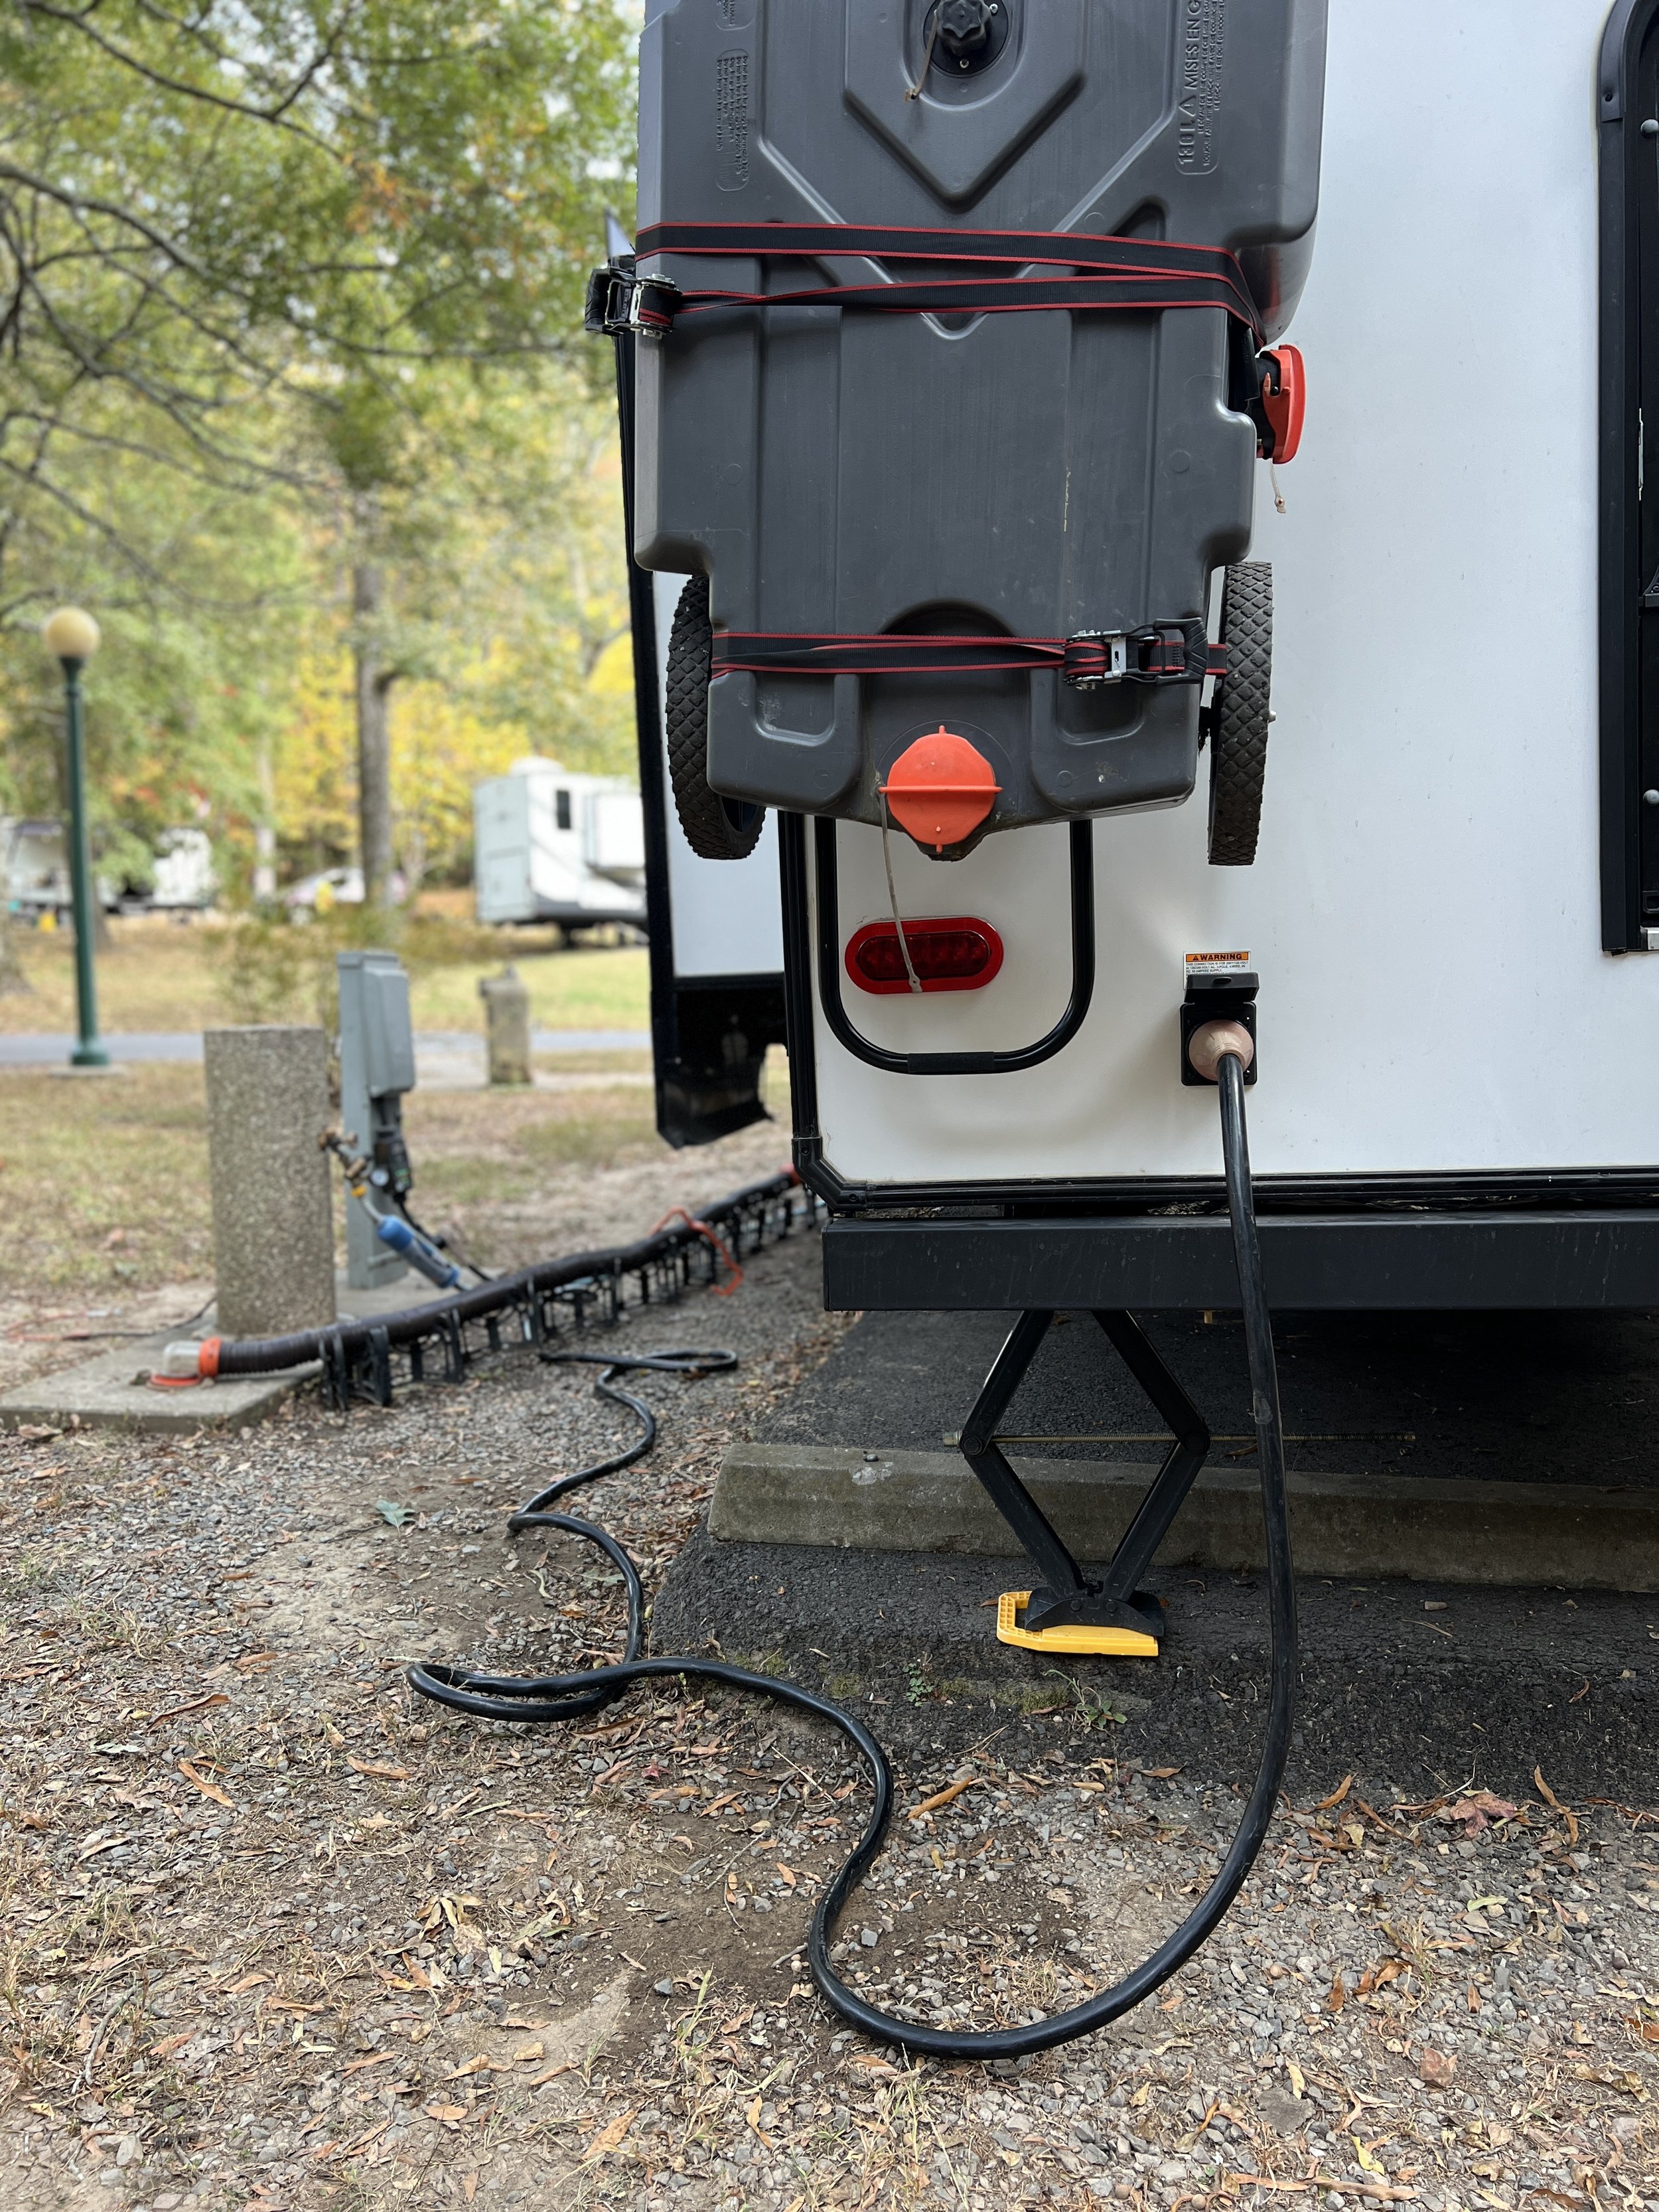
In this post we are sharing 8 essential items that will get you up & running & ready to hit the campgrounds!
This post contains affiliate links, so we may earn a small commission when you make a purchase through links on our site at no additional cost to you.
Most of these items are essential for all types of RVs, motorhomes, fifth wheels, travel trailers, and vans.

Before you plan your first camping trip you’ll need to have a water hose to get running water into your rig. Water connections are on the driver side of the rig and feature two connections, one to fill your fresh water tank and the other to be connected to the city water at your site. City water connections at a campground work the same way as you get water in a sticks and bricks. Simply connect your hose to the water connection at your site, turn the water on and you’re good to go. It’s that easy. It’s also helpful to have a RV Water Pressure Regulator Valve to make sure that the water entering the pipes on your RV is set to the pressure your pipes can handle.
The popular hoses on the market are the Zero G hose and the Camco EvoFlex hose. Many people favor Zero G hoses because they’re flexible and easy to roll up. We started out with a Zero G hose but we eventually got a hole so we switched to Camco EvoFlex hose and have since loved it.

Camco EvoFlex 35-Foot Drinking Water Hose | Features an Extra Flexible Construction, Stainless Steel Strain Reliefs on Each Hose End, and is Ideal for RV and Marine Use (22595)

Another hose you might consider down the road if you plan to be camping in freezing temperatures is a heated hose. These will typically plug into the electrical panel at your site and are wrapped in insulation.

RVGUARD RV Water Pressure Regulator Valve, Brass Lead-Free Adjustable Water Pressure Reducer with Gauge and Inlet Screen Filter for RV Camper Travel Trailer
2. Sewer Hose Kit
In order to remove the gray ( shower and sink water ) and black ( toilet water ) waste you’ll need a Camco RhinoFlex Sewer Hose to connect to the sewer connection on your rig to the sewer connection at your site or at a dump station. Sewer connections are also located on the driver side of the rig.
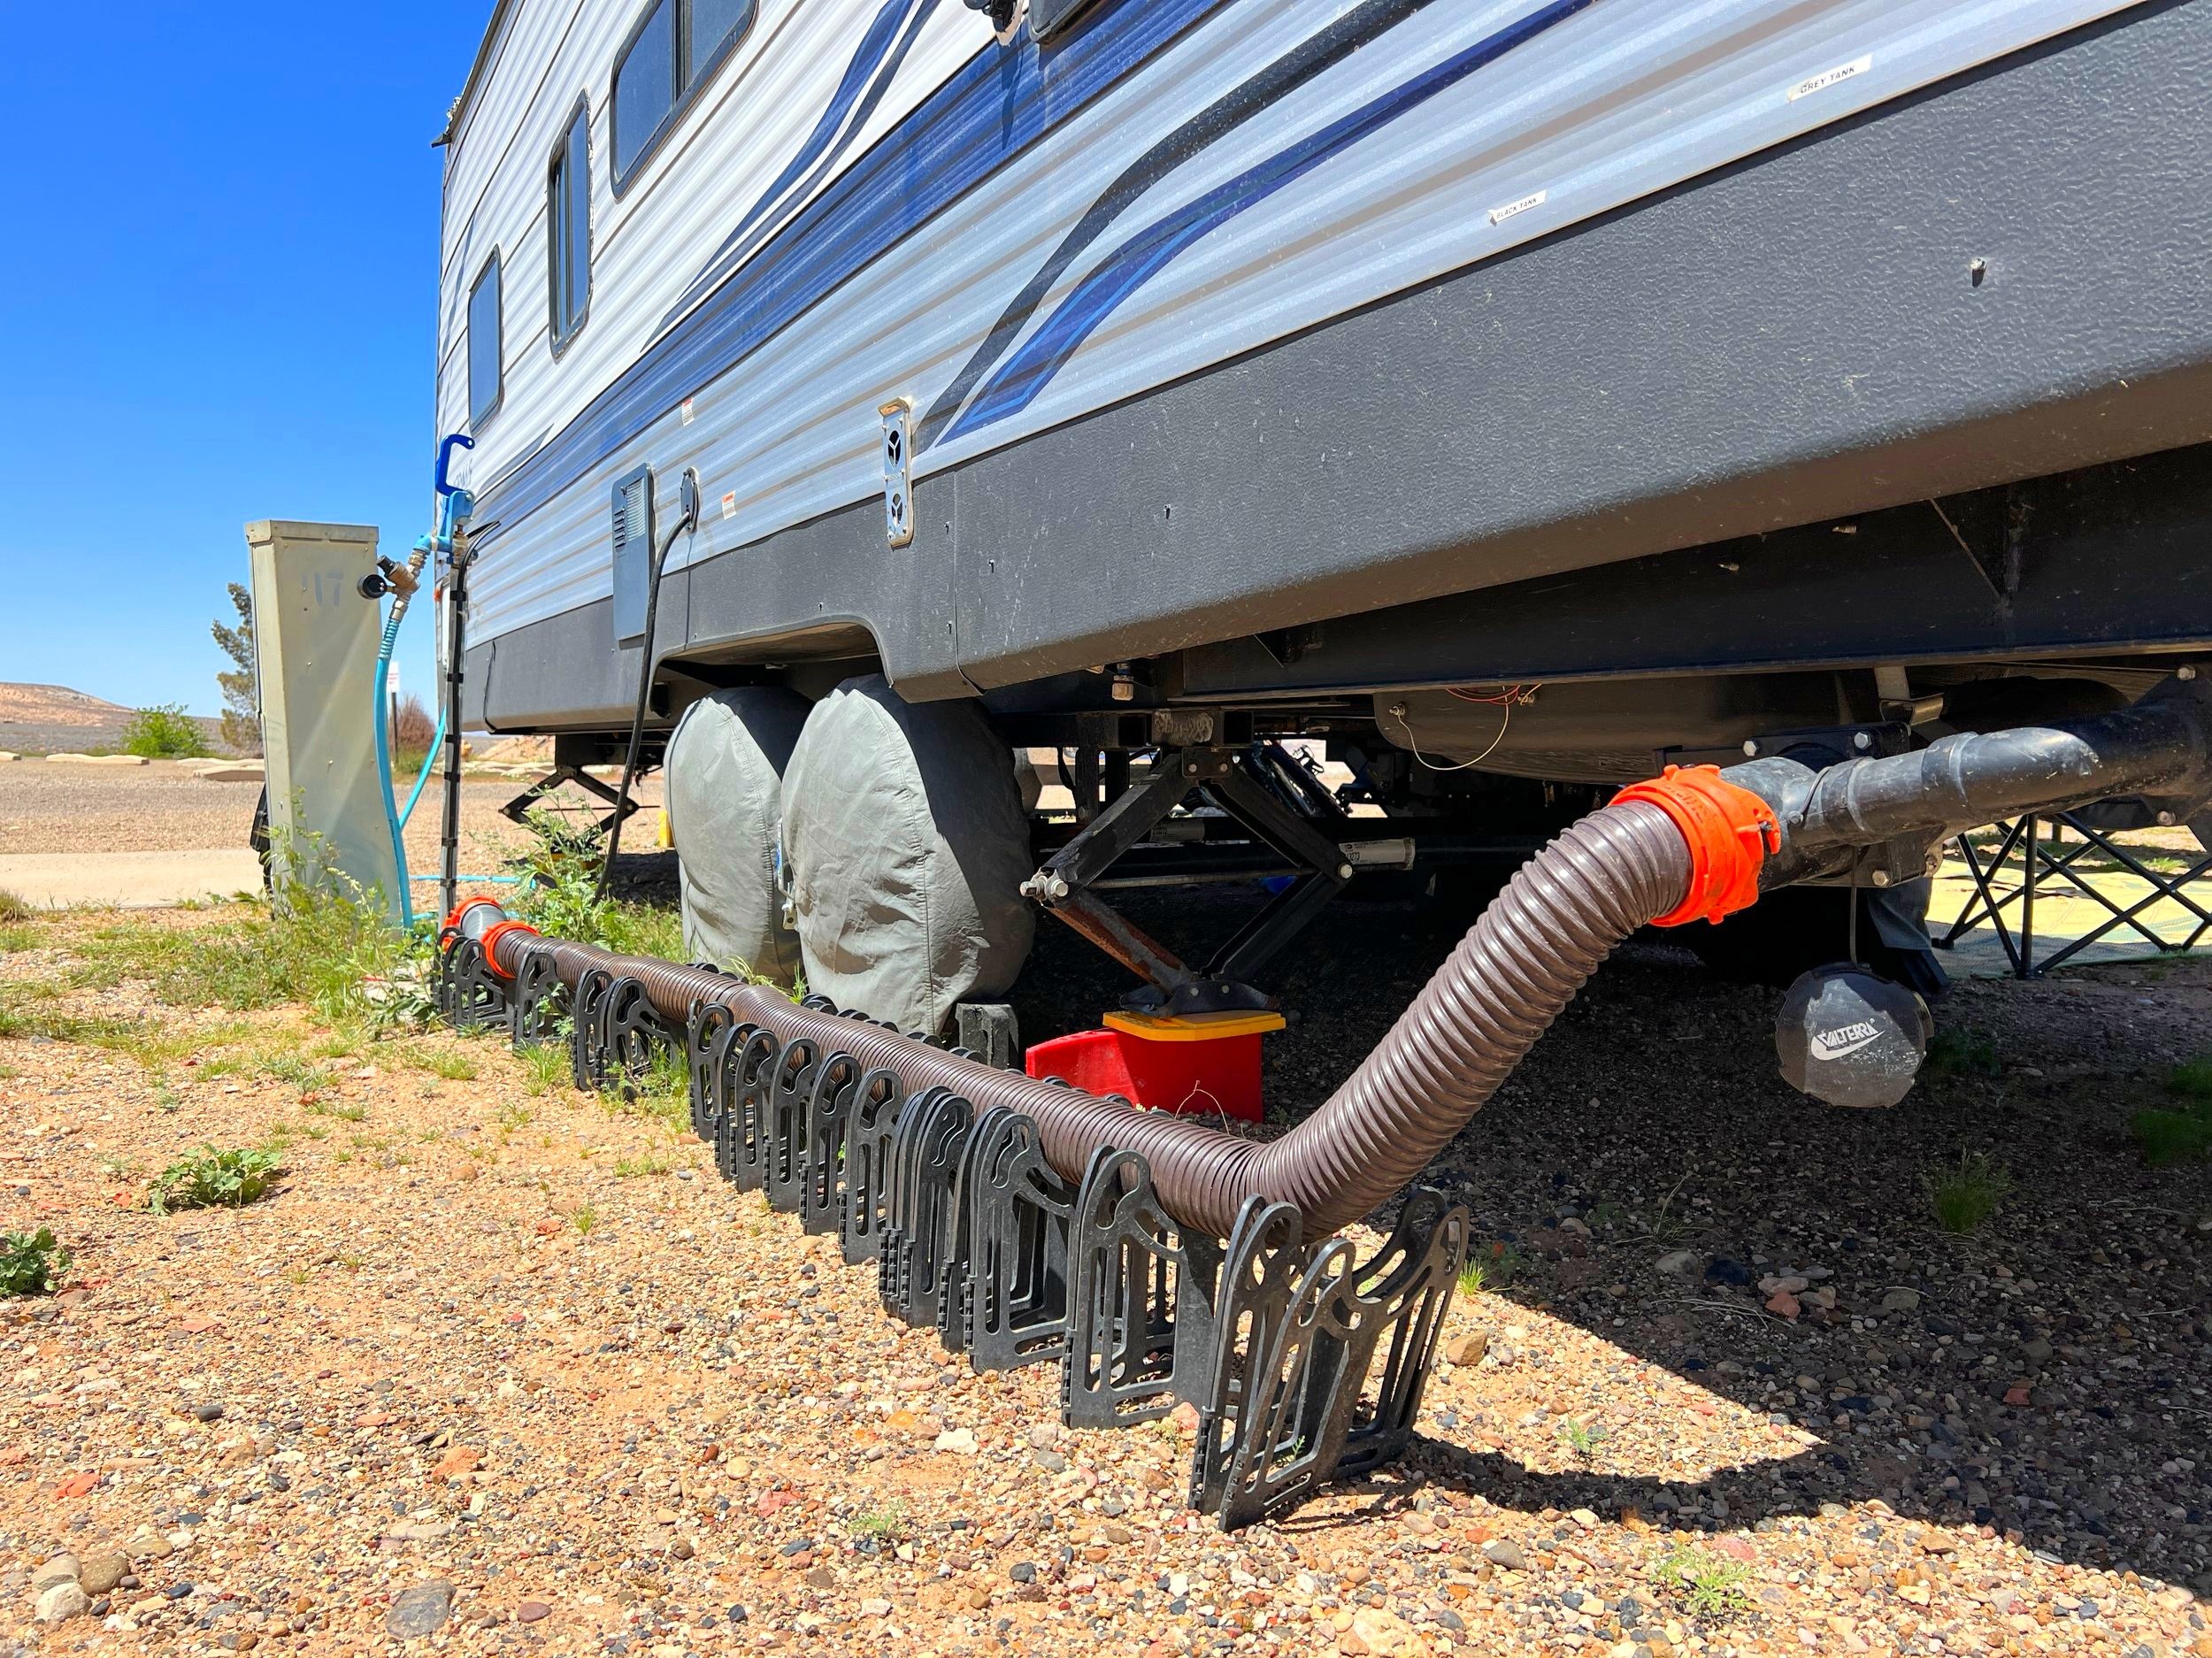
Typically, when at a campsite you can leave your gray tank open and keep your black tank closed. This reduces any smells leaching from your black tank. However, when you’re getting ready to dump your tanks, you’ll want to close your gray tank, let it fill up, typically overnight. Then when it’s time to dump you’ll pull your gray as a tester to make sure there are no leaks, close it up, and then pull the black. Once all your black waste it out you can then pull the gray. This helps to clean out the sewer hose from the black waste.

Camco RhinoFLEX 20’ Camper/RV Sewer Hose Kit | Clear Elbow w/ Removable 4-in-1 Adapter & Pre-Attached Swivel Bayonet and Lug Fittings | Sections Compress for RV Storage and Organization (39742)
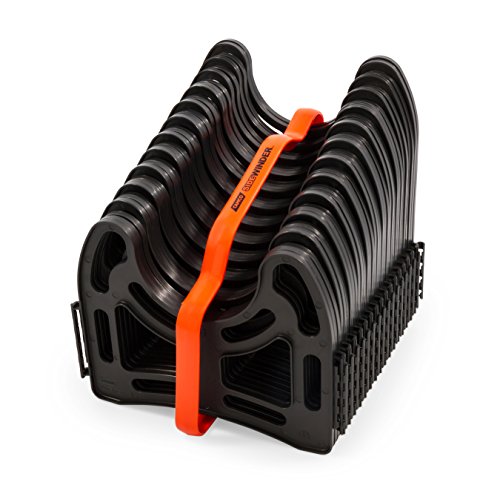
Camco 15-Foot Sidewinder RV Sewer Hose Support | Features a Lightweight, Flexible, and Durable Frame | Curves Around Obstacles | Black (43043)
For storing your sewer hose, check the bumper on rear of your rig as it might be a place to hold your sewer hose like ours does. Another important thing to note about sewer hoses is that some campgrounds will require you to have a Camco Sidewinder Sewer Hose Support for your sewer hose so it’s not directly on the ground. Generally you can find that information on a RV Parks website.

3. Surge Protector
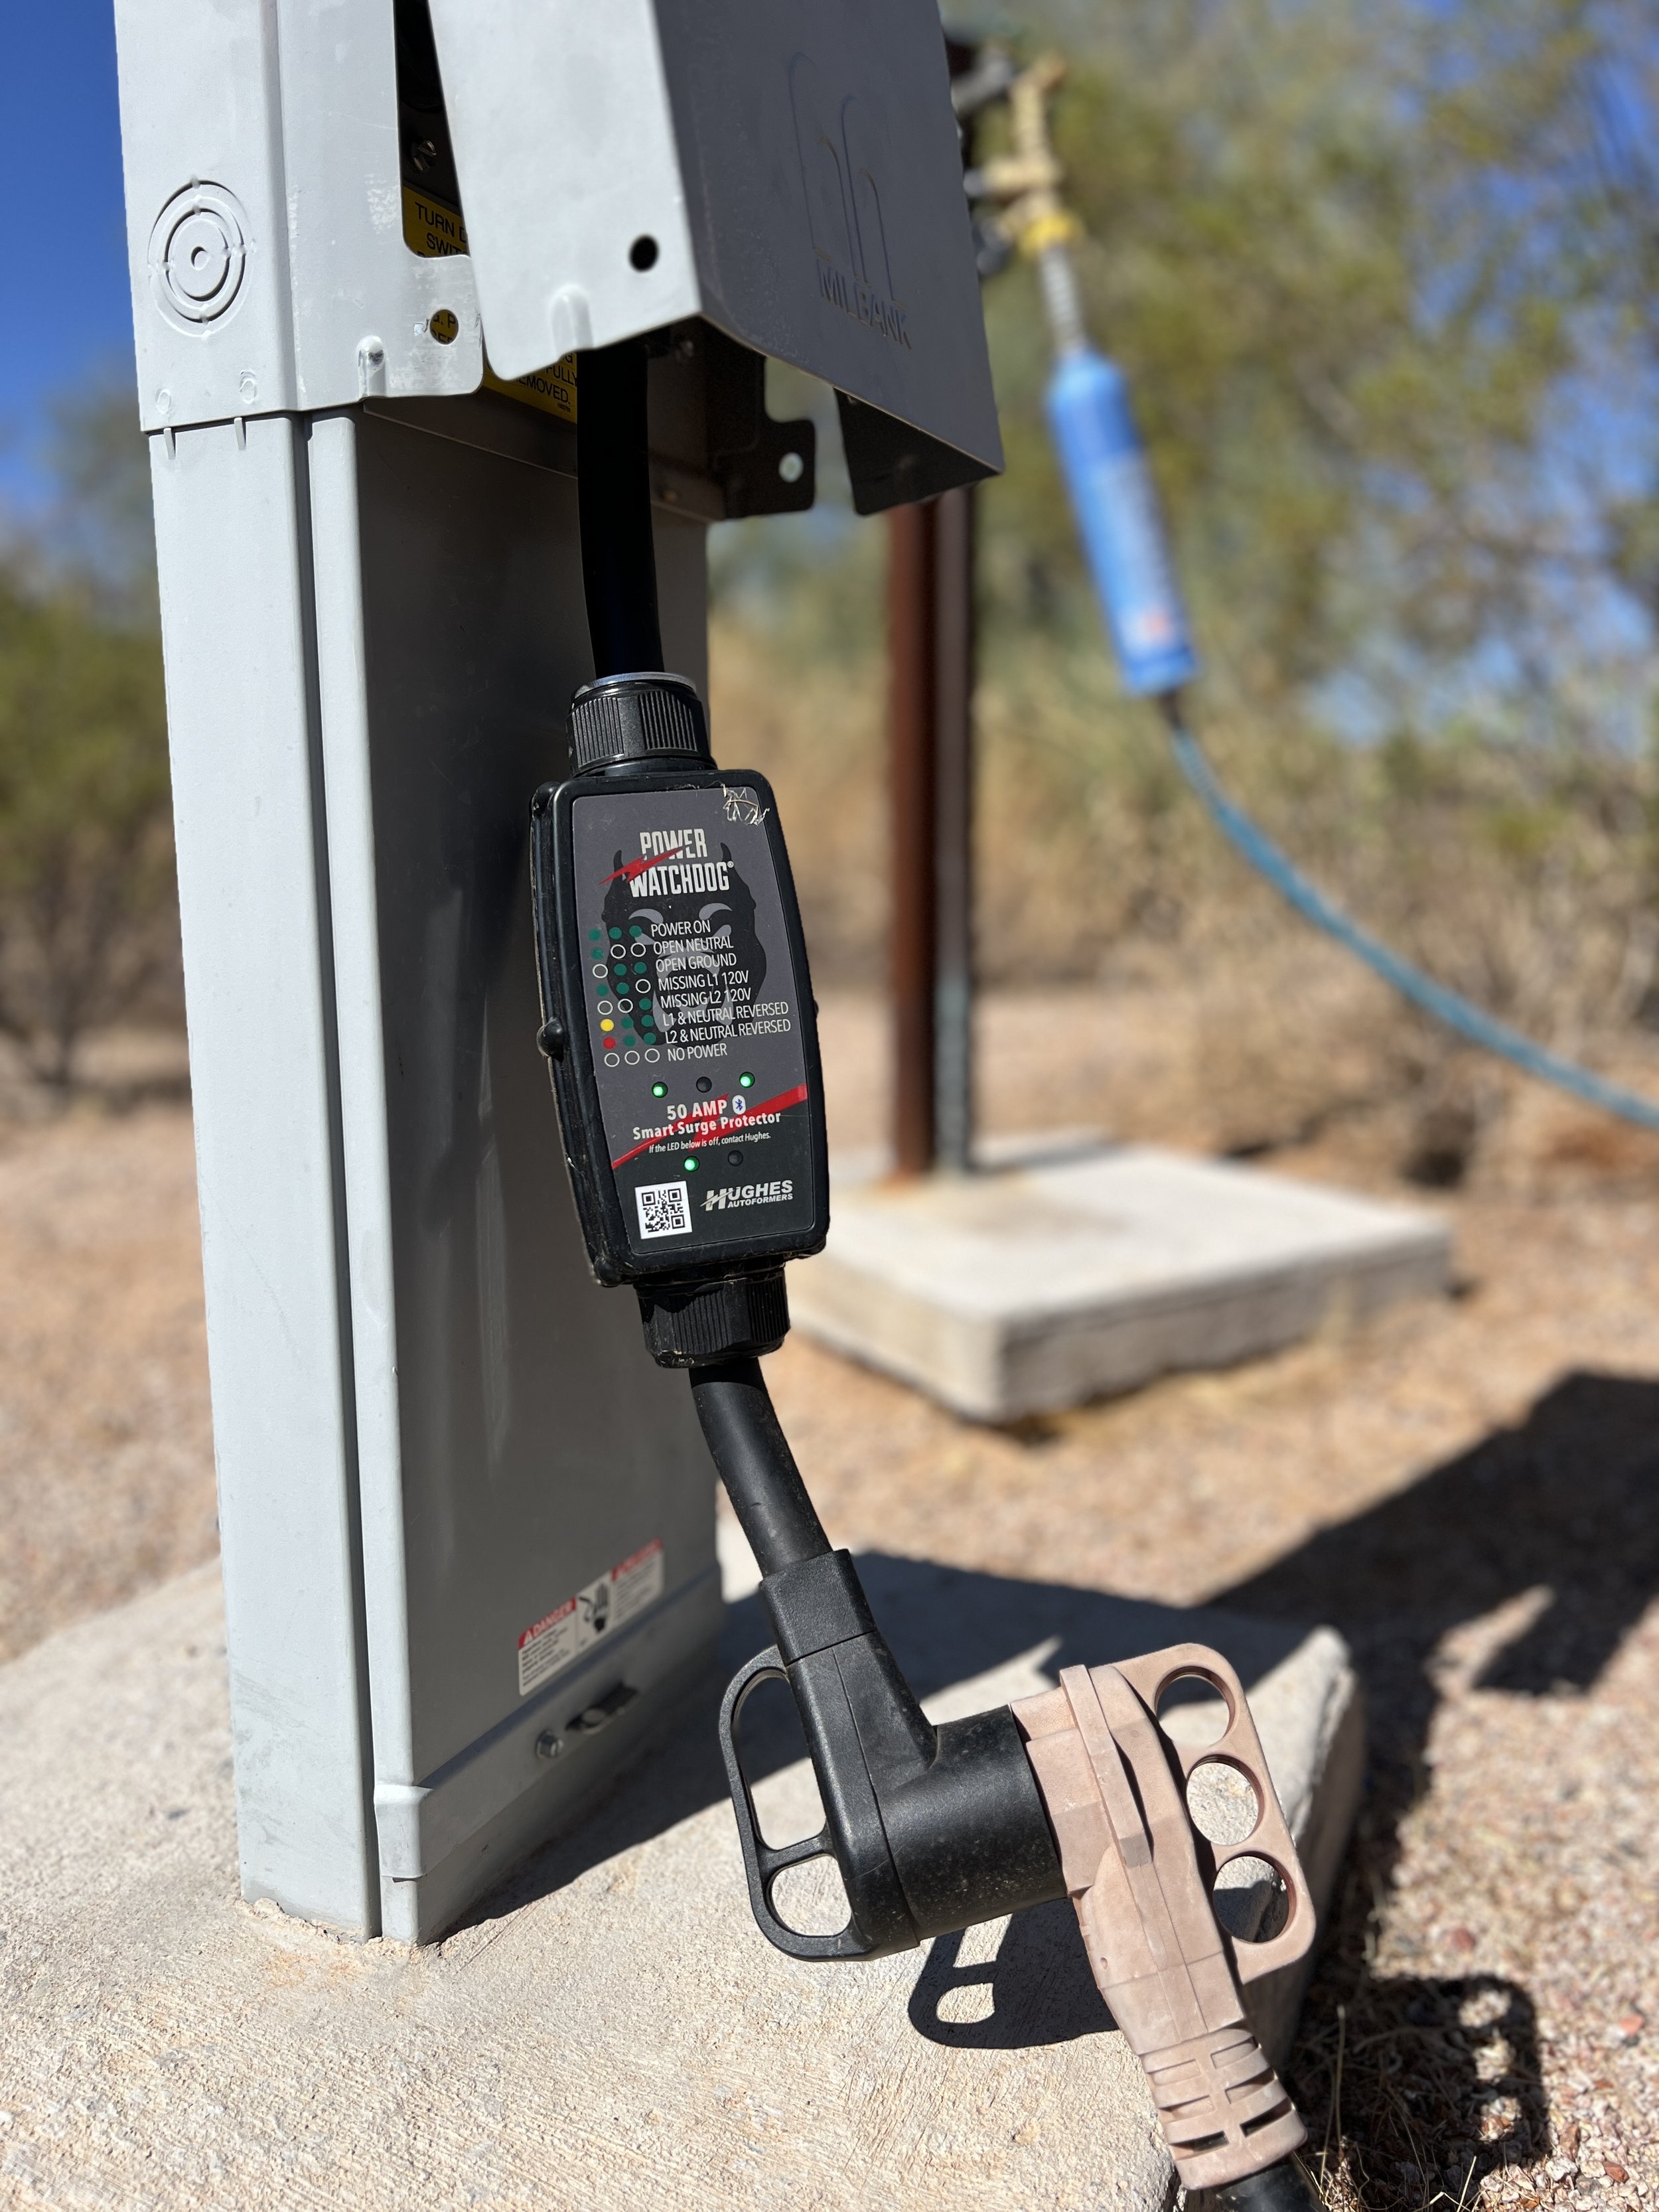
A surge protector has 2 main purposes, one is to protect the electrical system on your rig, you can use the surge protector to check that the campgrounds electrical system is grounded before connecting your RV.

The second is to monitor your usage. Most RVs run on either a 30 amp or 50 amp electrical system which is far less than a residential home. When you start RVing it’s important to become aware of how many applicances you use at a time because you don’t want to pull more than your electrical system has can handle.
For example our travel trailer has a 30 amp electrical system therefore we can run the AC which uses about 11 to 15 amps and the hot water heater which also uses 11 to 15 amps. If we were to start using the blender, which uses 10 to 15 amps, we would be pulling more electricity at one time than our system can handle which would result in potentially popping the breaker or at worst damaging your RV. We personally love the Power Watch Dog Bluetooth Surge Protector. They make them for 30 amp and 50 amp systems and connect to an app on your phone so you can know exactly whats going on with your electrical system from the comfort of your couch.

Hughes Autoformer PWD50, Spike Power Watch Dog, 50 Amp
4. Leveling Tool
Once you’ve gotten into your site, you’ll want to check how level the RV is front to back and side to side. To do this you can use a standard leveling tool. Hop inside your rig and place the leveling tool in the center of the floor.
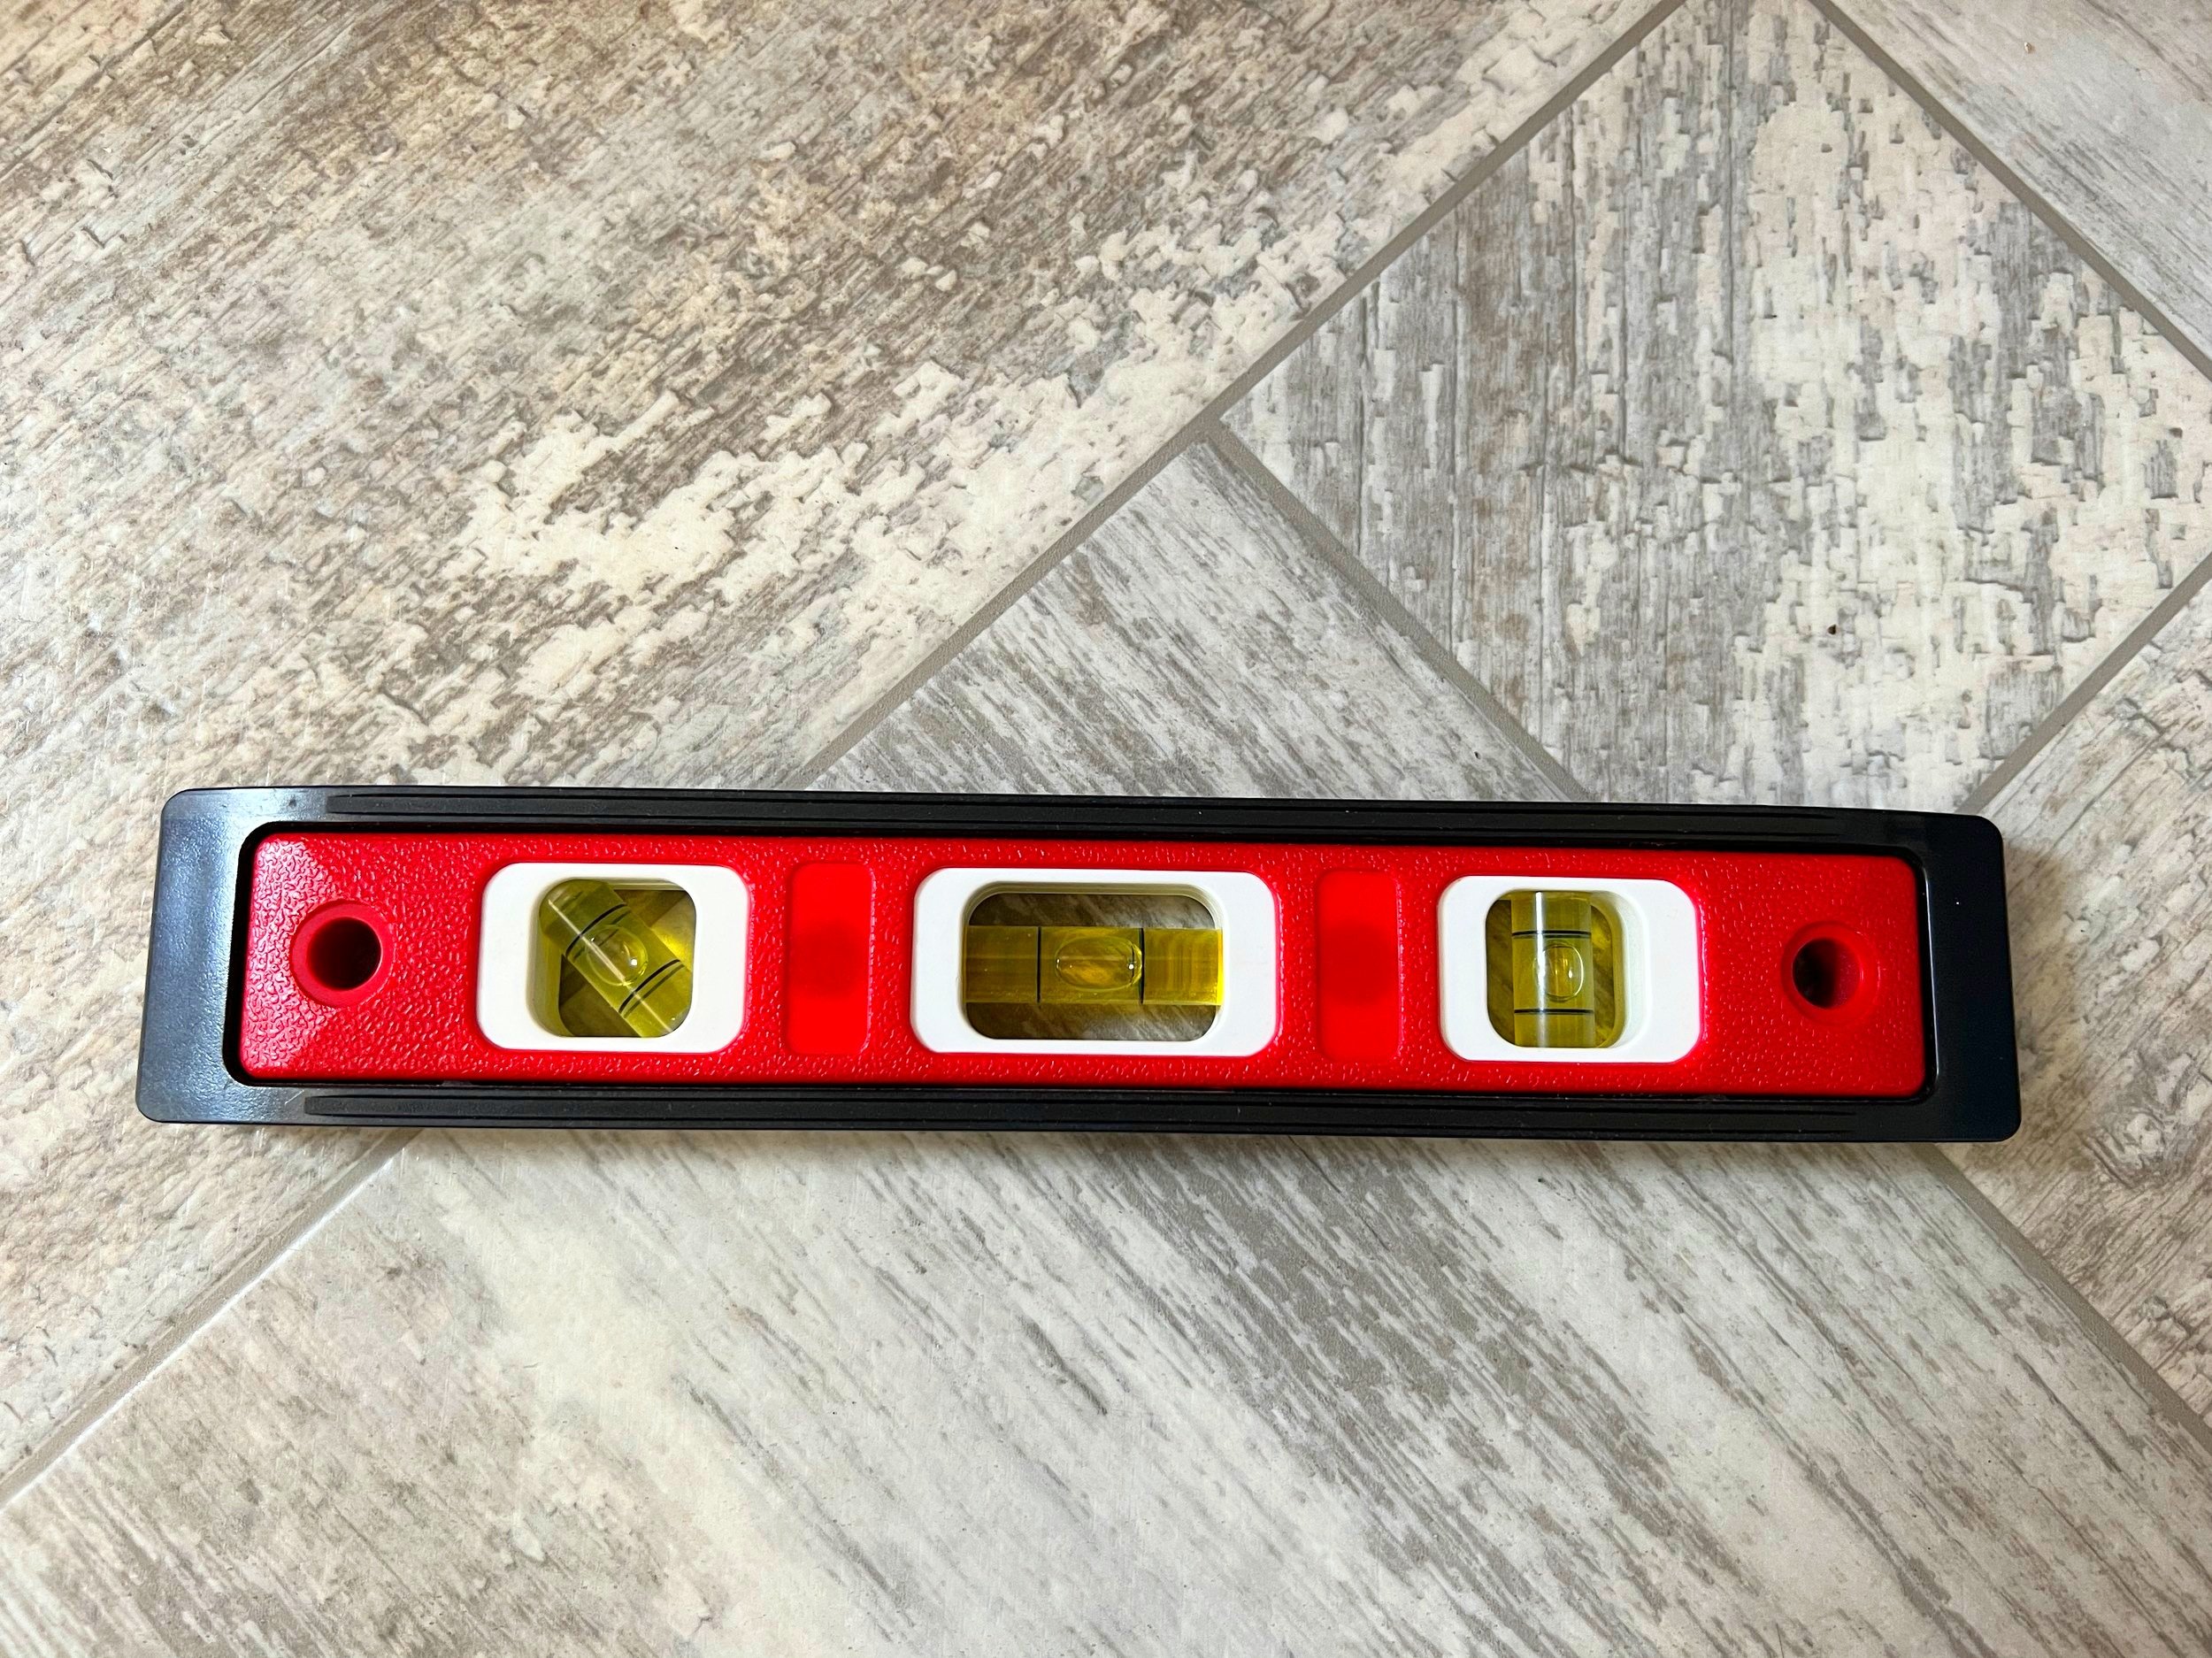
From here the bubble will tell you if your site is level or not. If the bubble is completely on the left or right side that means you’ll need to go up several inches in which case you’ll want to use the Andersen levelers ( mentioned next ). If the bubble is only slightly off you may just need one block under a tire.
If you’d like to take leveling your RV to the next level, then the LevelMate PRO is a great option. The LevelMat Pro connects to a sensor in your RV to an app on your phone, so you can see how level or unlevel you are from the cab of your truck. This can make leveling your rig much easier and faster.

Andersen Hitches | Camper Accessories for Travel Trailers | Marshmallow Roasting Sticks | Camper Levelers w/Hot Dog Sticks 2-Pack of Camper Levelers with a 4-Pack of Roasting Stix | 3604×2 + 3277

LogicBlue Technology LevelMatePRO+ Wireless Vehicle RV Leveling System – Patented Quick and Easy Smartphone and Apple Watch RV Leveling Tool Accessory for RV Camping

5. Leveling Blocks
Leveling blocks are necessary because not all sites are completely flat and you’ll need to check with your leveler to see if you need to roll up on a block or two so you don’t feel like you’re on a boat or about to tilt over when you’re in your RV. The Camco Heavy Duty Leveling Blocks are great if you only need to go up slightly and can also be used as stabilizer pads and a block for the tongue jack. The Andersen levelers are another great tool to have if your site is really unlevel. Andersen levelers can level up to 6 inches on one side and are extremely durable.

Camco Camper/RV Leveling Blocks | Features Interlocking Nested Design & Storage Bag for RV Storage and Organization | Each Leveling Block Measures 8.5″ x 8.5″ x 1″ | 10-Pack, Design May Vary (44510)

6. Wheel Chocks
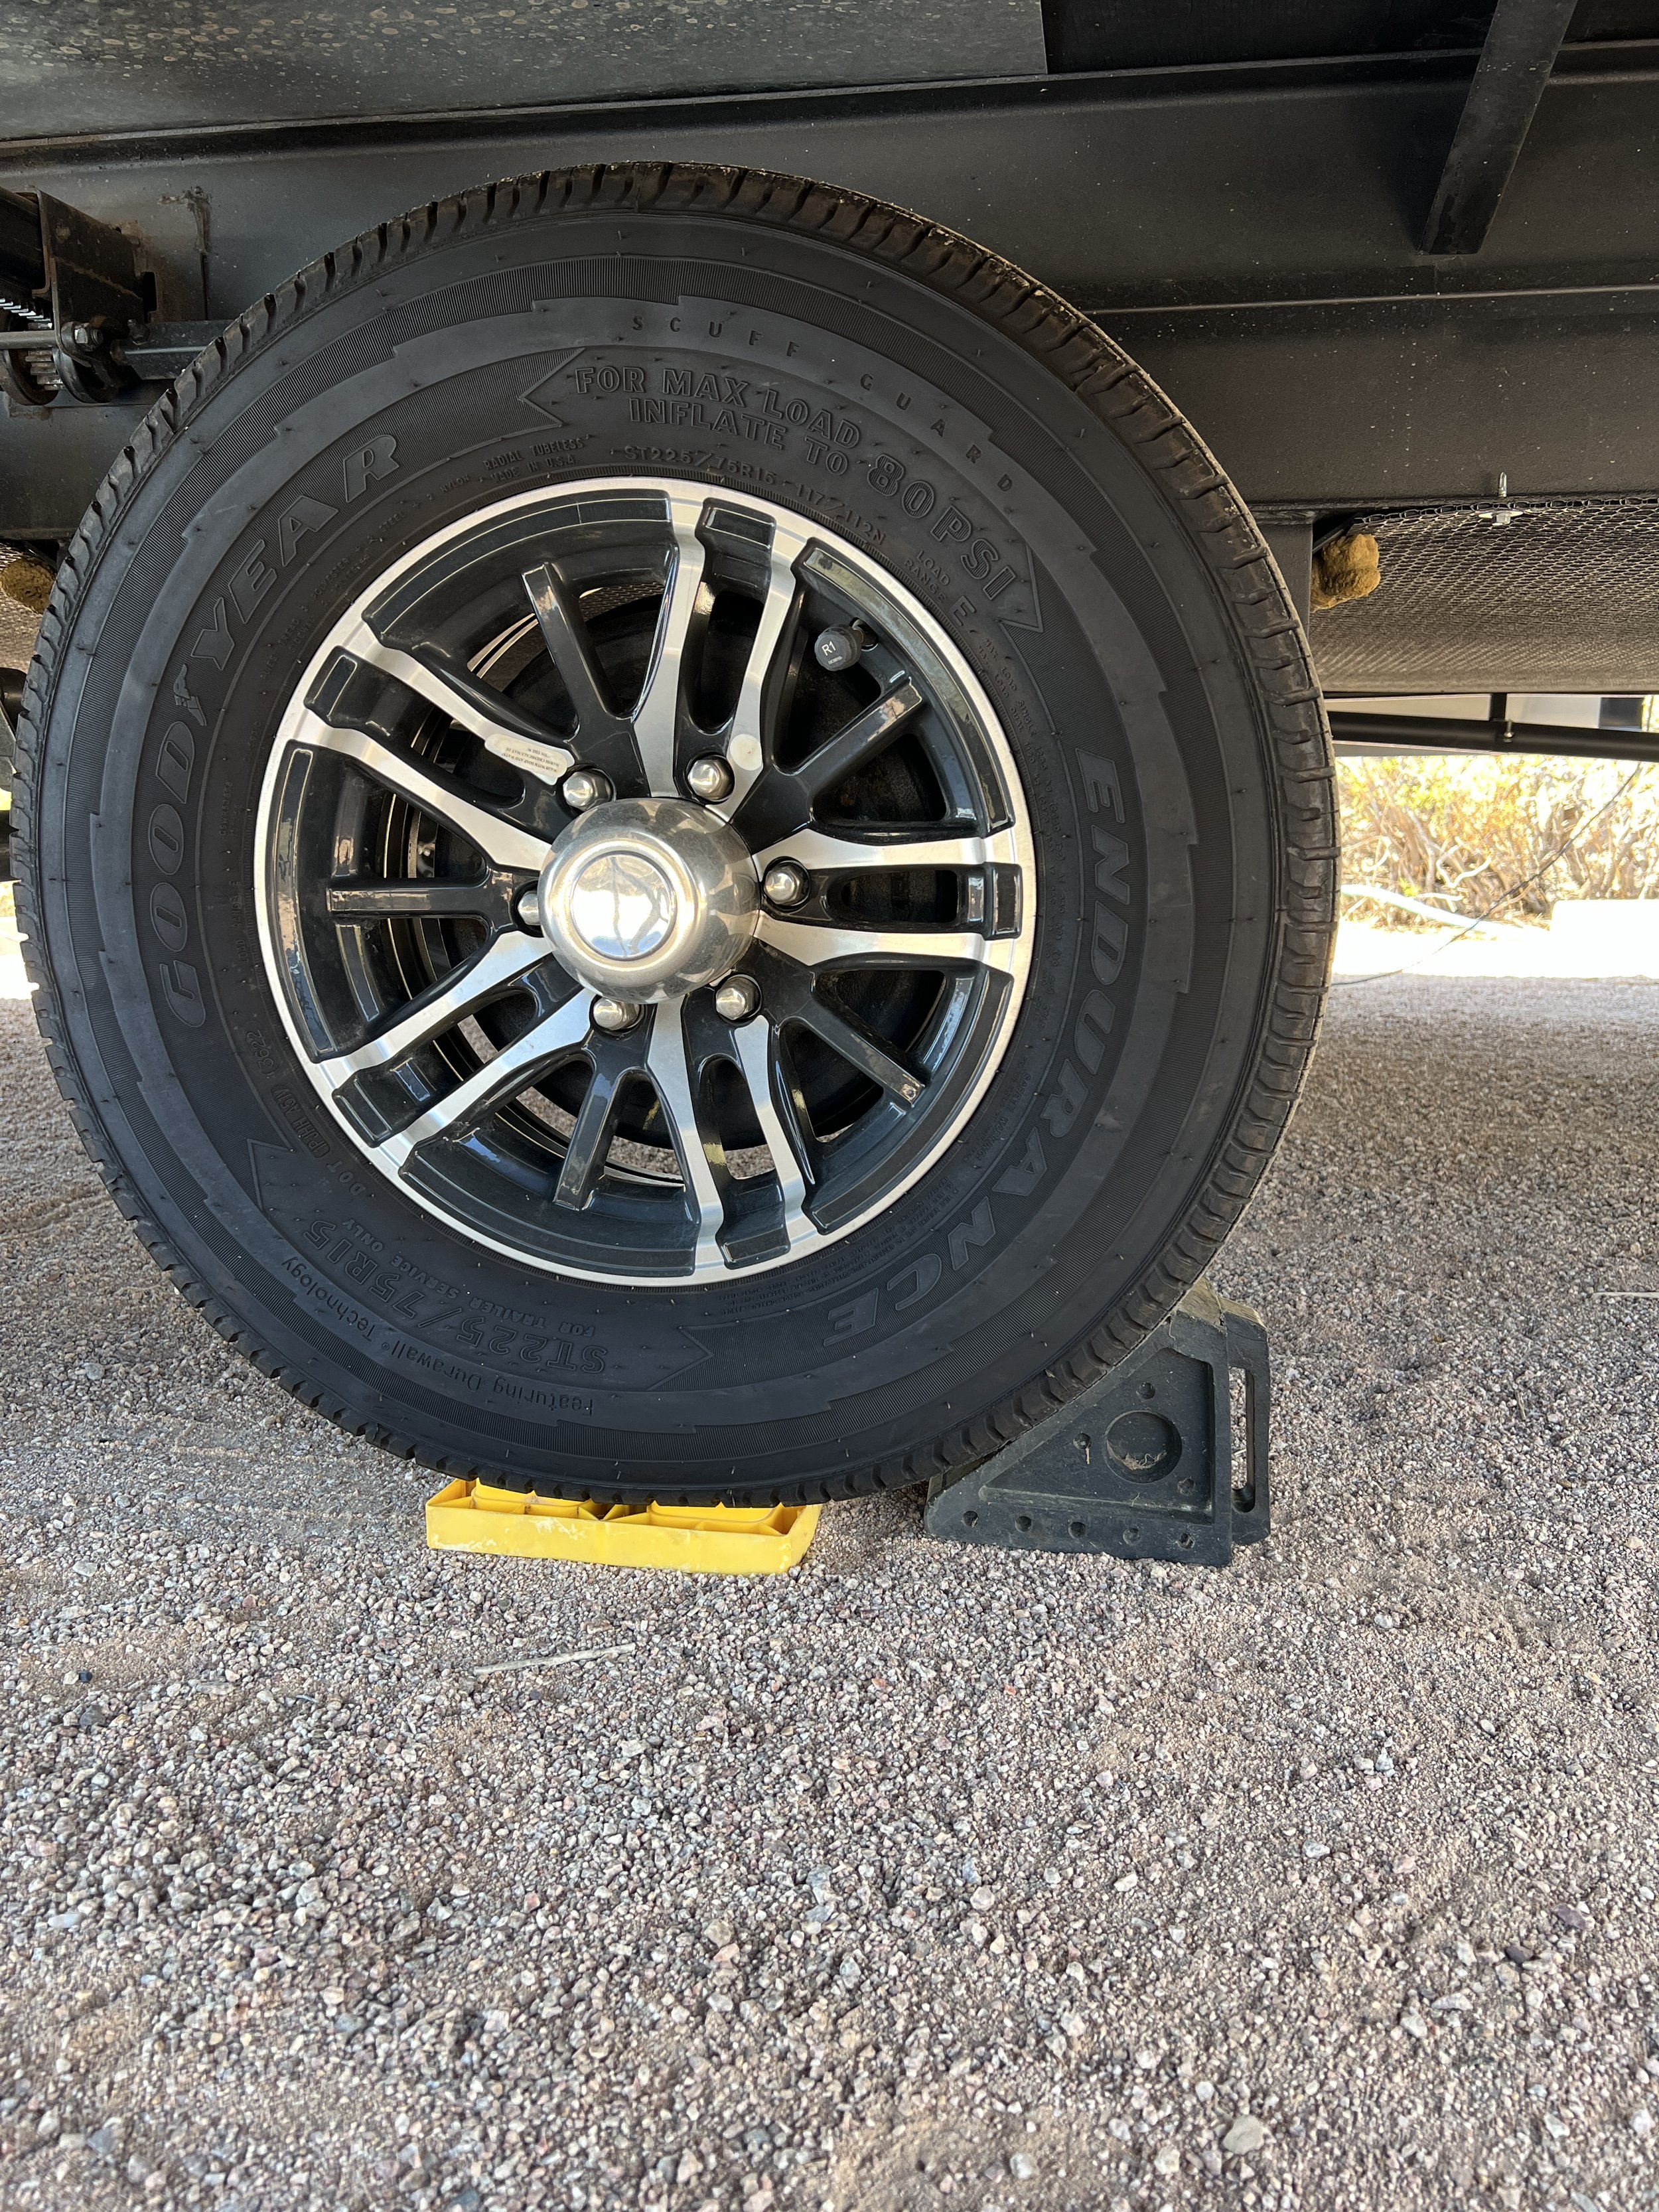
After you’ve leveled your rig and you’re ready to unhook your truck you’ll want to chock the wheels to make sure you RV doesn’t roll away once you detach your truck. The chocks go on the outer portion of your wheels to prevent your rig from rolling forward or backward. We first bought cheap plastic chocks and eventually upgraded to the Fasmov Solid Rubber Heavy Duty Chocks. These chocks are thick and durable and you won’t have to worry about your rig rolling away.
You also might consider getting X Chocks. X Chocks go in between the tires on your rig and help reduce movement when your inside your rig as well as locking up the axels so you know those tires won’t be rolling anywhere.

Fasmov 2 Pack Solid Rubber Heavy Duty Wheel Chock, Ergonomic Carry Handles, Premium Chock for Car, Travel Trailers, RV, Truck, and ATV

X-Chock Wheel Stabilizer – Pair – One Handle – 28012
7. Coupler Lock
When we first left the dealer with our brand new travel trailer and headed to our storage unit we were complete newbies. We arrived to our storage unit, got our RV all settled and then thought, what is preventing somebody from just hooking up to our trailer and leaving? Mike then ran to the hardware store grabbed whatever lock was available while I stayed with the rig at the storage unit.
After that initial lock, we decided to upgrade to a lock set like the one below to have for different uses. If you’re planning to store your rig outside at a storage unit we like having the Reese Towpower Coupler Lock for extra protection. When we are out traveling we use a standard key lock and feel comfortable with that because we generally feel very safe at most RV parks we visit.

REESE Towpower 72783 Coupler Lock, Adjustable Storage Security, Heavy-Duty Steel, Yellow and Chrome
8. 4 Way Lug Wrench
This is mainly a just in case tool to have in the event that something goes wrong with one of tires on your rig. The lug nuts on most RV tires are different than the lug nuts on your truck so a Cartman 16 in Universal Heavy Duty Lug Wrench is essential to have if you’re going to be traveling across the country. There’s a good chance you’ll be a far drive from the next tire repair store & you don’t want to be left waiting on AAA.

CARTMAN 16 Inch Universal Heavy Duty Lug Wrench Non Slip 4 Way Tire Iron Wrench
We hope you found this guide helpful in having a successful first camping trip! Let us know in the comments below how you started your RV journey!


Hi kids… Just chillin , reading your blog looking at the stuff & your pics..
Enjoy🤩💙😎