
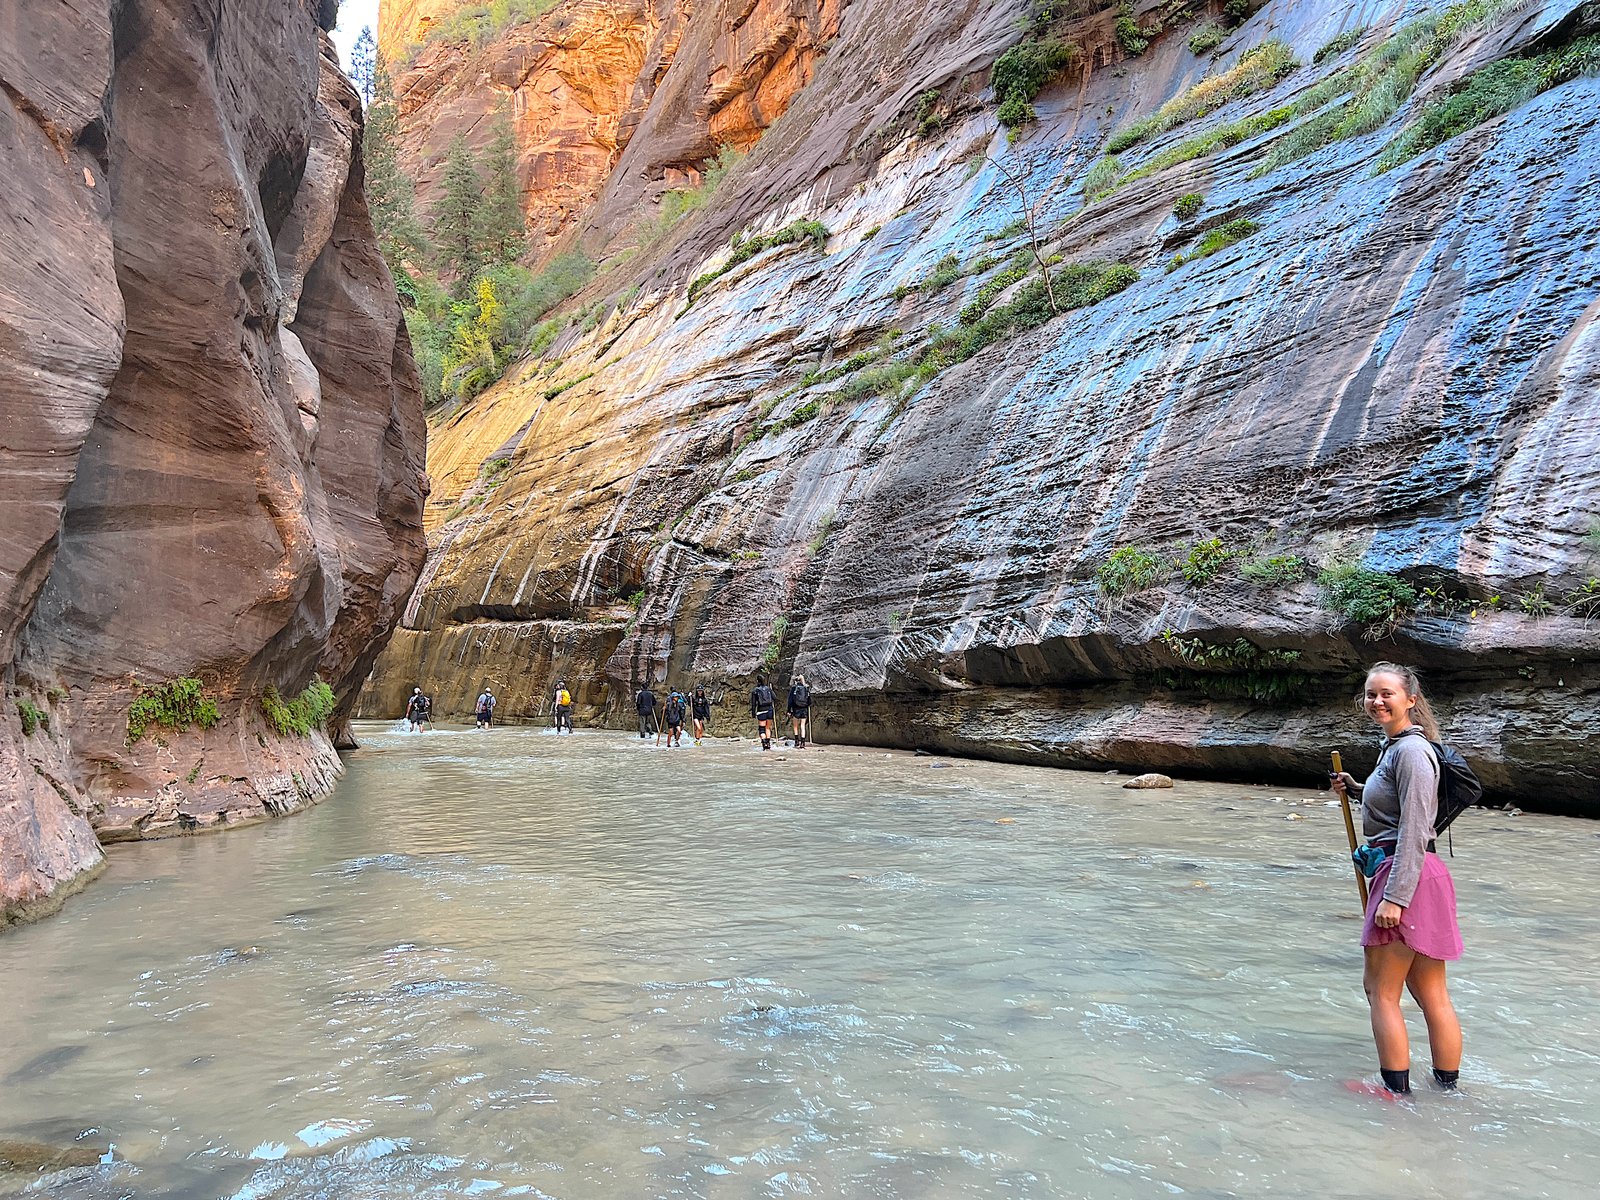
Wading through towering, thousand-foot sandstone walls with the Virgin River rushing around your ankles is easily one of the most bucket-list-worthy adventures in the American Southwest. Hiking The Narrows in Zion National Park is unlike any traditional trail—after all, the river is the trail.
If the thought of hiking through flowing water, checking weather forecasts for flash floods, and figuring out specialized gear has you feeling a little intimidated, you aren’t alone. Planning your first trek into this breathtaking slot canyon can feel overwhelming. But with the right preparation, the proper gear, and a healthy respect for the canyon, tackling The Narrows is an unforgettable experience that is entirely achievable—even for beginners.
Whether you’re wondering what to wear to keep your feet protected against the slick river rocks, or how to know when it’s safe to go, this ultimate beginner’s guide covers everything you need to know before you step foot in the water.
This post contains affiliate links, so we may earn a small commission when you make a purchase through links on our site at no additional cost to you.
In This Guide: What We’ll Cover
- Quick Trail Stats: The Narrows (Bottom-Up Route) – Distance, time, elevation, and permit details at a glance.
- Understanding The Narrows: Bottom-Up vs. Top-Down – Choosing the right route for beginners versus backpackers.
- How to Get There: Logistics & The Zion Shuttle – Parking tips, the Zion shuttle route, and the 1-mile Riverside Walk.
- Essential Gear: What to Wear and Rent for The Narrows – Why canyoneering boots, neoprene socks, and dry bags are non-negotiable.
- Safety First: Weather, Flow Rates, and Water Quality – Critical guidelines on flash floods, CFS flow rates, and cyanobacteria.
- Best Time of Day and Year to Hike The Narrows – Seasons to target and why beating the morning crowds matters.
- What to Expect on the Trail: From Riverside Walk to Wall Street – Navigating the riverbed, water depths, and towering canyon milestones.
- Our Experience: What It’s Really Like to Hike The Narrows – A firsthand account of reaching Orderville Gulch and dealing with a weather scare.
- Quick Tips for First-Time Narrows Hikers – Restroom locations, keeping hands free, and post-hike comfort tips.
- Frequently Asked Questions About Hiking The Narrows – Answers to permit rules, water depth, kid-friendliness, and turnaround points.
- Conclusion: Take the Plunge – Final words of encouragement for your big adventure.
- Helpful Links & Resources – Official NPS, weather, shuttle, and USGS water flow tracking tools.
Quick Trail Stats: The Narrows (Bottom-Up Route)
- Trail Type: Out-and-back (turn around whenever you want)
- Distance: Customizable (Most day hikers do 4 to 9 miles round-trip)
- Starting Point: Temple of Sinawava (via the 1-mile paved Riverside Walk each way)
- Elevation Gain: Minimal/Gradual (~300 to 400 feet as you walk upstream)
- Permits Required: None for the bottom-up route
- Average Time: 3 to 6 hours (depending on how far you choose to go)
Understanding The Narrows: Bottom-Up vs. Top-Down
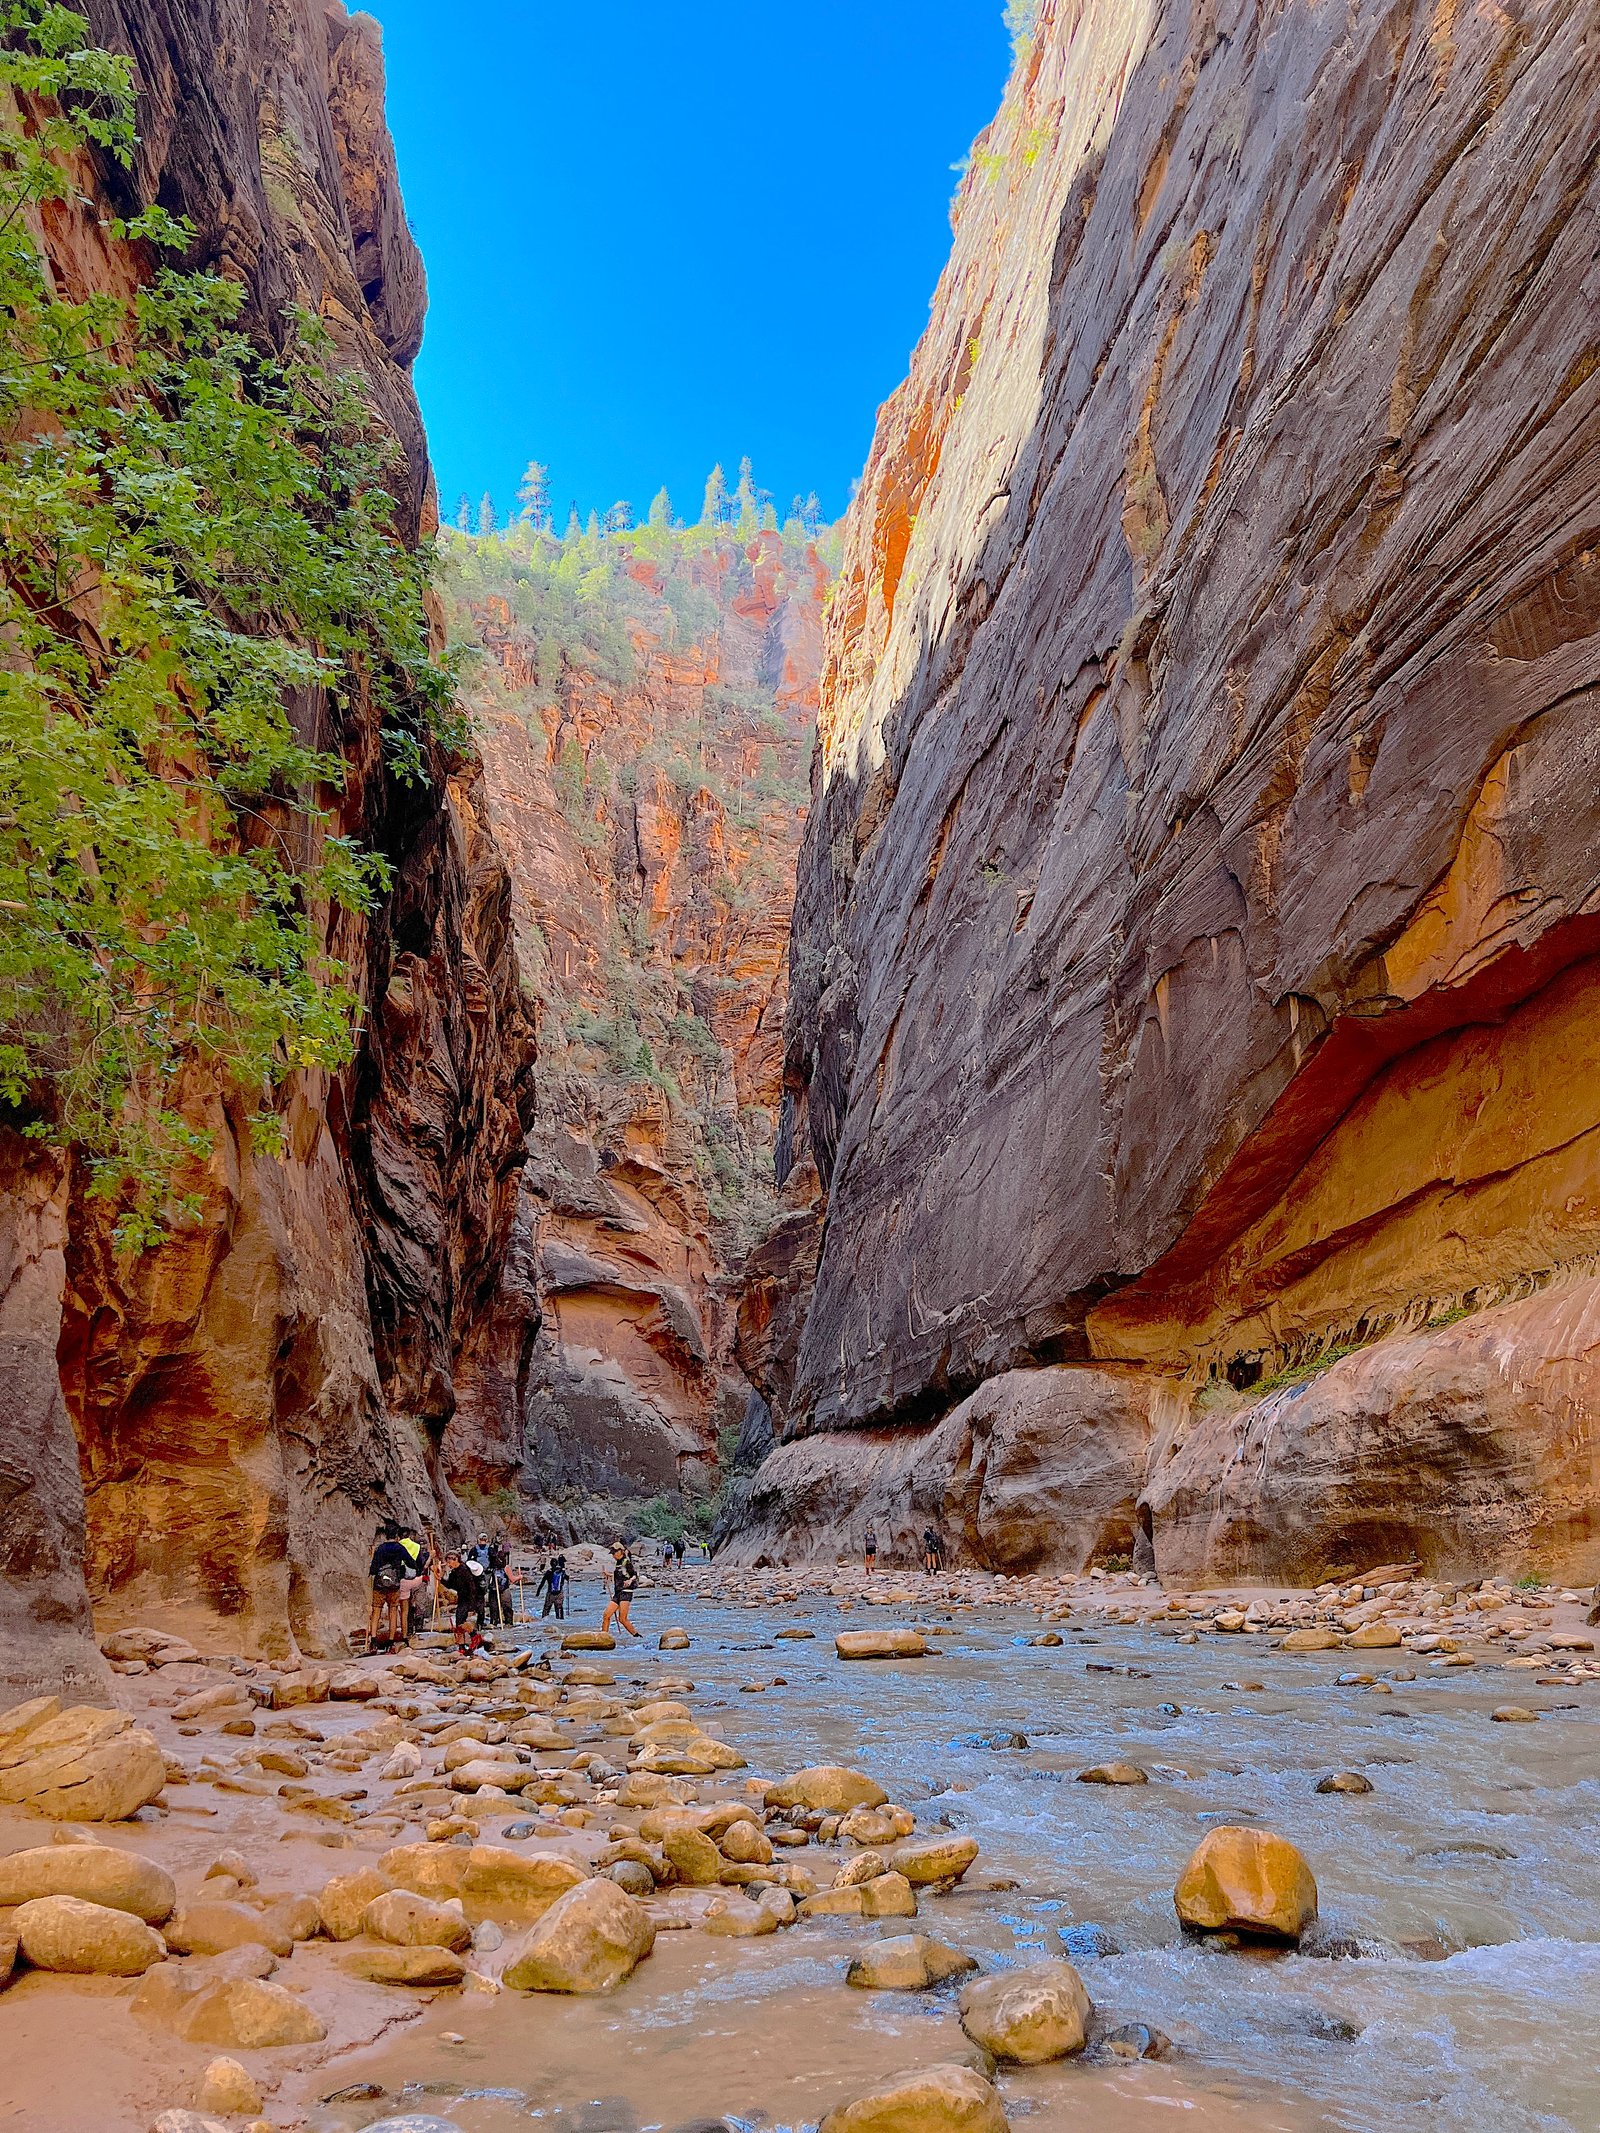
Before you start packing your dry bags or mapping out your travel schedule, the most important thing to know about hiking The Narrows is that there are two entirely different ways to experience it.
If you are reading this guide and planning your first adventure into the canyon, you will almost certainly be doing the Bottom-Up hike. But to avoid any confusion at the visitor center, it helps to understand how the two routes compare.
1. The Bottom-Up Hike (Best for Beginners & Most Visitors)
- Distance: Out-and-back (turn around whenever you want; a common turnaround point is 3 to 5 miles in).
- Permits: None required!
- The Experience: This is the classic, postcard-worthy Zion Narrows experience. You take the park shuttle to the final stop, walk the paved Riverside Trail to the water’s edge, and hike upstream into the slot canyon for as long as you’d like before turning around and heading back the same way.
- Why it’s great: Total flexibility. If you want to hike for two hours, wade through Wall Street, and head back for an afternoon ice cream, you can. You control the distance and your turnaround point.
2. The Top-Down Hike (For Backpackers & Experienced Hikers)
- Distance: 16 miles point-to-point (usually done as an exhausting grueling day hike or a one-night backpacking trip).
- Permits: Highly competitive advance wilderness permits are required via recreation.gov.
- The Experience: This route starts way up at Chamberlain’s Ranch outside the park boundary and requires a long shuttle ride to the trailhead. You will hike the entire length of the gorge, navigating obstacles like boulder fields and the famous Big Spring waterfall, and exit out through the bottom.
- Why it’s great: You get to see the entire, remote length of the canyon. However, it requires serious physical endurance, logistics planning, and permit luck.
Which one should you choose?
For 95% of visitors—and anyone looking for a manageable, awe-inspiring day trip—the Bottom-Up route is the absolute winner. It gives you the full, dramatic slot canyon experience (including the towering thousand-foot walls and stunning river wading) without the grueling mileage or lottery permits.
How to Get There: Logistics & The Zion Shuttle
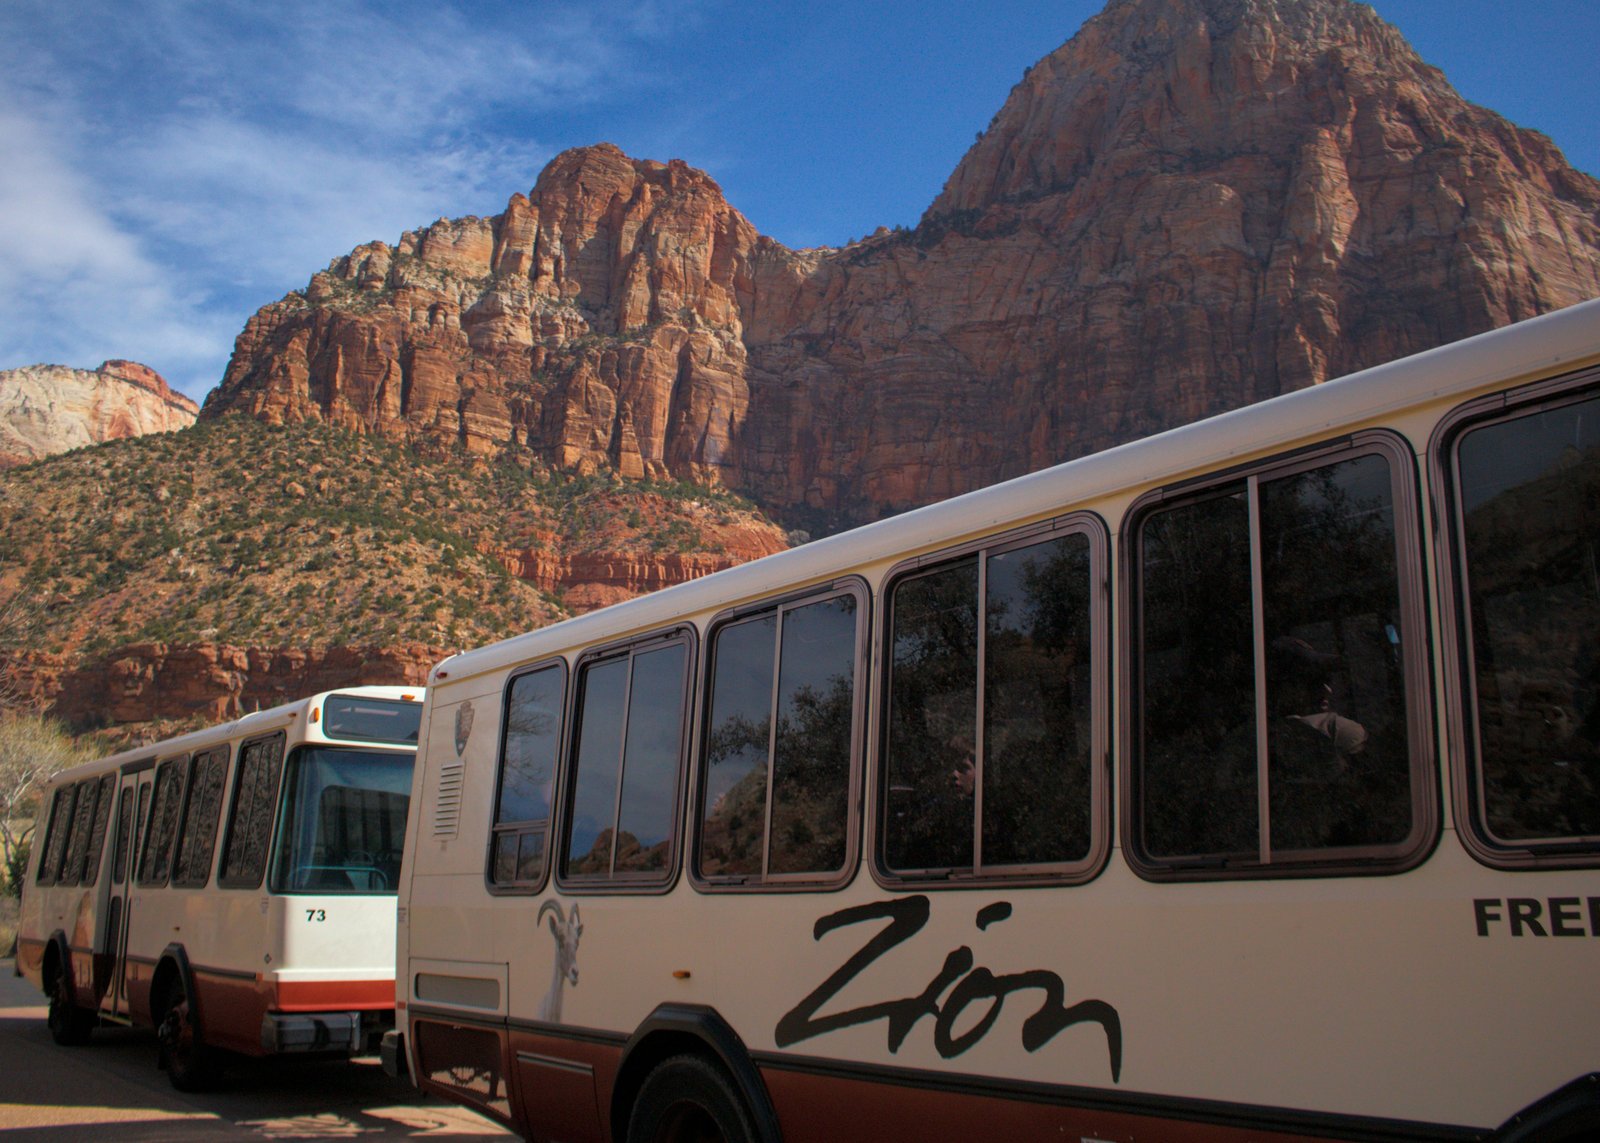
Getting to the trailhead for the Bottom-Up hike requires a bit of pre-planning because you can’t just drive your personal car right up to the starting point.
Because Zion Canyon traffic is heavily regulated to protect the park, here is the exact step-by-step process of how to get from your hotel or parking spot to the edge of the river.
Step 1: Park or Ride into Zion National Park
If you are staying in Springdale, you can often take the town shuttle or walk right up to the park’s main pedestrian entrance. If you are driving in, you’ll want to arrive early to secure a spot in the Zion Canyon Visitor Center parking lot, as it tends to fill up fast by mid-morning.
Step 2: Board the Zion Canyon Shuttle
Once inside the park, you will board the Zion Canyon Shuttle from the Visitor Center.
- The Route: You will ride the shuttle all the way to the very last stop on the line: Stop #9 – Temple of Sinawava.
- Travel Time: The shuttle ride takes about 45 minutes from the Visitor Center. It’s a scenic ride with an automated audio tour, so sit back and enjoy the views of the massive cliffs as you travel up the canyon.
Step 3: Hike the Riverside Walk (1 Mile Each Way)
When you hop off the shuttle at the Temple of Sinawava, you aren’t actually in the river yet!
- You still need to hike the Riverside Walk, which is a paved, mostly flat 1-mile trail (2 miles round-trip) that follows the Virgin River upstream.
- This trail is fully accessible, beautifully shaded by cottonwood trees, and lined with hanging gardens. Along the way, keep an eye out for mule deer and squirrels.
Step 4: Reach the Water’s Edge
At the end of the paved Riverside Walk, the trail simply ends at a wide, rocky bank where the river meets the canyon floor. This is the official starting point of The Narrows!
This is where you will sit down on the rocks, swap your regular hiking shoes for your river gear (or adjust your walking poles), take a deep breath, and step directly into the Virgin River to begin your hike.
Essential Gear: What to Wear and Rent for The Narrows
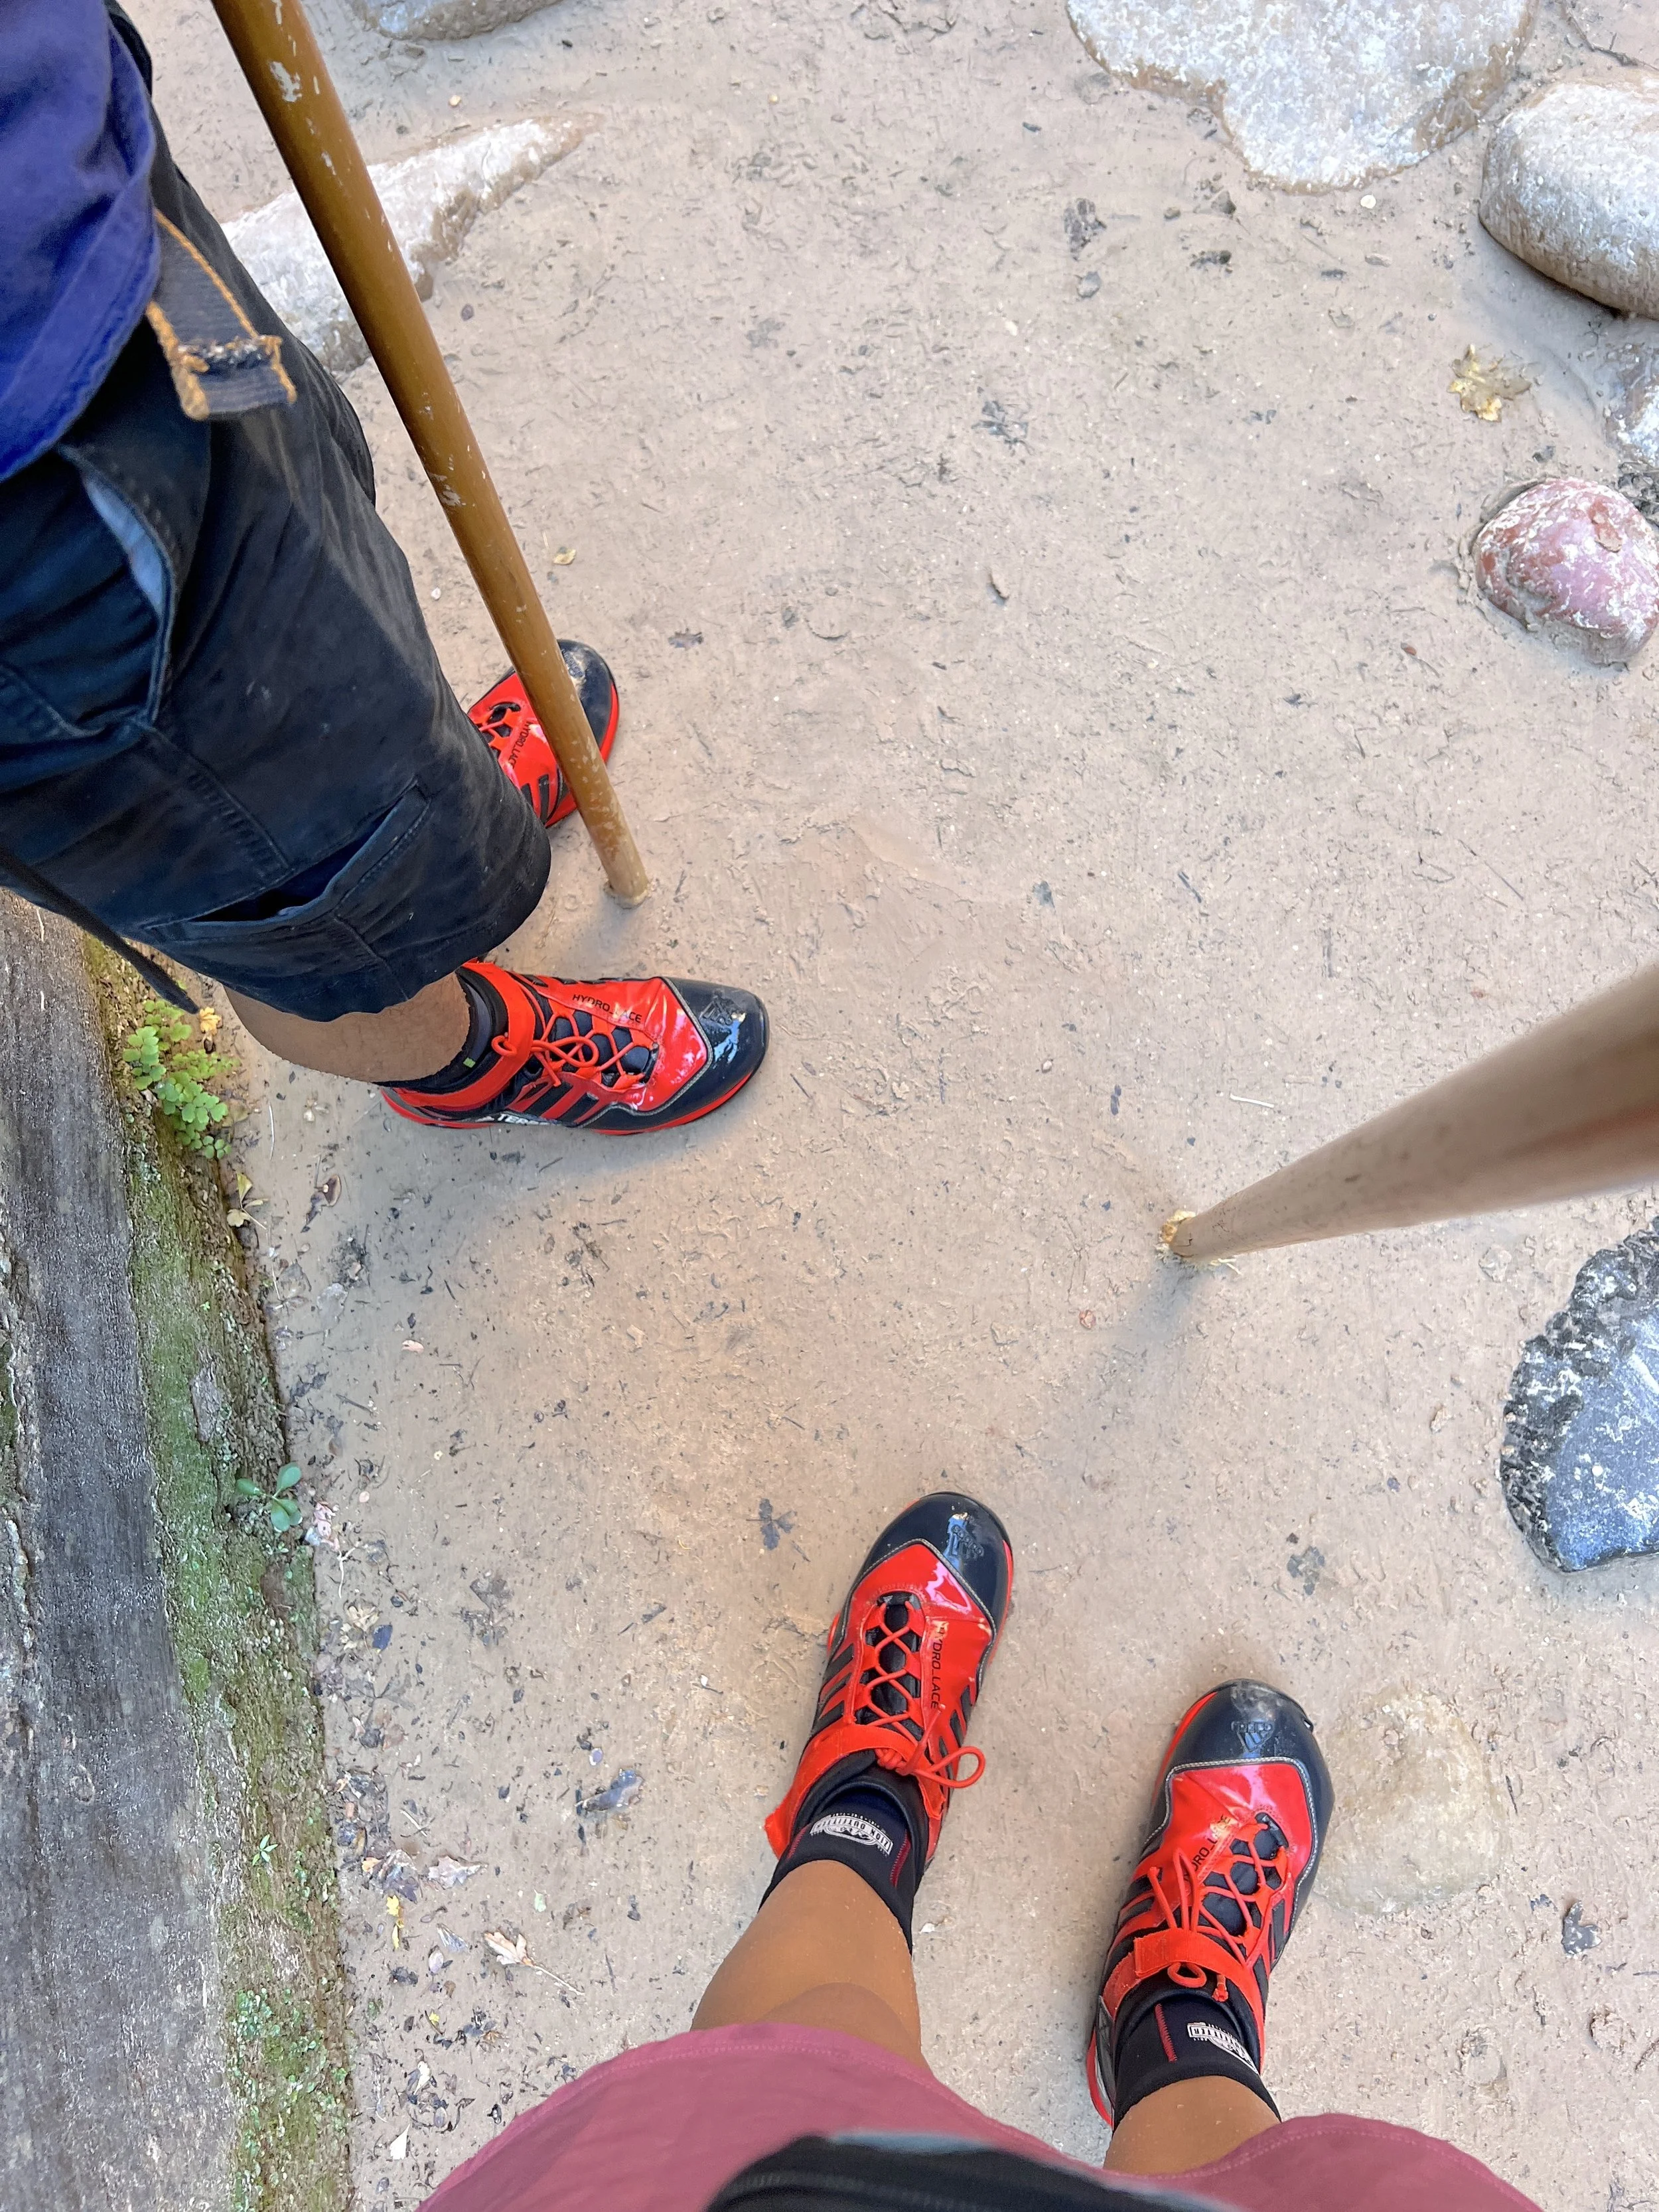
If there is one golden rule for hiking The Narrows, it is this: do not underestimate the river.
Unlike a dirt trail, your feet will be completely submerged in moving water, walking over smooth, slippery, and sometimes hidden river rocks. Regular sneakers, casual hiking boots, or sandals will not cut it here—they lack traction, trap heavy water, and offer zero ankle support against the current.
Here is everything you need to wear, rent, and pack to stay safe, comfortable, and warm.
1. The Holy Grail: The Outfitter Gear Rental Package
Before your trip, you’ll want to rent a specialized gear package from one of the outdoor outfitters in Springdale (such as Zion Adventure Company or Zion Outfitter). For around $30 to $50 a day, renting this setup is hands-down the best investment you can make for your hike:
- Canyoneering Boots: These have sticky rubber soles (similar to climbing shoes) designed specifically to grip wet, algae-covered sandstone. They give you incredible traction where normal shoes would slip.
- Neoprene Socks: These thick, wetsuit-material socks trap a thin layer of water against your skin, which your body heat warms up. They are essential for keeping your feet from going numb in the chilly river water.
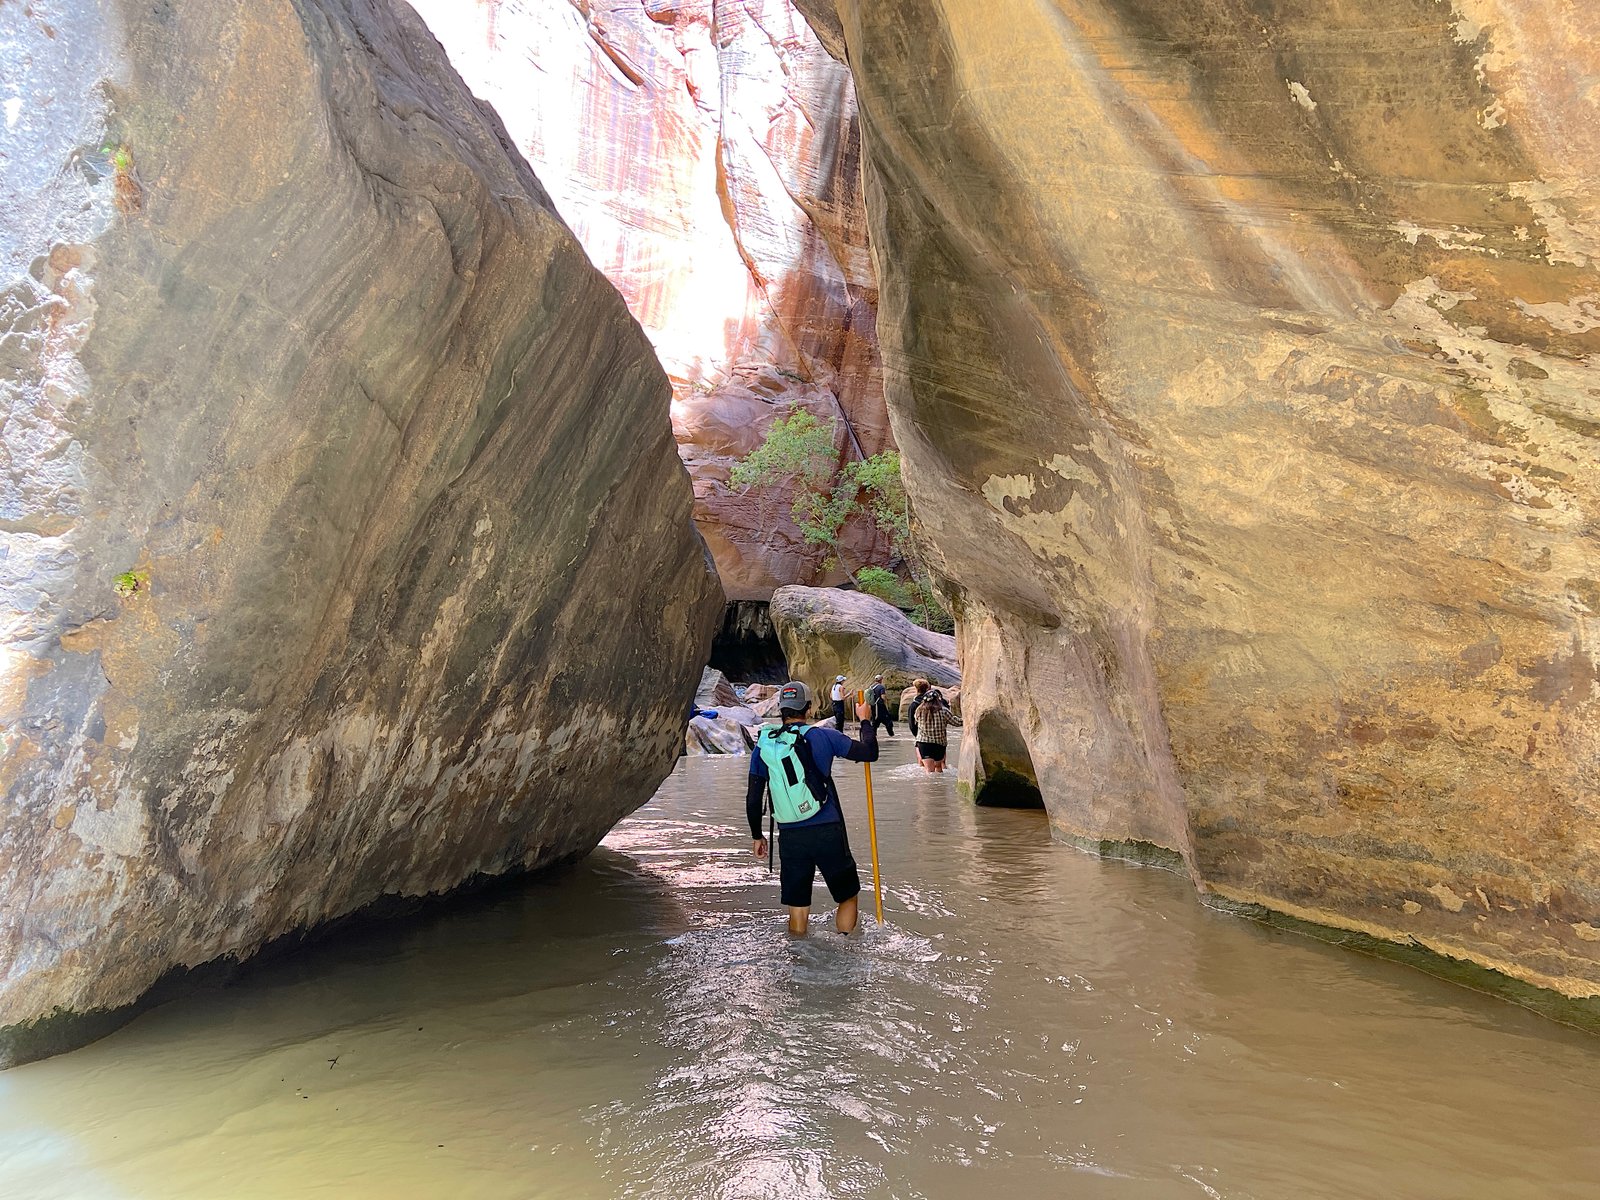
- Wooden Walking Stick (or Trekking Poles): A sturdy wooden staff is provided with most rental packages. Do not skip this! Having a third point of contact on the riverbed is crucial for balancing against the current and testing the depth of the water before you step.
2. What to Wear (Quick-Dry & Sun Protection)
Because you will be wading in water that rarely gets direct sunlight (thanks to the towering thousand-foot canyon walls), layering is key:
- Bottoms: Quick-drying hiking pants, shorts, or leggings made of synthetic materials (nylon or polyester). I did this hike in CRZ YOGA Quick Dry Skirt and I highly recommend it. It is light weight and flexible skirt with built in shorts which made it so easy to navigate this unique river trail. Avoid denim or heavy cotton, which stay heavy and cold when wet.
- Tops: A lightweight, moisture-wicking short-sleeve or long-sleeve shirt. I love wearing the Soothfeel UPF 50+ Sun Protection Hoodie —it’s fantastic for keeping the sun off your arms during the walk to the trailhead, and it dries quickly if you splash yourself.
- Neoprene Top or Jacket (If hiking in cooler months): If you are tackling The Narrows in the spring or fall when water temperatures are quite cold, you may want to rent a neoprene jacket or top along with your boots.
3. Protecting Your Valuables (Dry Bags & Packs)
The water level in The Narrows varies, but you can easily hit waist- or chest-deep water depending on your route and the season.
- Backpack: Use a lightweight, water-resistant backpack.
- Dry Bags: Do not trust regular Ziploc bags. Put your phone, car keys, wallet, and camera equipment inside a heavy-duty waterproof dry bag (like a HEETA Dry Bag Backpack) right inside your pack. Many rental packages include a small dry bag rental, which is well worth it, but having your own reliable one ready to go gives you total peace of mind.
- Water & Snacks: Pack plenty of water (even if the water is cold, you are working hard) and high-energy snacks like trail mix or protein bars in a waterproof container. (Tip: Pairing leak-proof insulated water bottles like Simple Modern or a hydration bladder with electrolyte packets like LMNT is a lifesaver for keeping your hydration up.)
Safety First: Weather, Flow Rates & Flash Floods
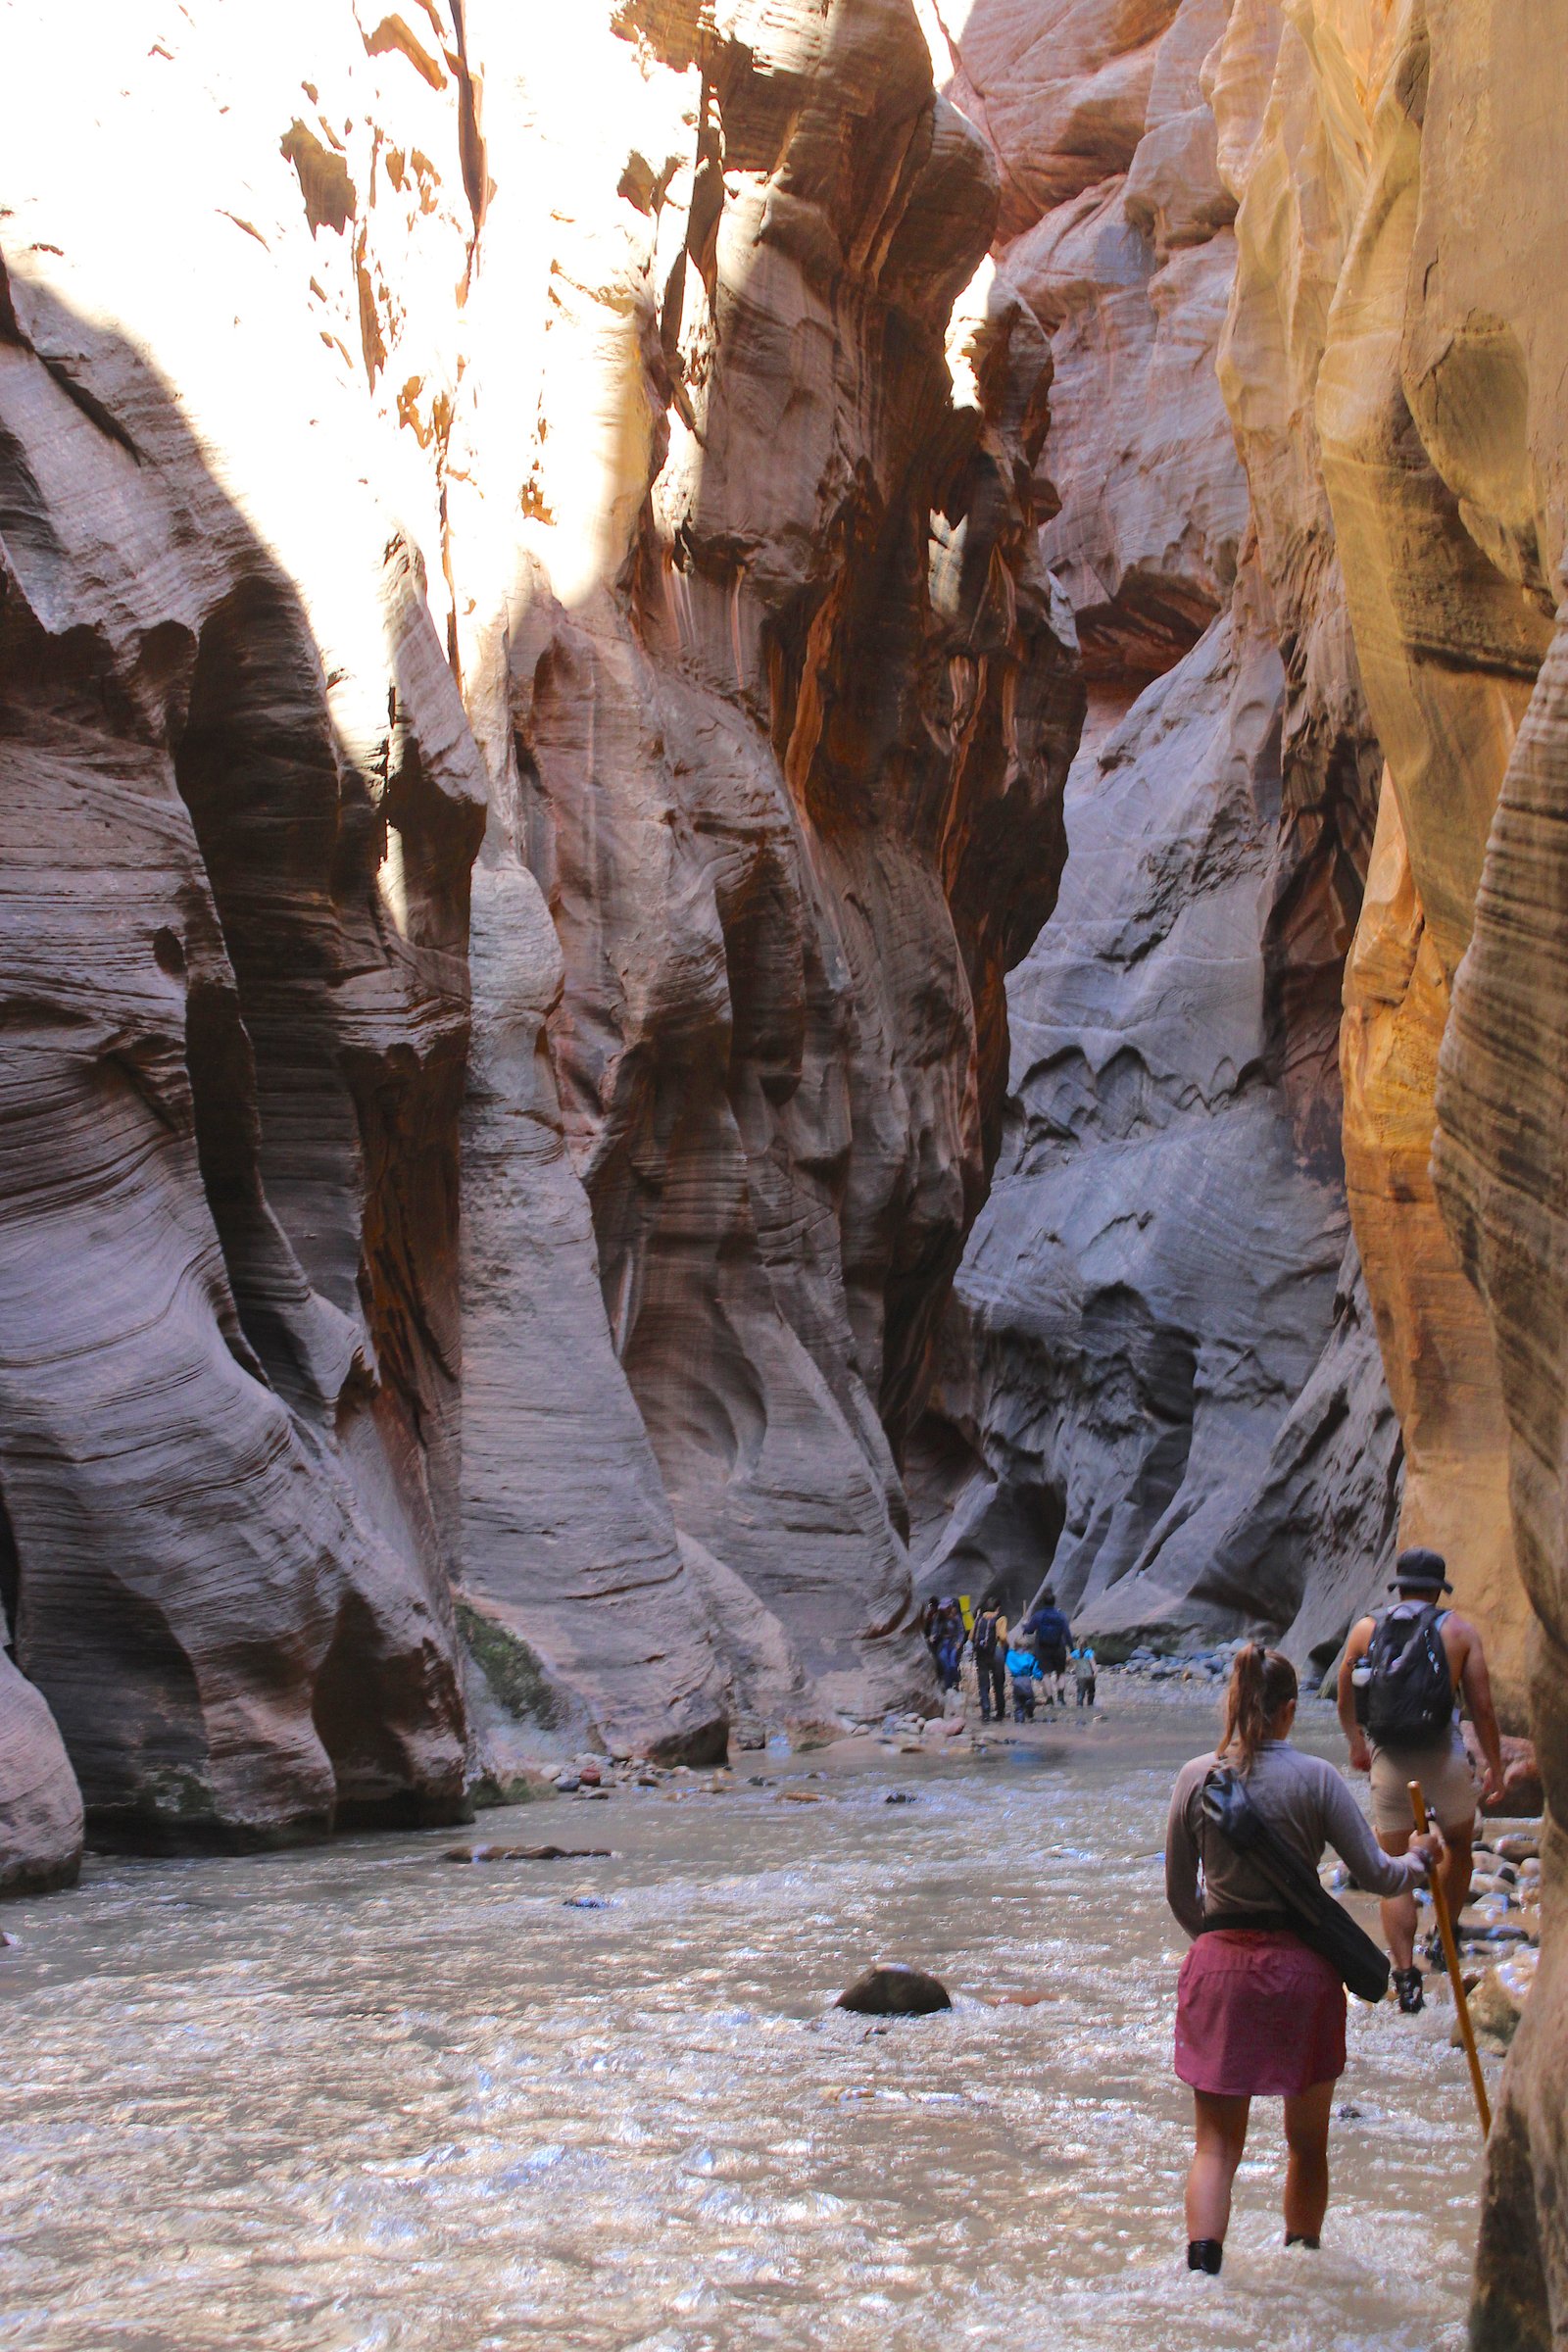
While hiking The Narrows is an incredible bucket-list experience, slot canyons demand a healthy dose of respect. Because you are walking inside a massive natural drainage system with thousand-foot sheer walls, weather conditions miles away can drastically impact your safety.
Before you step a single foot into the Virgin River, you need to understand the three golden rules of Narrows safety.
1. Check the Flash Flood Forecast (Non-Negotiable)
Flash floods are the single greatest hazard in slot canyons. They can happen with little to no warning, sometimes triggered by thunderstorms miles upstream where the sky is completely blue overhead.
- Check with a Ranger: Always stop by the Zion Visitor Center or check the official park bulletin boards before you go to look at the National Weather Service’s Flash Flood Potential Rating for the day.
- The Golden Rule: If a Flash Flood Warning is issued by the National Weather Service, The Narrows are officially closed. Never enter the canyon if there is even a marginal threat of thunderstorms in the forecast.
2. Know the Virgin River Flow Rates (CFS)
The river’s volume is measured in Cubic Feet Per Second (CFS), which changes daily based on snowmelt and recent rainfall. Outfitters and park rangers track this closely:
- Under 100 CFS: Ideal, beginner-friendly conditions. Wading is generally manageable, and water is mostly ankle-to-knee deep.
- 100 to 150 CFS: Moderate conditions. The current becomes noticeably stronger and water depths push mid-calf to knee.Recommended only for prepared hikers.
- Over 150 CFS: The park closes The Narrows to bottom-up hikers. Currents become dangerous and swimming or staying upright in the rushing water becomes a severe hazard.
3. Watch Out for Toxic Cyanobacteria
Harmful algal blooms can occasionally occur in the Virgin River, producing cyanotoxins that are dangerous to humans and pets. To stay safe, follow park guidelines:
- Never drink instream water. Even if you use a backcountry filter, standard filters do not remove these toxins.
- Avoid submerging your head or getting river water in your mouth (which is extra important to remember if you happen to take an accidental slip into a deeper pool!).
- Pack plenty of water. Bring more than enough clean drinking water from home or your hotel so you never have to be tempted to rely on the river.
4. Spot the Warning Signs & Know What to Do
Even if the weather looks fine when you start, conditions can shift rapidly. Keep an eye out for these immediate red flags while on the trail:
- Sudden changes in water clarity: If the crystal-clear river suddenly turns muddy, chocolate-brown, or starts carrying floating debris like branches, water is rushing in from upstream.
- Audible changes: Listen closely for an escalating, low-pitched roar echoing down the canyon.
- What to do: If you notice any of these signs—or if it starts to rain—head for higher ground immediately. Do not waste time trying to pack up gear or retrieve dropped items. Climb as high up the canyon walls or boulders as safely possible and wait for conditions to subside.
Best Time of Day and Year to Hike The Narrows
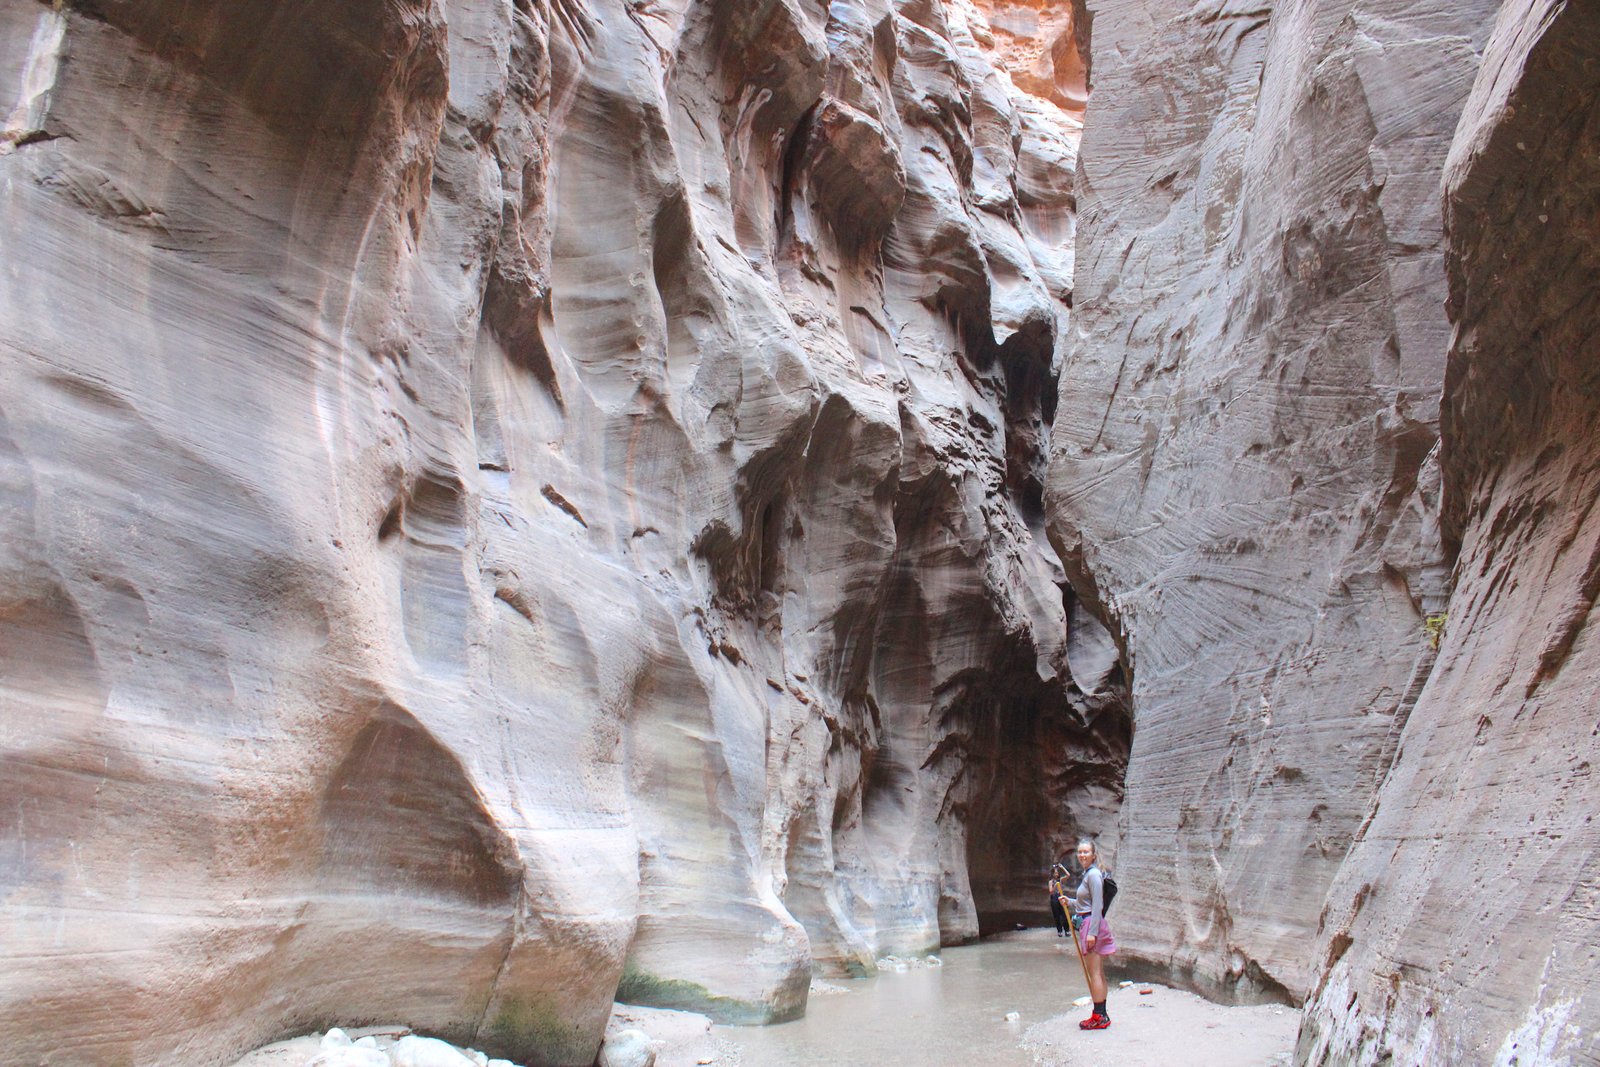
Timing can completely make or break your experience in The Narrows. Because you are dealing with a combination of towering shade, freezing river water, scorching desert air, and seasonal weather patterns, when you go matters just as much as what you wear.
1. The Best Time of Year to Go
- Late Summer to Early Fall (July – October): This is widely considered the sweet spot for beginners. Water temperatures in the Virgin River warm up to their peak (around 60°F to 65°F), making wading feel refreshing rather than freezing. September and October also bring gorgeous fall foliage and more stable weather. (Note: July and August bring summer crowds and the seasonal monsoon window, so always watch the forecast).
- Late Spring (Late May – June): Spring snowmelt finally slows down, bringing lower river flow rates. However, the water is still quite chilly, so renting full neoprene socks (and potentially a warm-weather package) is essential.
- Avoid (March – Mid-May): This is typical spring runoff season. Melting snow from the high country causes high, rushing, and dangerously cold water. The Narrows are frequently closed by the park during these months.
- Winter (November – February): For adventurous hikers seeking solitude, winter trips are possible, but they require renting a full dry suit to prevent hypothermia in sub-45°F water.
2. The Best Time of Day to Go
- Catch the First Shuttles: Aim to be on one of the very first Zion Canyon Shuttles out to the Temple of Sinawava in the morning.
- Why it matters: Starting early (around 7:00 AM or 8:00 AM) means you’ll beat the intense midday heat, secure easier parking, and experience the magic of the canyon in near-silence before the crowds arrive.
- Beat the Afternoon Storms: During the summer and monsoon season, afternoon thunderstorms are a primary driver of flash floods. Getting an early start ensures you finish your hike and are safely out of the canyon well before the risky mid-afternoon weather windows open up.
What to Expect on the Trail: From Riverside Walk to Wall Street
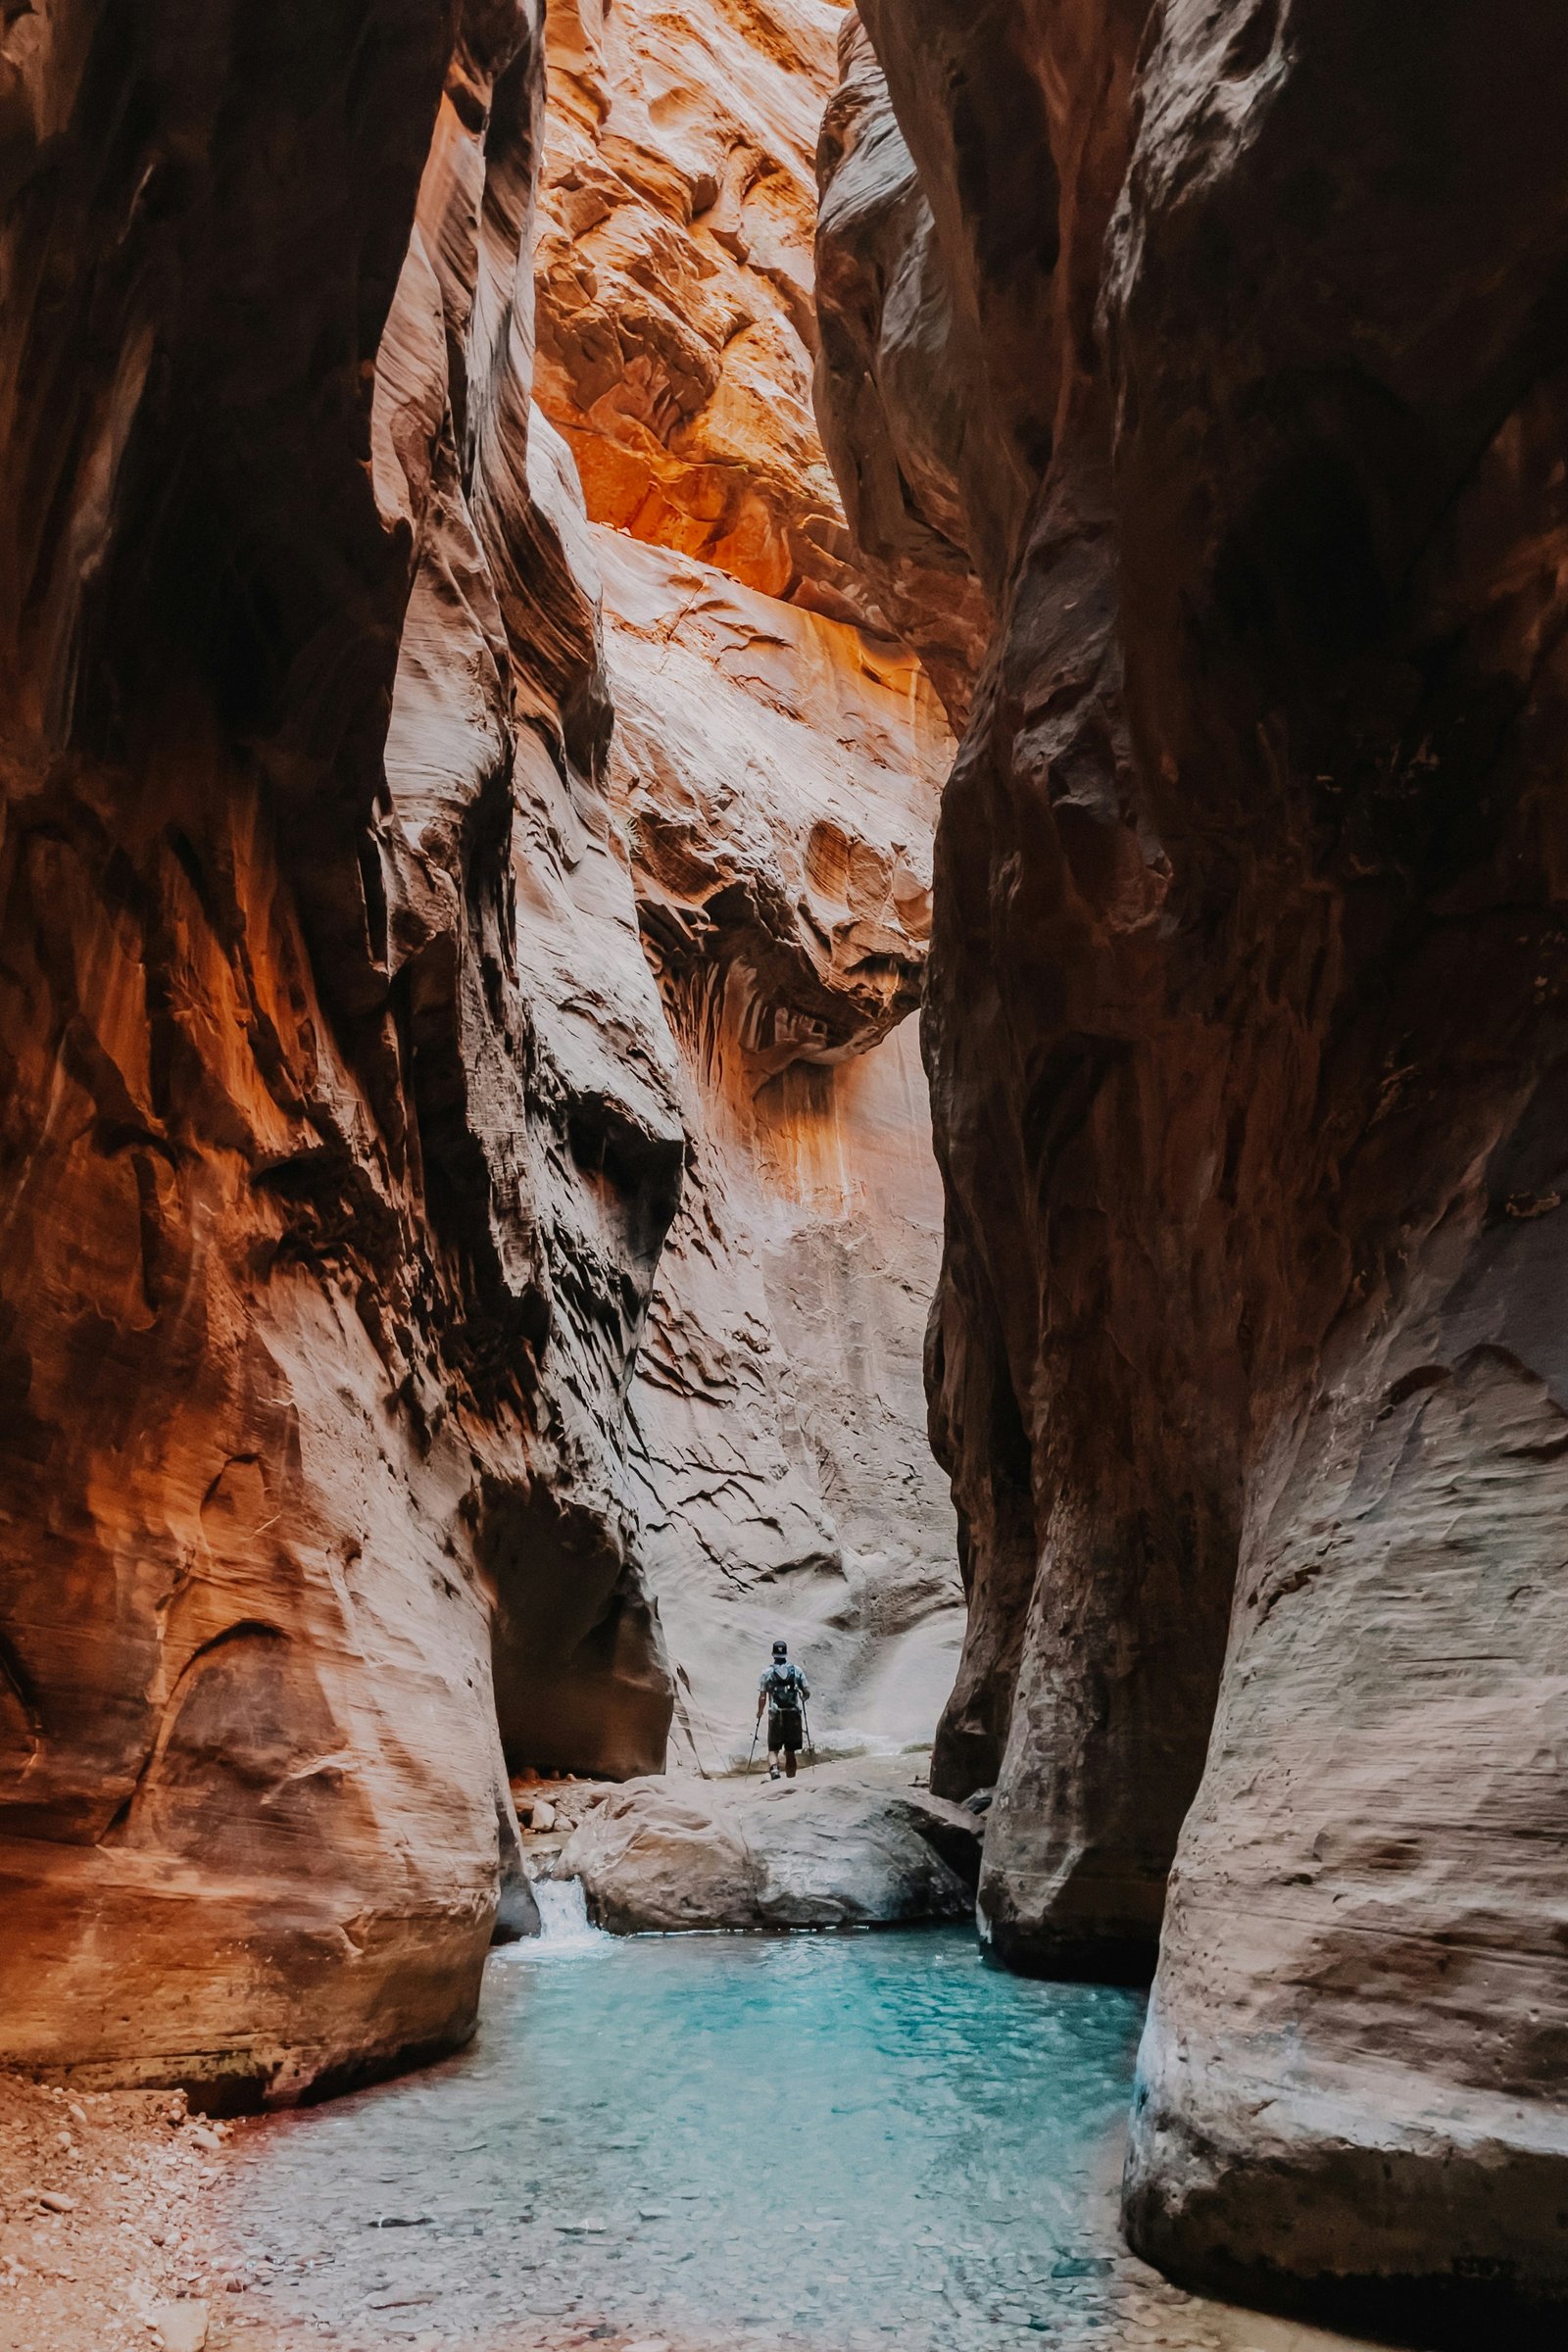
Part of what makes hiking The Narrows so thrilling is that it doesn’t follow a traditional trail map. There is no official “summit” or end sign to look for. Instead, your journey is defined by canyon milestones, changing water depths, and monumental scenery.
Here is what you can expect step-by-step as you venture into the slot canyon:
1. The Transition from Paved Path to River
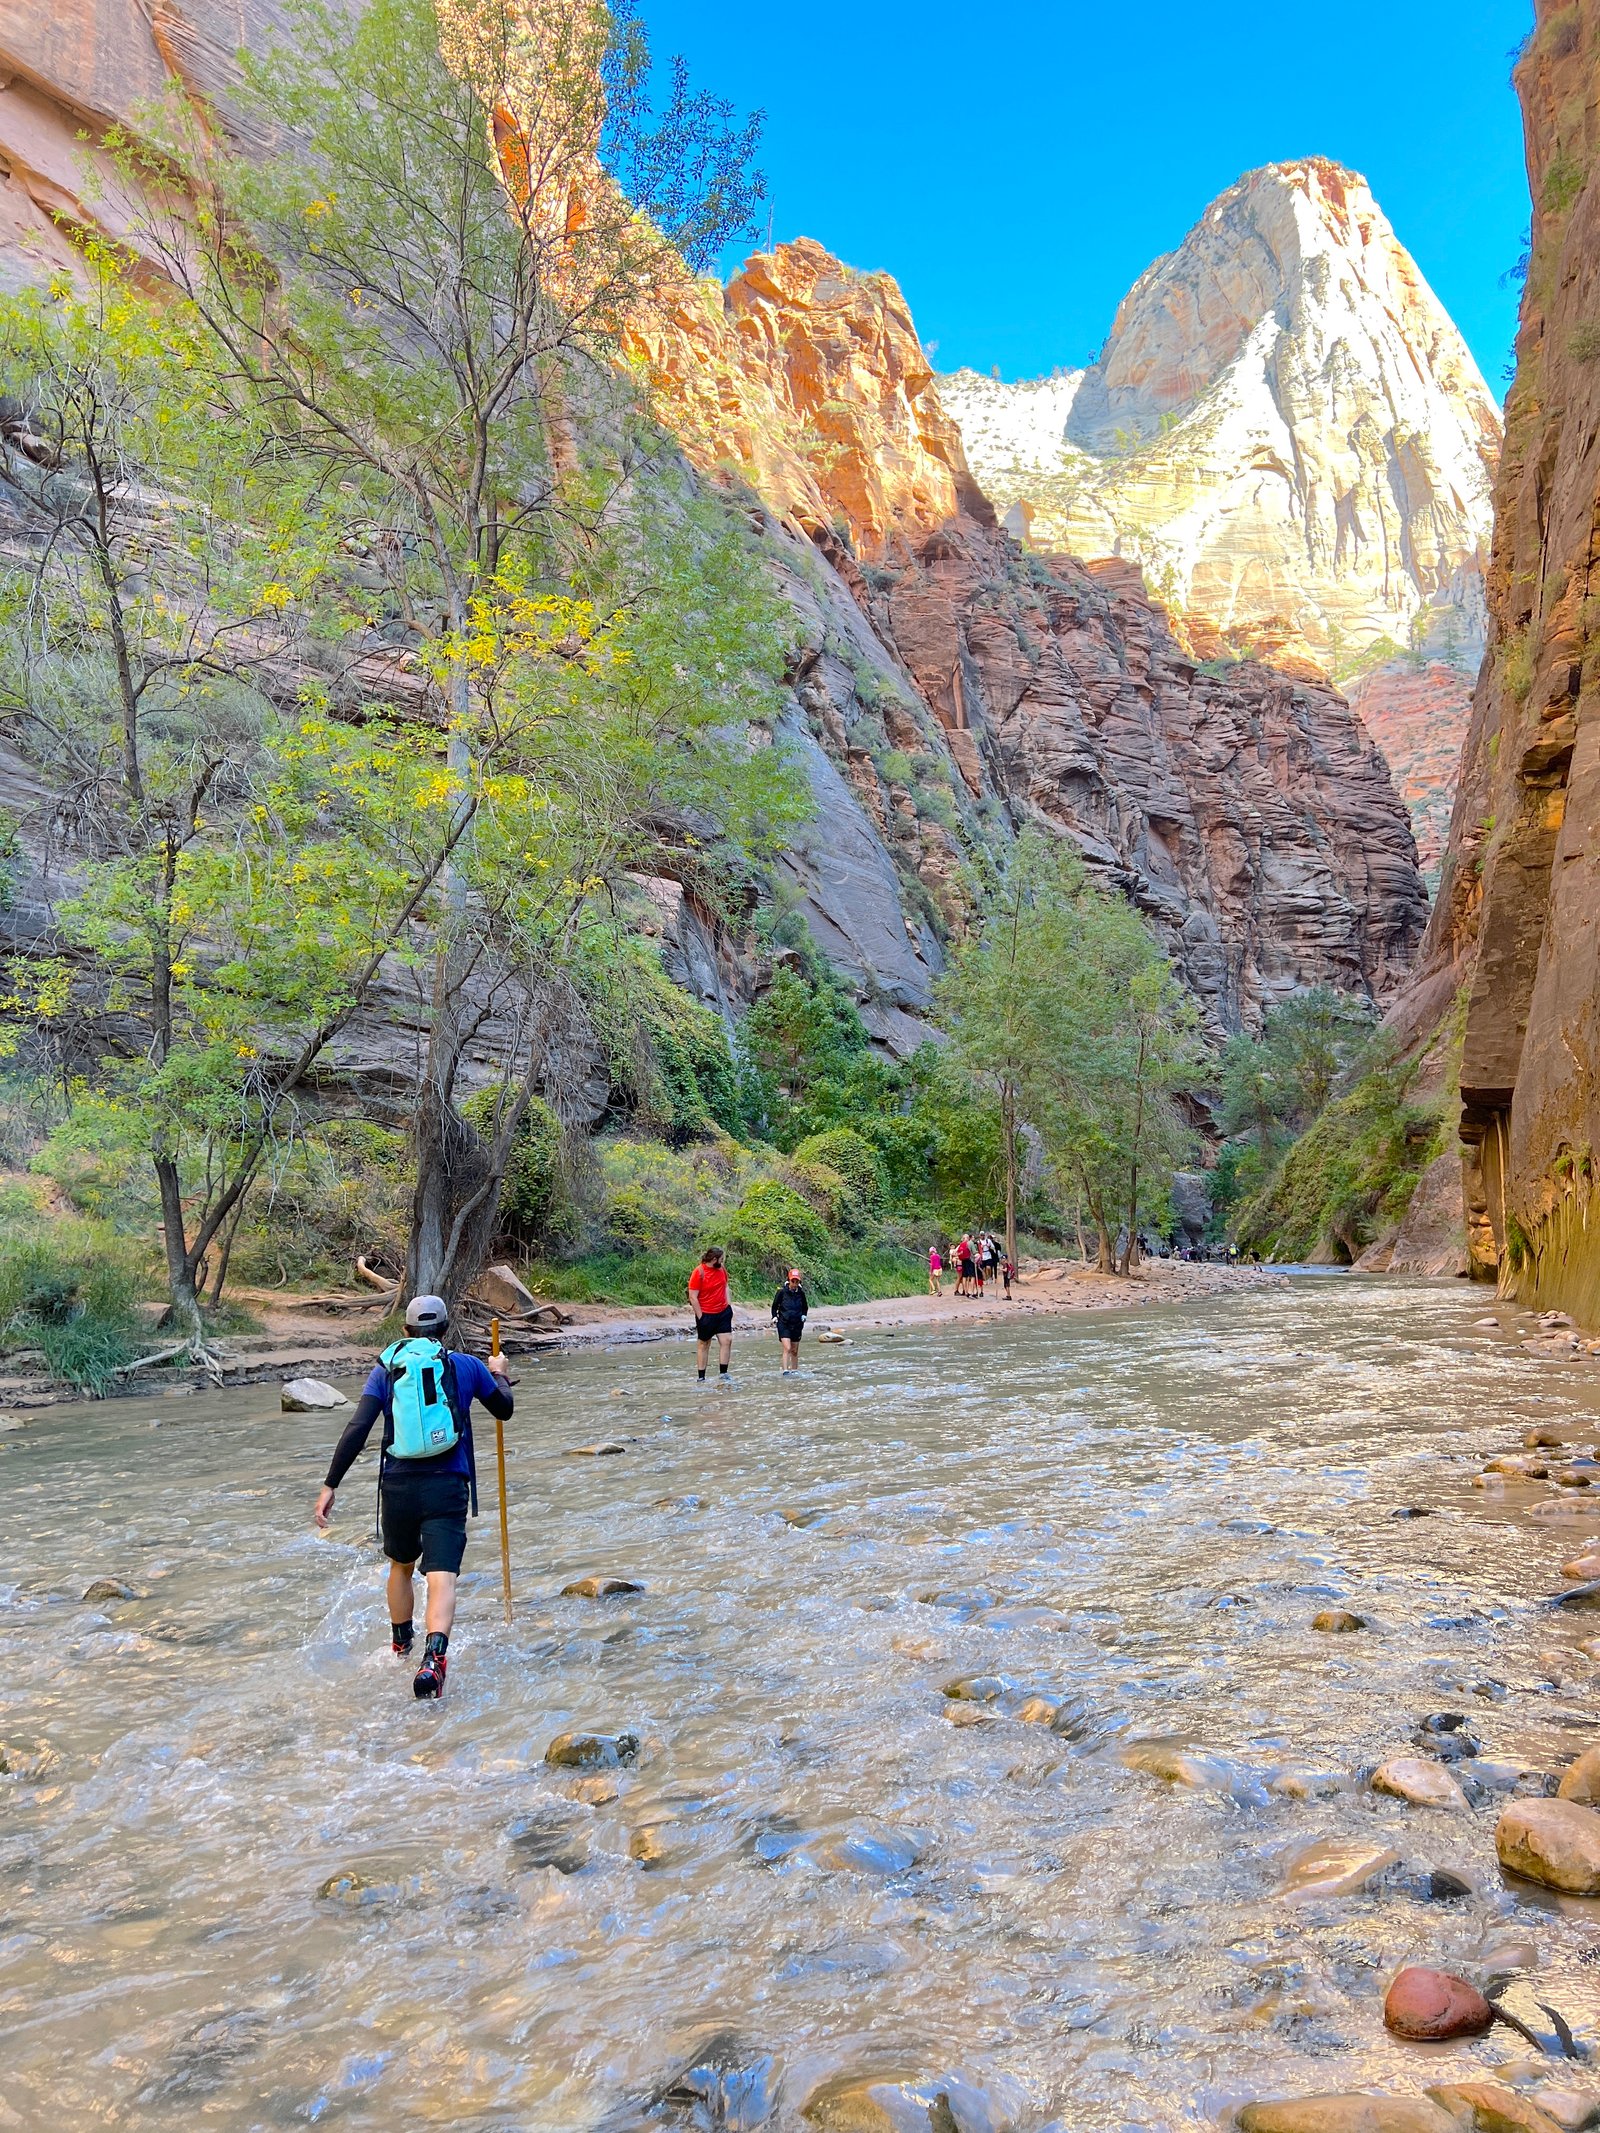
After finishing your 1-mile walk along the paved Riverside Walk, you will step off the gravel onto the wide, rocky riverbank at the Temple of Sinawava. This is where the real adventure begins. Taking your first step into the water can be a bit of a shock—even in warmer months, the Virgin River is cool, and your rented boots and socks will immediately feel heavy until you get moving. Take it slow, lean into your walking stick, and give your feet a few minutes to adjust.
2. Navigating the Riverbed (And Why Turning Around Is Winning)
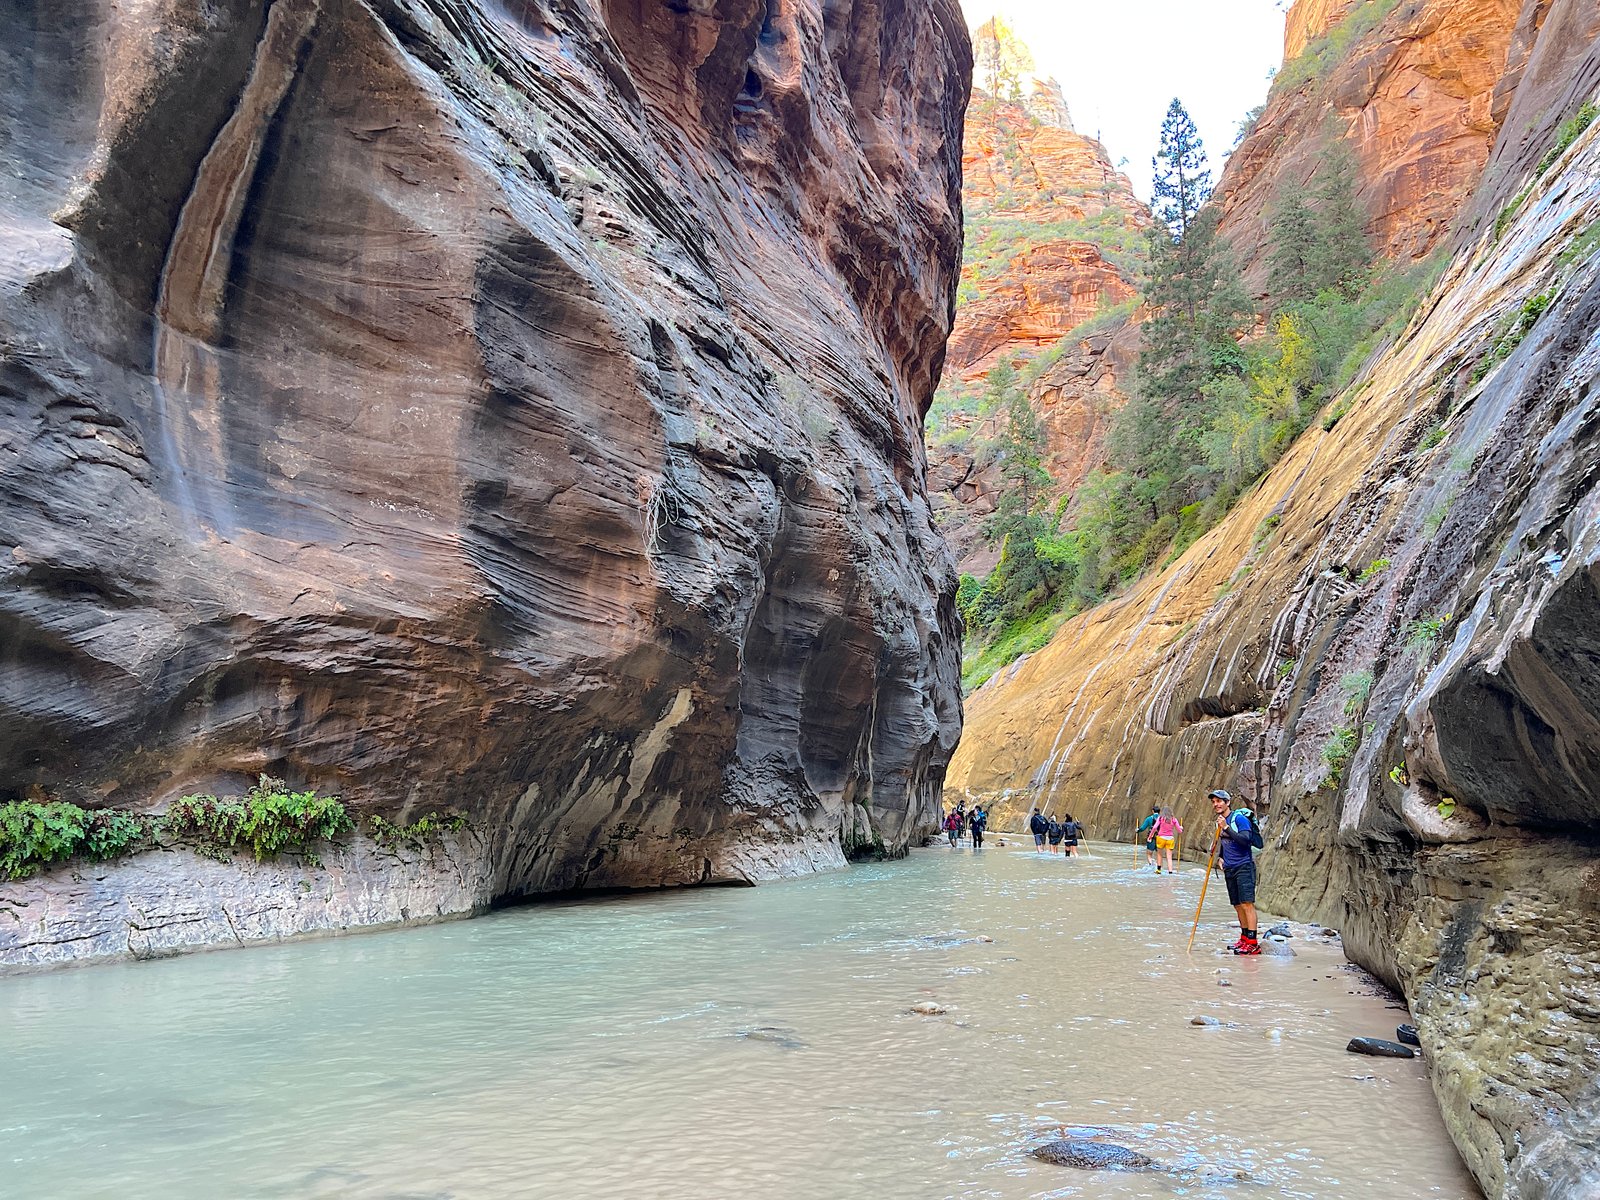
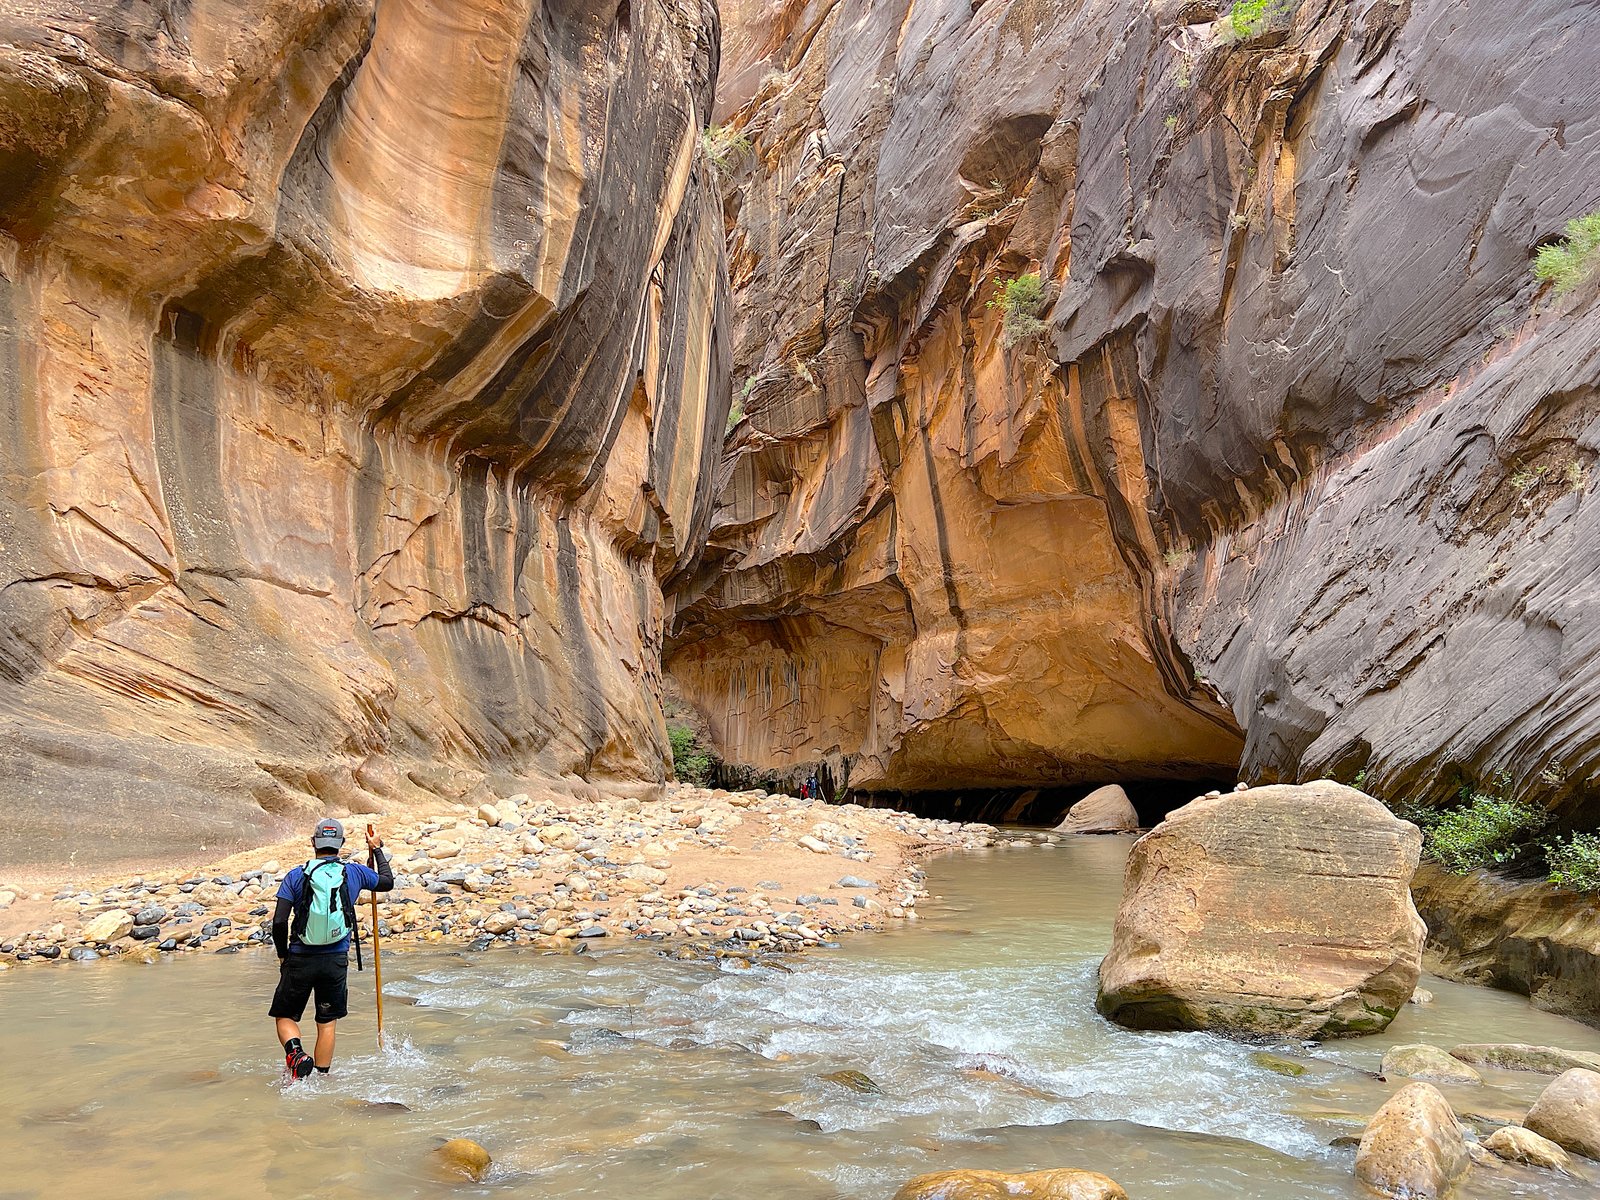
Once you’re in, you will be hiking directly upstream against the current. The riverbed is paved with smooth, rounded river rocks ranging from marble-sized gravel to bowling-ball-sized boulders that can be slippery underfoot.
- Water Depth: For most of the lower section, the water will hover between ankle and knee-deep. However, depending on where you step, you will inevitably hit deeper pockets that reach mid-thigh or waist-high.
- The Mindset: Turning around is winning. There is no set destination you have to reach. Many beginners hike upstream for about 1 to 2 hours, soak in the grandeur, and turn around whenever their legs get tired, they get cold, or they simply feel satisfied.
3. Key Milestones: Reaching “Wall Street”
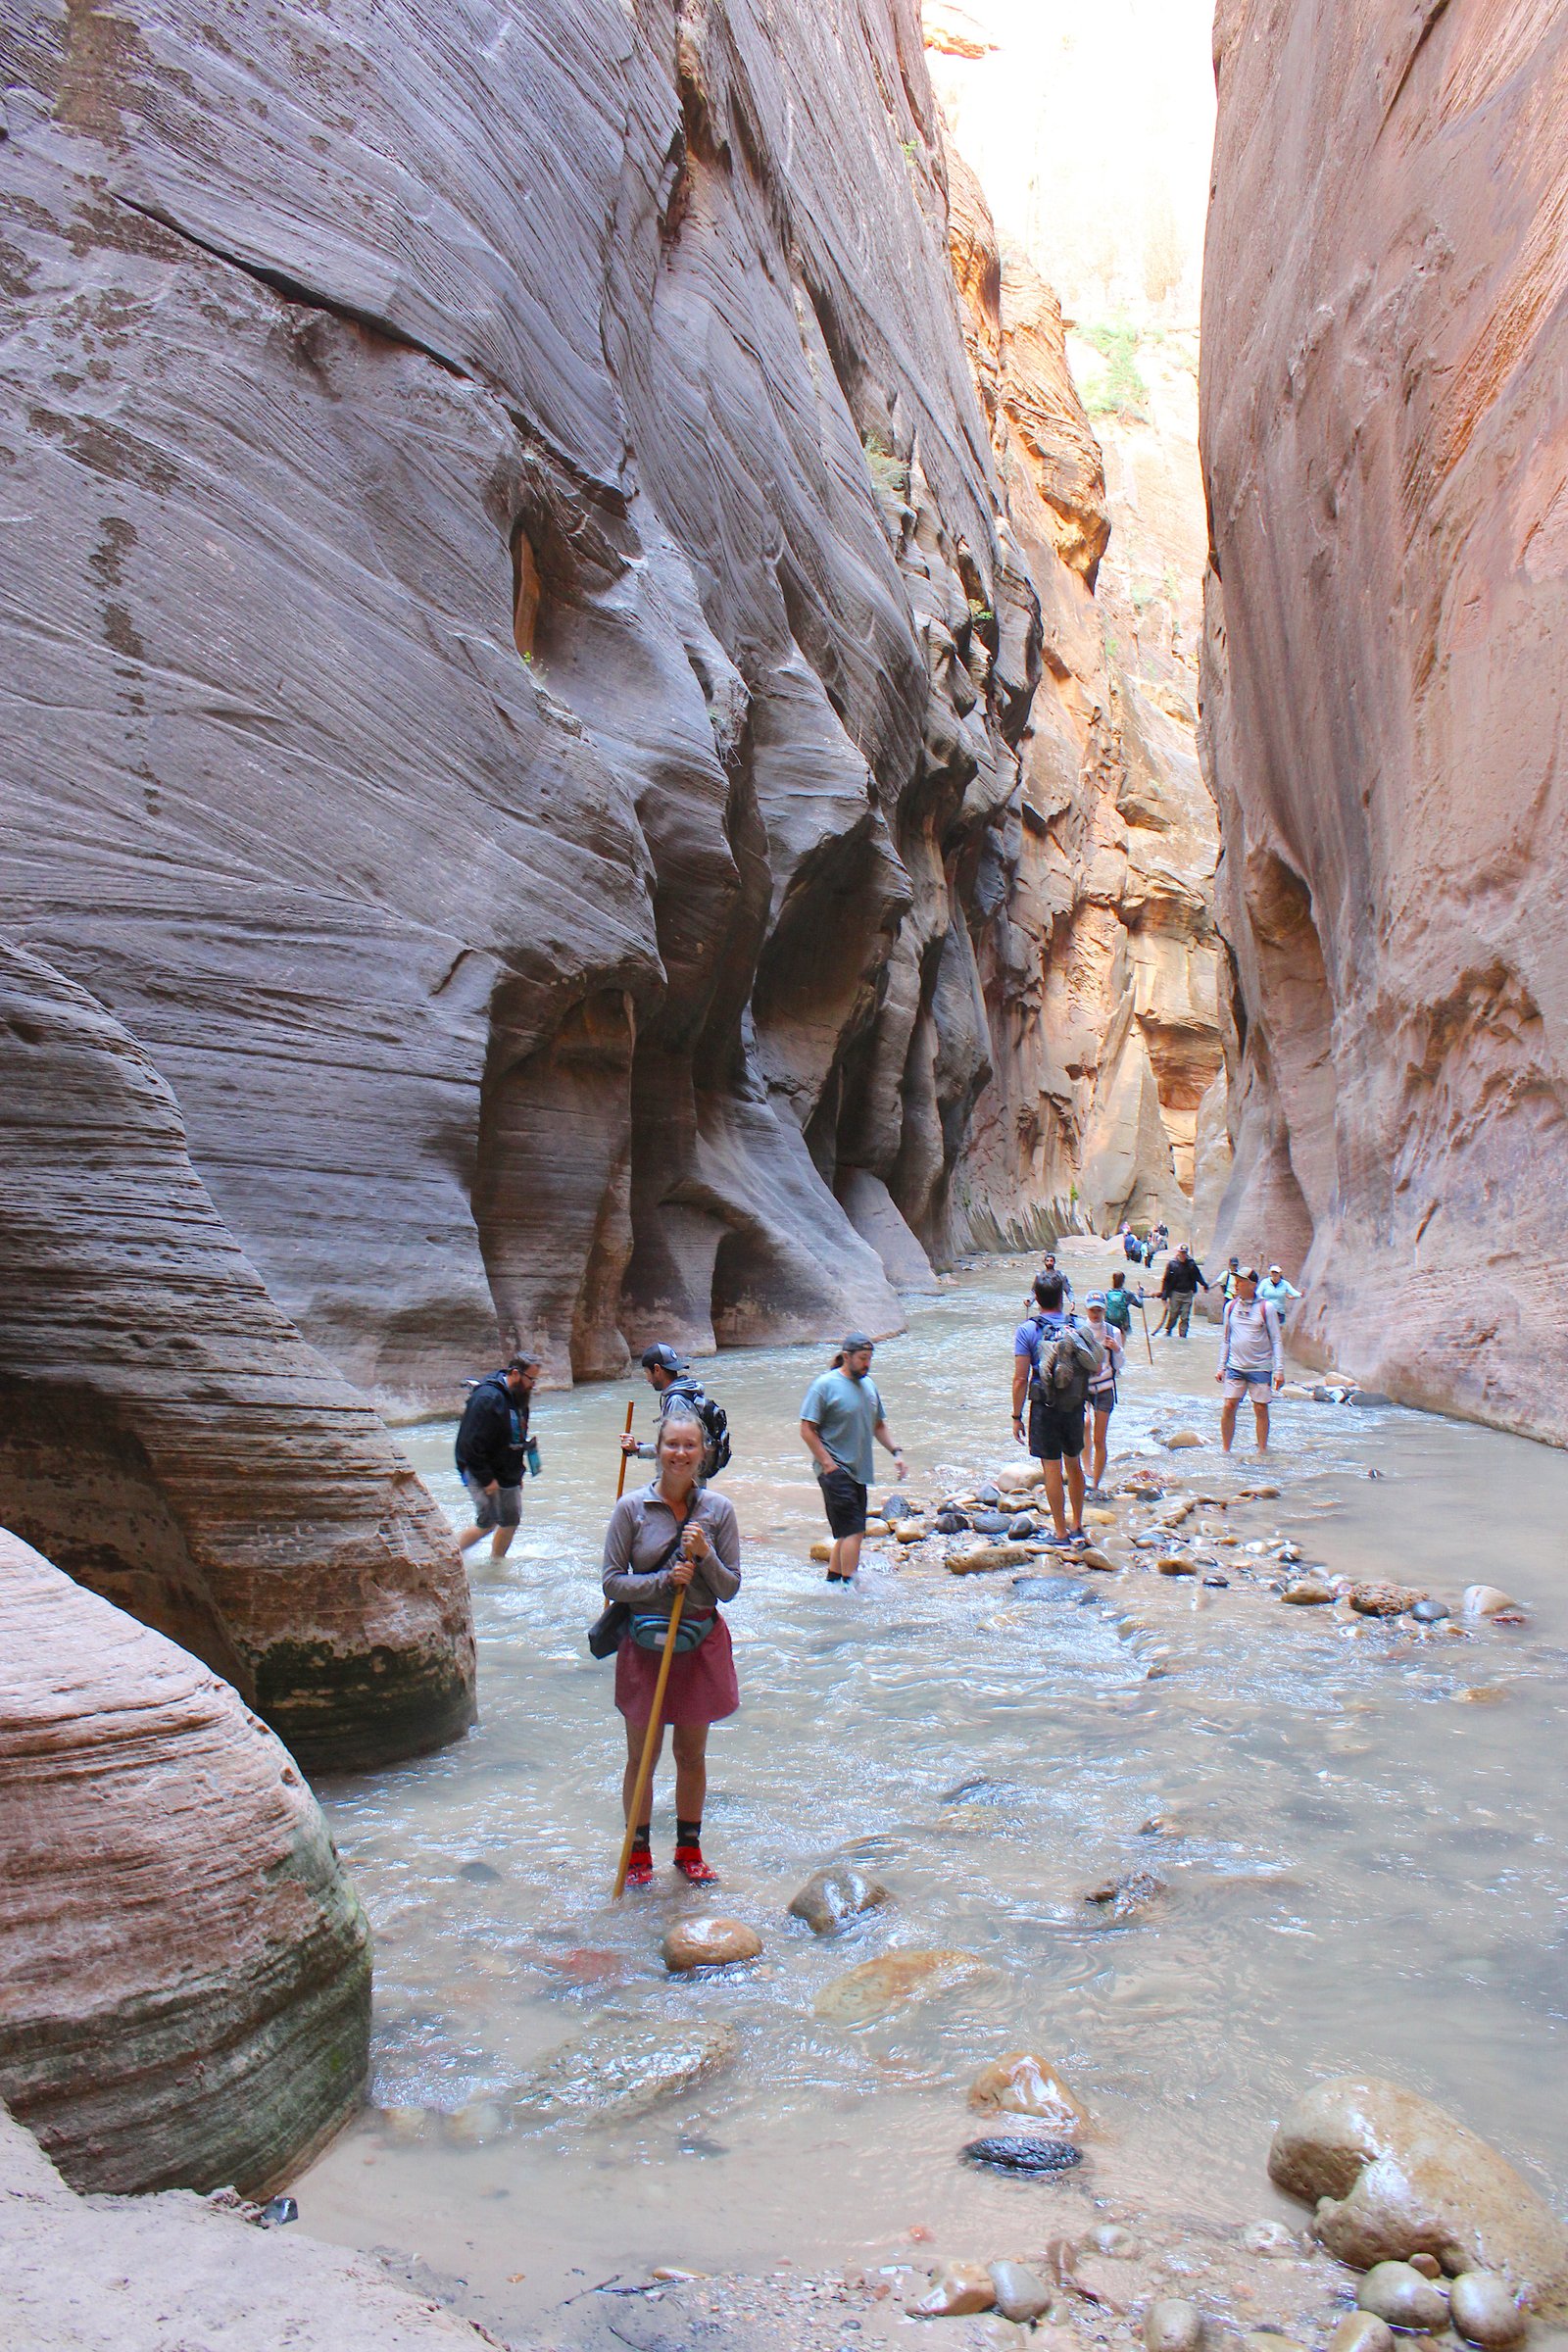
As you push further upstream past the initial wider sections of the canyon, the towering walls begin to squeeze closer and closer together until they are just 20 to 30 feet apart, soaring a thousand feet straight up into the sky. This famous stretch is known as Wall Street.
- Walking through Wall Street is the absolute crown jewel of the Bottom-Up hike. The lighting here is otherworldly—glowing golden reflections dance off the water and onto the sheer red sandstone walls overhead.
- Many casual day-hikers use Wall Street (roughly 2.5 to 3 miles in from the start of the river) as their natural turnaround point.
Our Experience: What It’s Really Like to Hike The Narrows
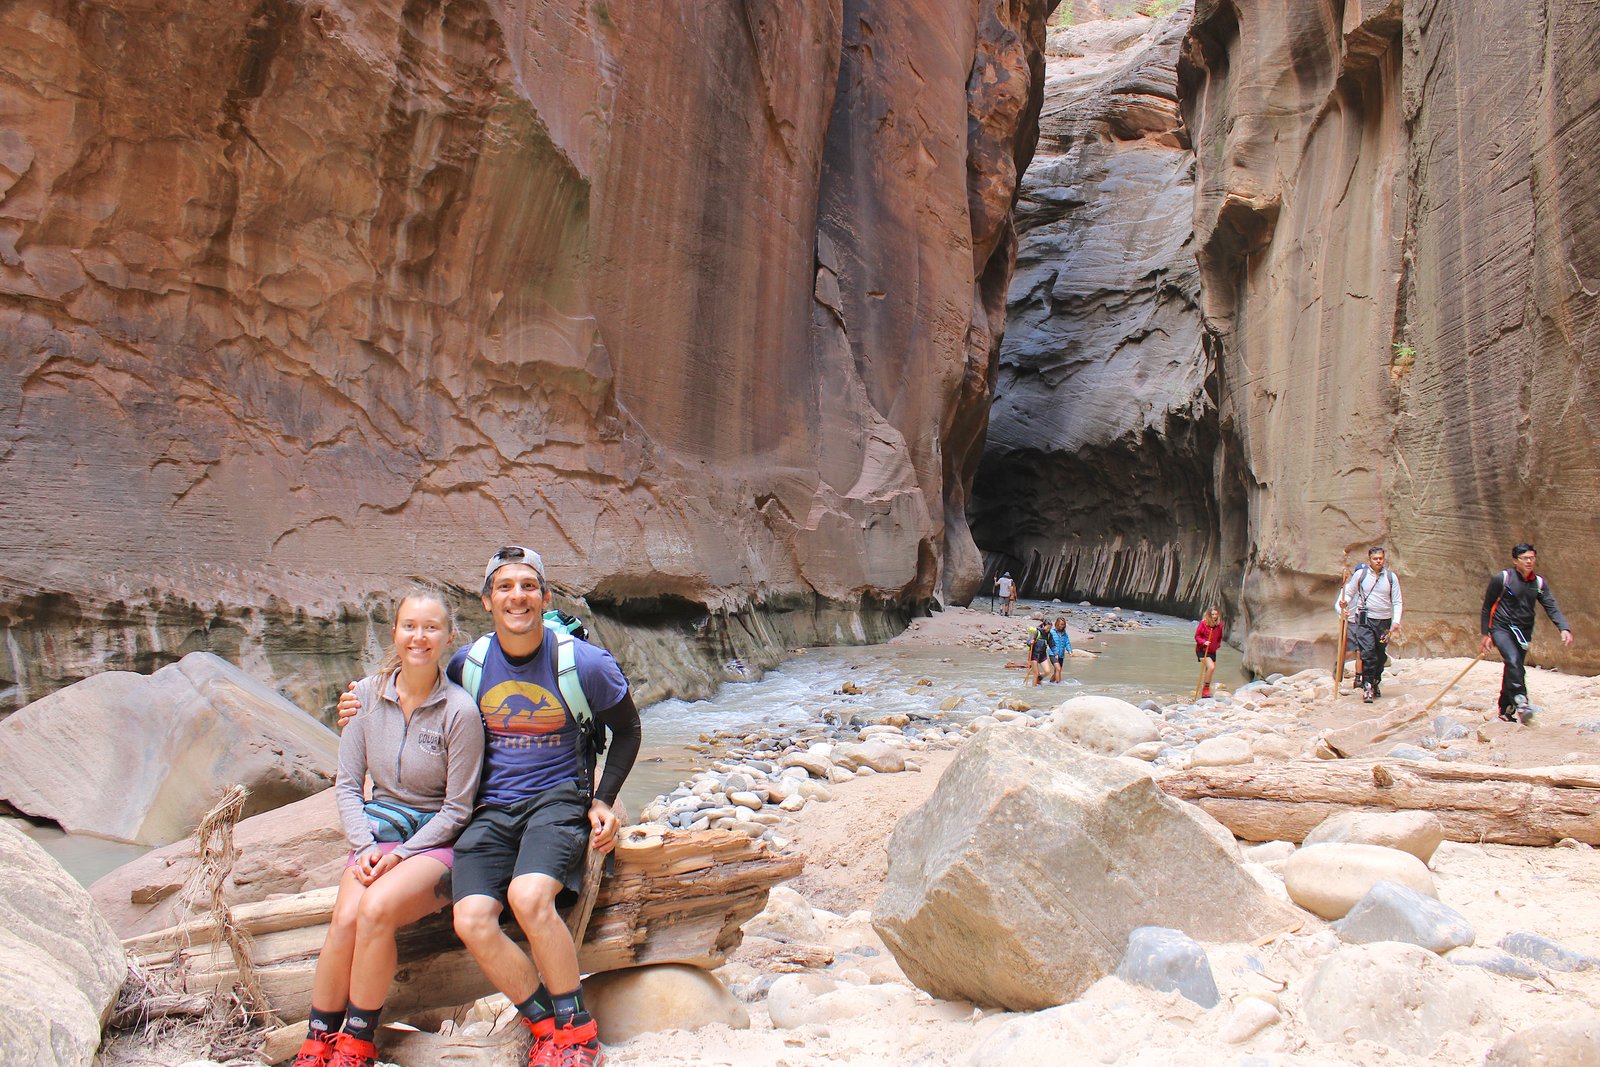
When we first tackled the bottom-up route of The Narrows, we honestly weren’t sure what to expect. Stepping off the Riverside Walk and straight into that chilly Virgin River for the first time is definitely a wake-up call!
Even with rented canyoneering boots and thick neoprene socks, the combination of moving water and slippery, hidden river rocks takes a little bit of getting used to. Winding your way through the gorge, you’ll see tons of plant life and colorful mineral streaks as water drips down the towering walls. There are occasional patches of sunlight breaking through to warm up in if you get cold, but keep in mind: the further you go into The Narrows, the cooler it gets. Eventually, the sun becomes nearly nonexistent as the canyon walls grow tighter and more narrow.
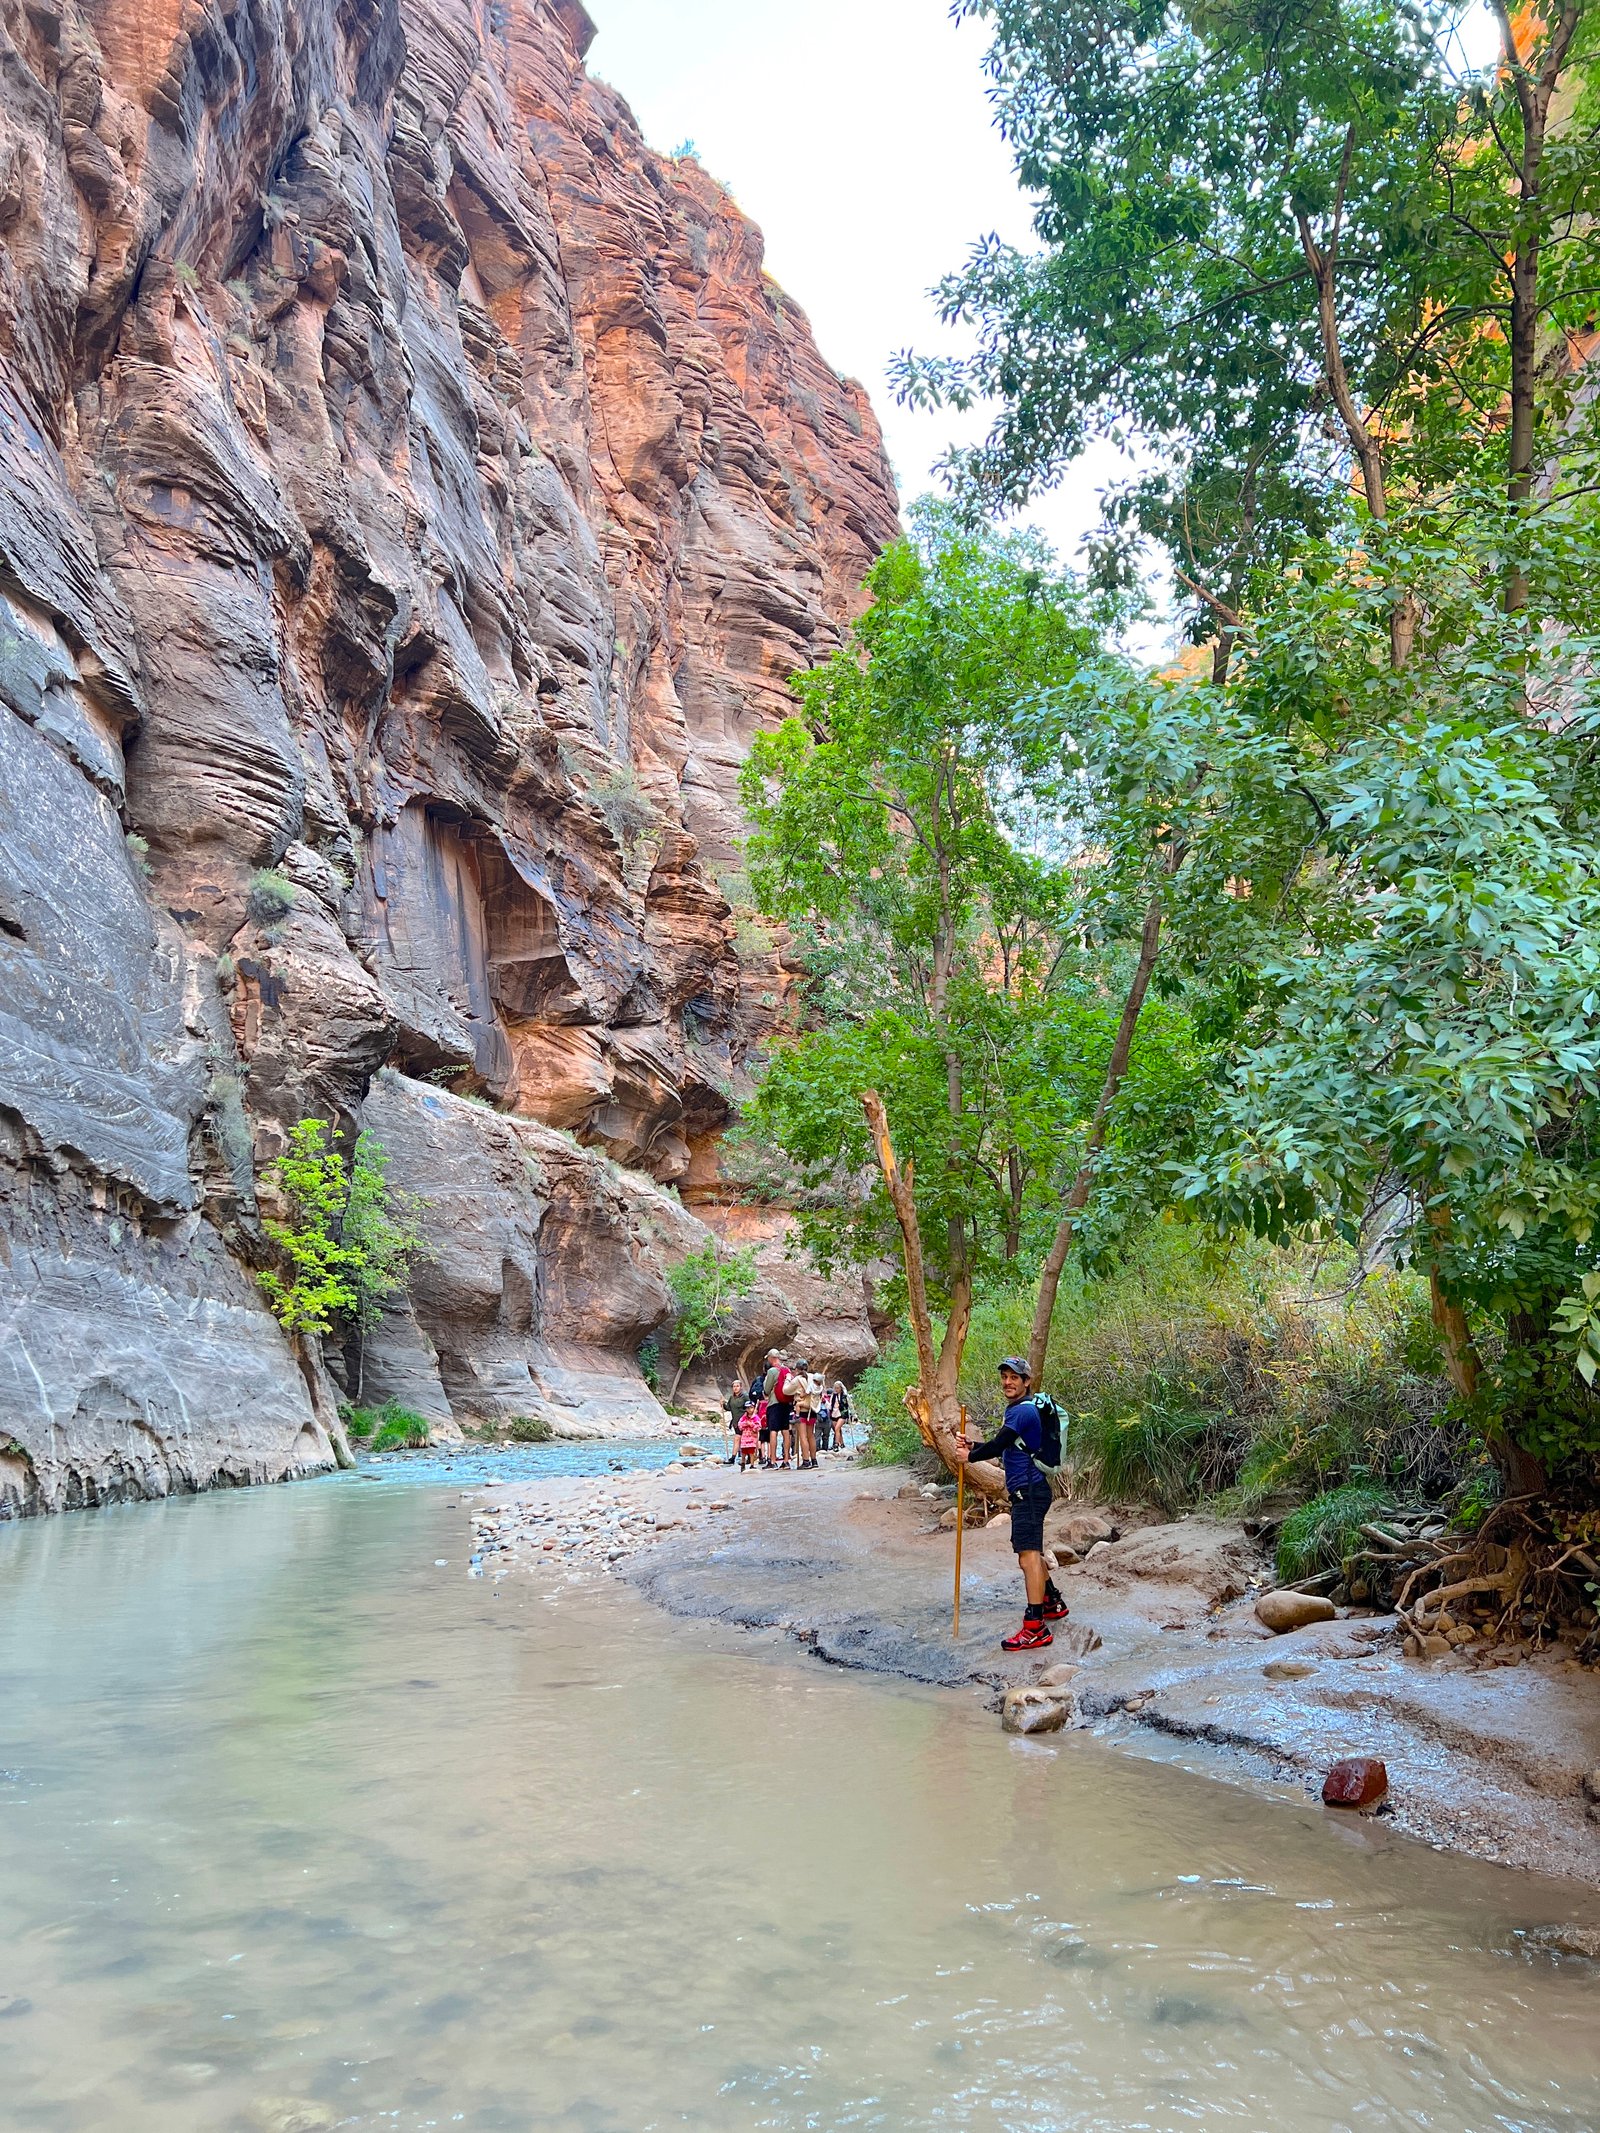
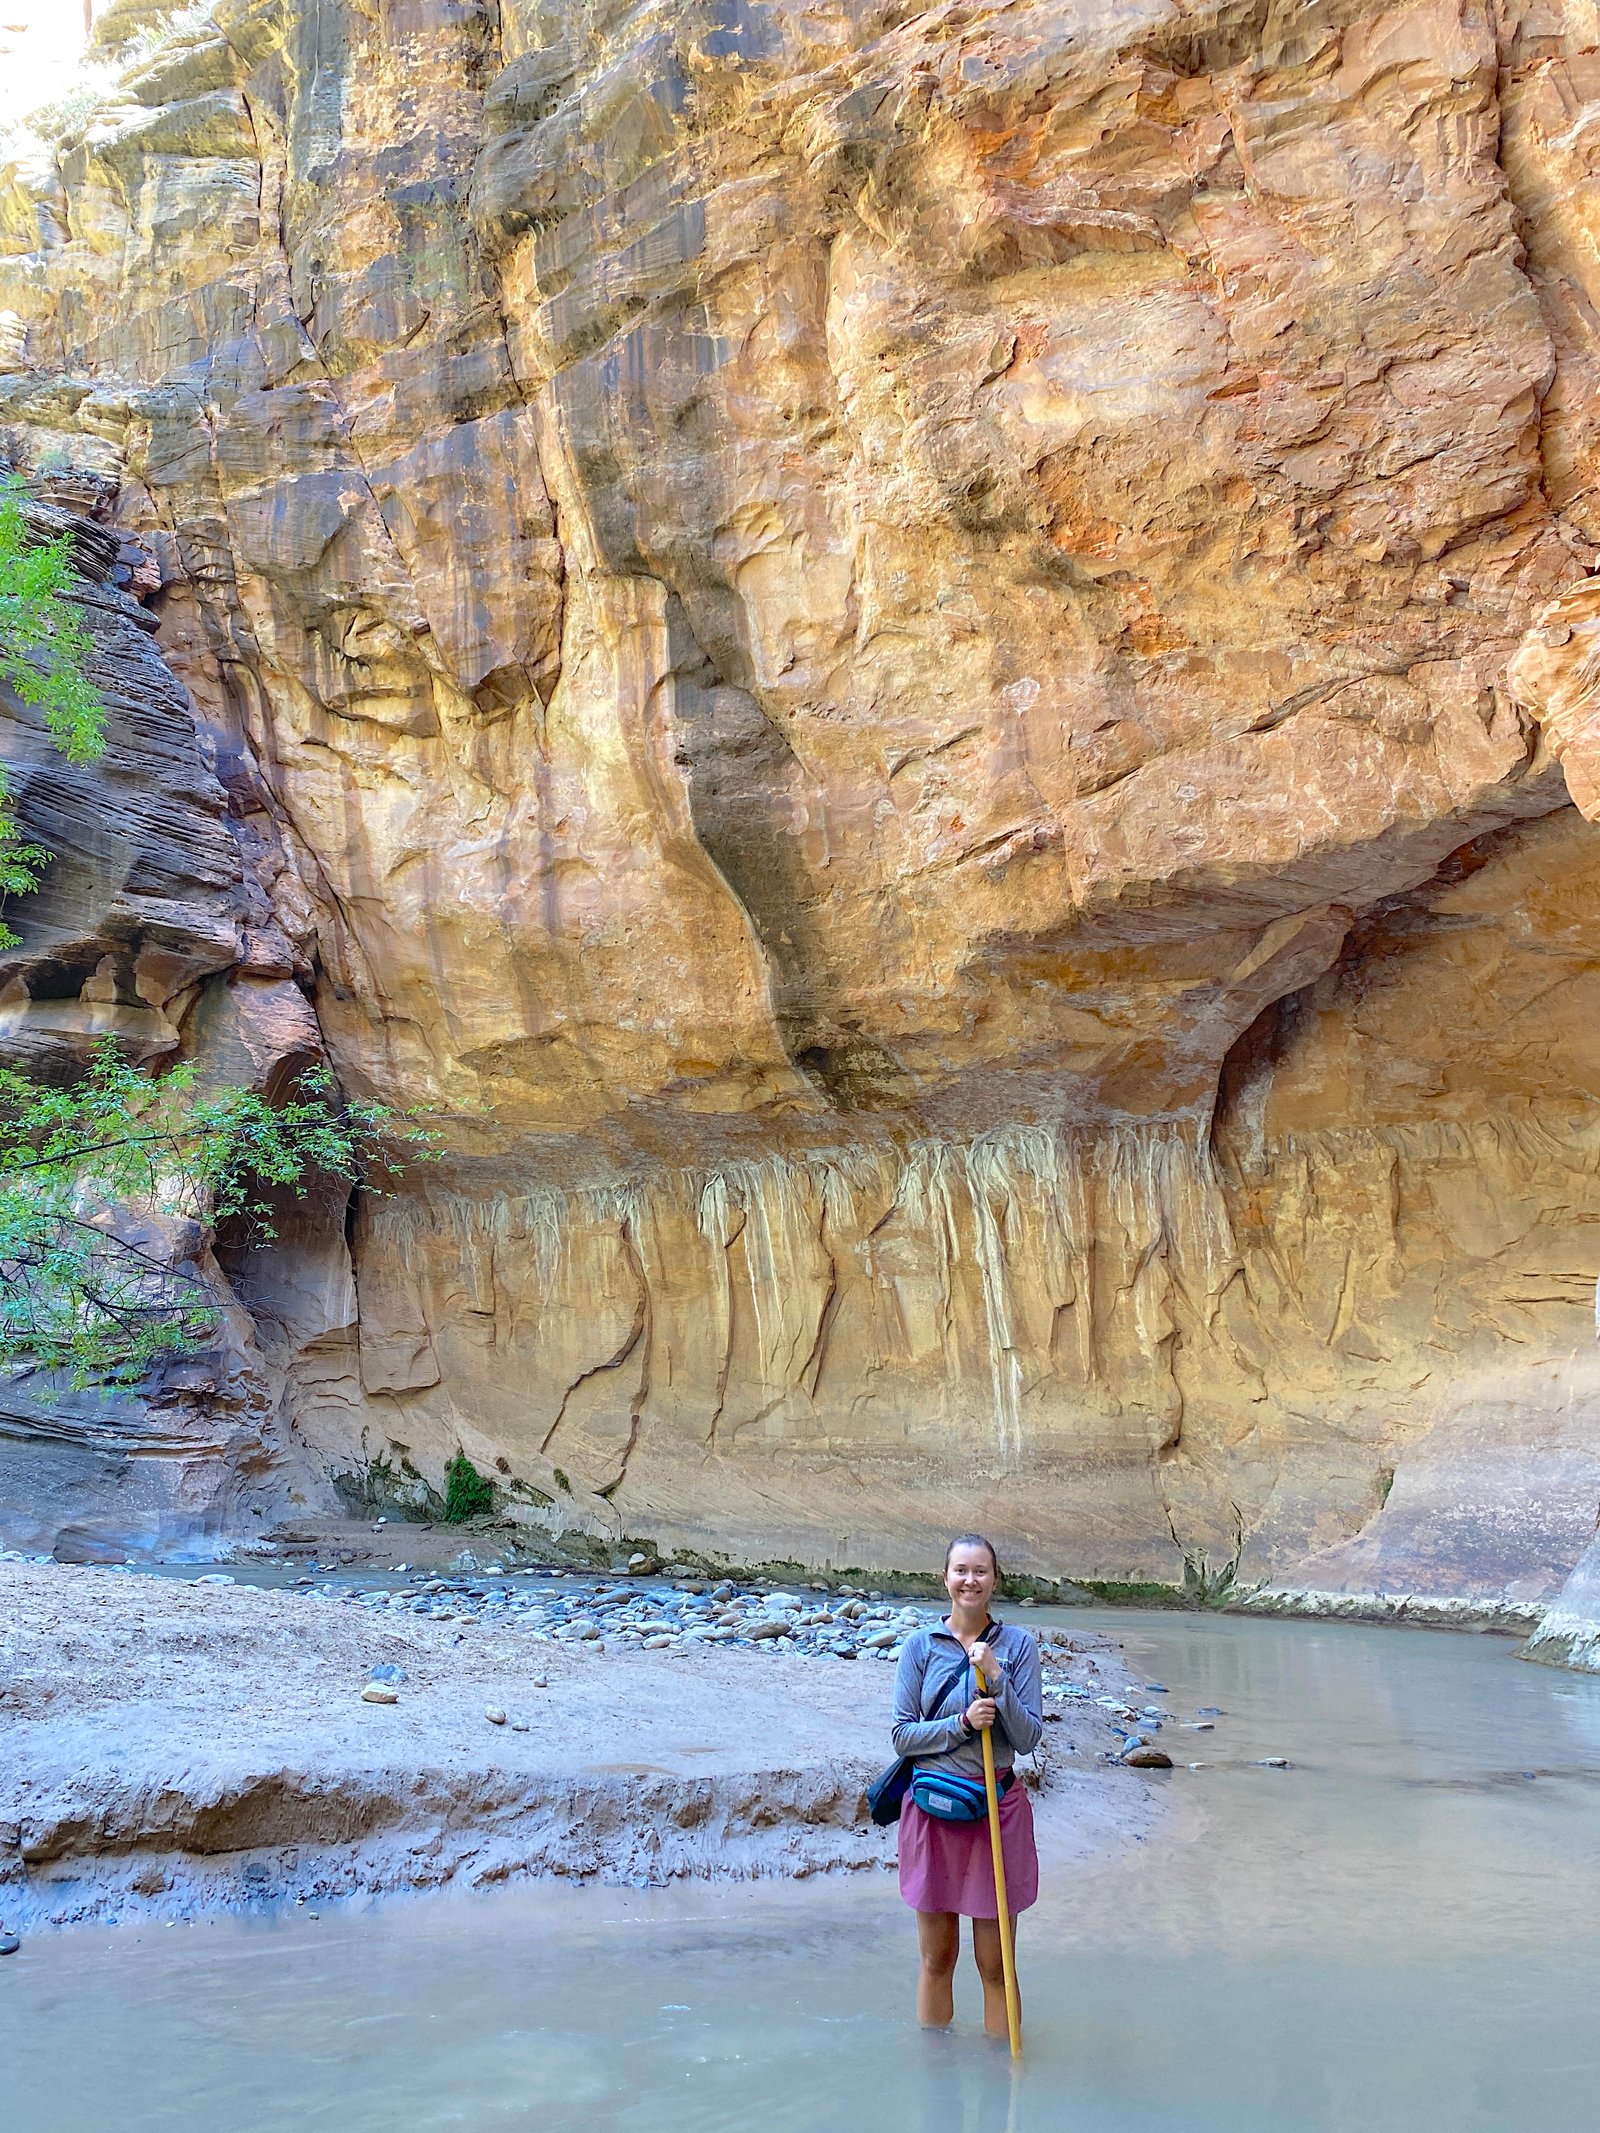
If you brought a wooden walking stick, use it to feel around as you choose your footing—there are several unexpected deep drop-offs in different spots along the riverbed.
On our hike, about 3 miles in, we came up to Orderville Gulch on the right. We decided to turn around right there because the weather was starting to turn. Good thing we did! As we started to head back, it began to rain, and we received a flash flood warning right on our phones. We made it back safely, but it definitely felt like the river was running a bit faster on the return trip, making us slow down and be extra cautious.
If you’re feeling nervous about trying it for the first time, take it from us: trust the gear, take your time, keep an eye on the weather, and remember that you don’t have to conquer the whole canyon to have an unforgettable adventure.
Quick Tips for First-Time Narrows Hikers
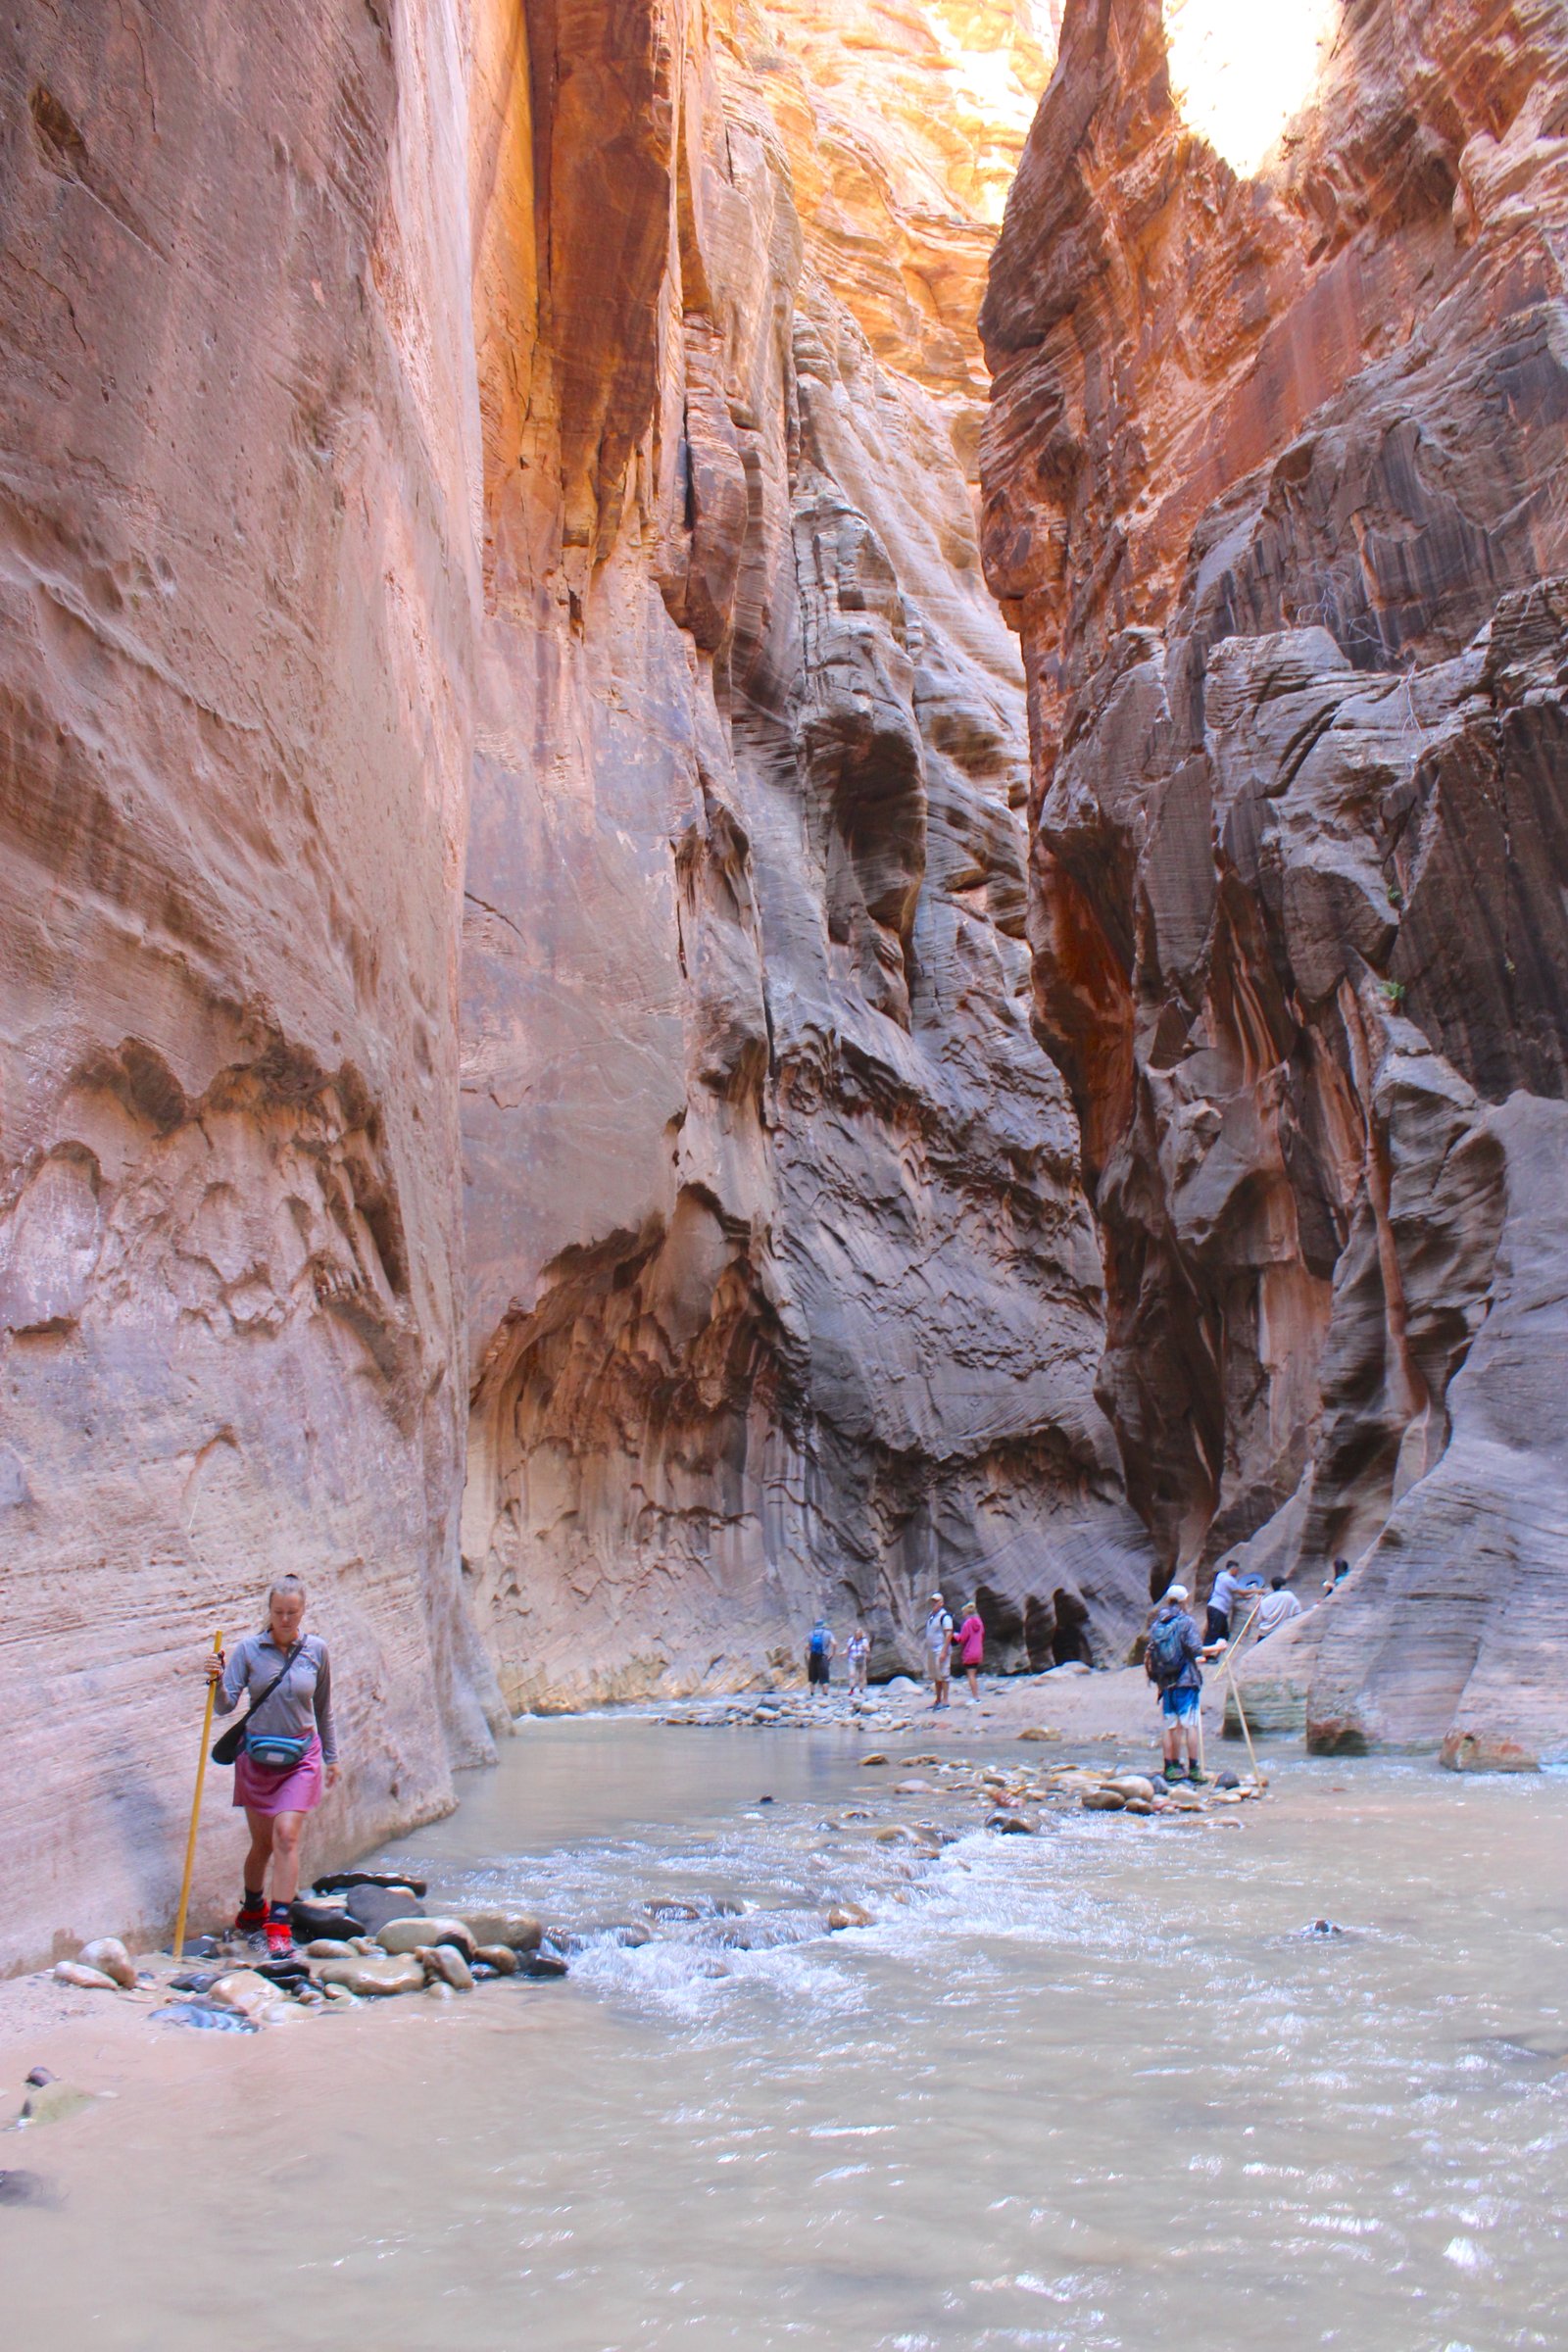
- Start early to beat the crowds: The narrowest, most dramatic parts of the canyon get very congested by mid-morning. Being on one of the first park shuttles gives you stretches of quiet river all to yourself.
- Keep your hands free: Avoid carrying water bottles or phones in your hands. You will want your hands completely free to balance with your wooden walking stick, catch your balance if you slip, or grab onto rocks.
- Protect your electronics: Even if you have a dry bag, make sure phones and cameras are tucked away securely. Slips happen, and a submerged backpack happens faster than you think!
- Pack a lightweight layer: Even on a blazing hot desert day, the combination of cold water and deep shade inside the canyon walls can feel surprisingly chilly once you’re standing still. A light windbreaker or sun hoodie makes a huge difference during breaks.
- Leave a change of shoes in your car: Your feet and rented boots will be soaked when you finish. Having a dry pair of sandals or sneakers and a clean towel waiting for you back in your vehicle feels like absolute luxury at the end of the day.
- Note on Restrooms: Make sure to use the flush toilets located at the Zion Canyon Visitor Center or the vault toilets at the Temple of Sinawava shuttle stop before you step into the river. There are no restrooms once you enter The Narrows!
Frequently Asked Questions About Hiking The Narrows
Do I need a permit to hike The Narrows?
No, if you are doing the standard bottom-up day hike, you do not need a permit. You simply pay the standard Zion National Park entrance fee, take the park shuttle to the Temple of Sinawava, and walk right into the river. (Permits are required only if you are doing the 16-mile top-down thru-hike from Chamberlain’s Ranch).
How deep is the water in The Narrows?
For the majority of the bottom-up hike, the water ranges from ankle to knee-deep. However, depending on water flow rates and your exact path, you will occasionally encounter pockets that reach mid-thigh or waist-deep. If you hit water that feels too deep or swift, it’s always time to turn around.
Can I do this hike in regular sneakers or sandals?
We strongly advise against it. Regular sneakers will get completely waterlogged, heavy, and offer terrible traction on the slick, algae-covered river rocks. Sandals (even sports sandals) leave your toes exposed to heavy underwater boulders and let rocks get trapped under your feet. Renting proper canyoneering boots and neoprene socks from a Springdale outfitter is well worth the small cost.
Can I bring my kids on The Narrows hike?
Yes, families do hike The Narrows, but it depends heavily on the child’s age, swimming ability, and the current river flow rates. Because the current can be strong and the water is cold, it is generally best suited for older children and teenagers who are confident on uneven, slippery surfaces.
How far do I actually have to hike?
There is no set distance! The bottom-up hike is an out-and-back route, meaning you can turn around whenever you want. Many beginners hike for 2 to 3 hours (reaching milestones like Mystery Falls or the entrance of Wall Street) and then turn around and head back.
Take the Plunge
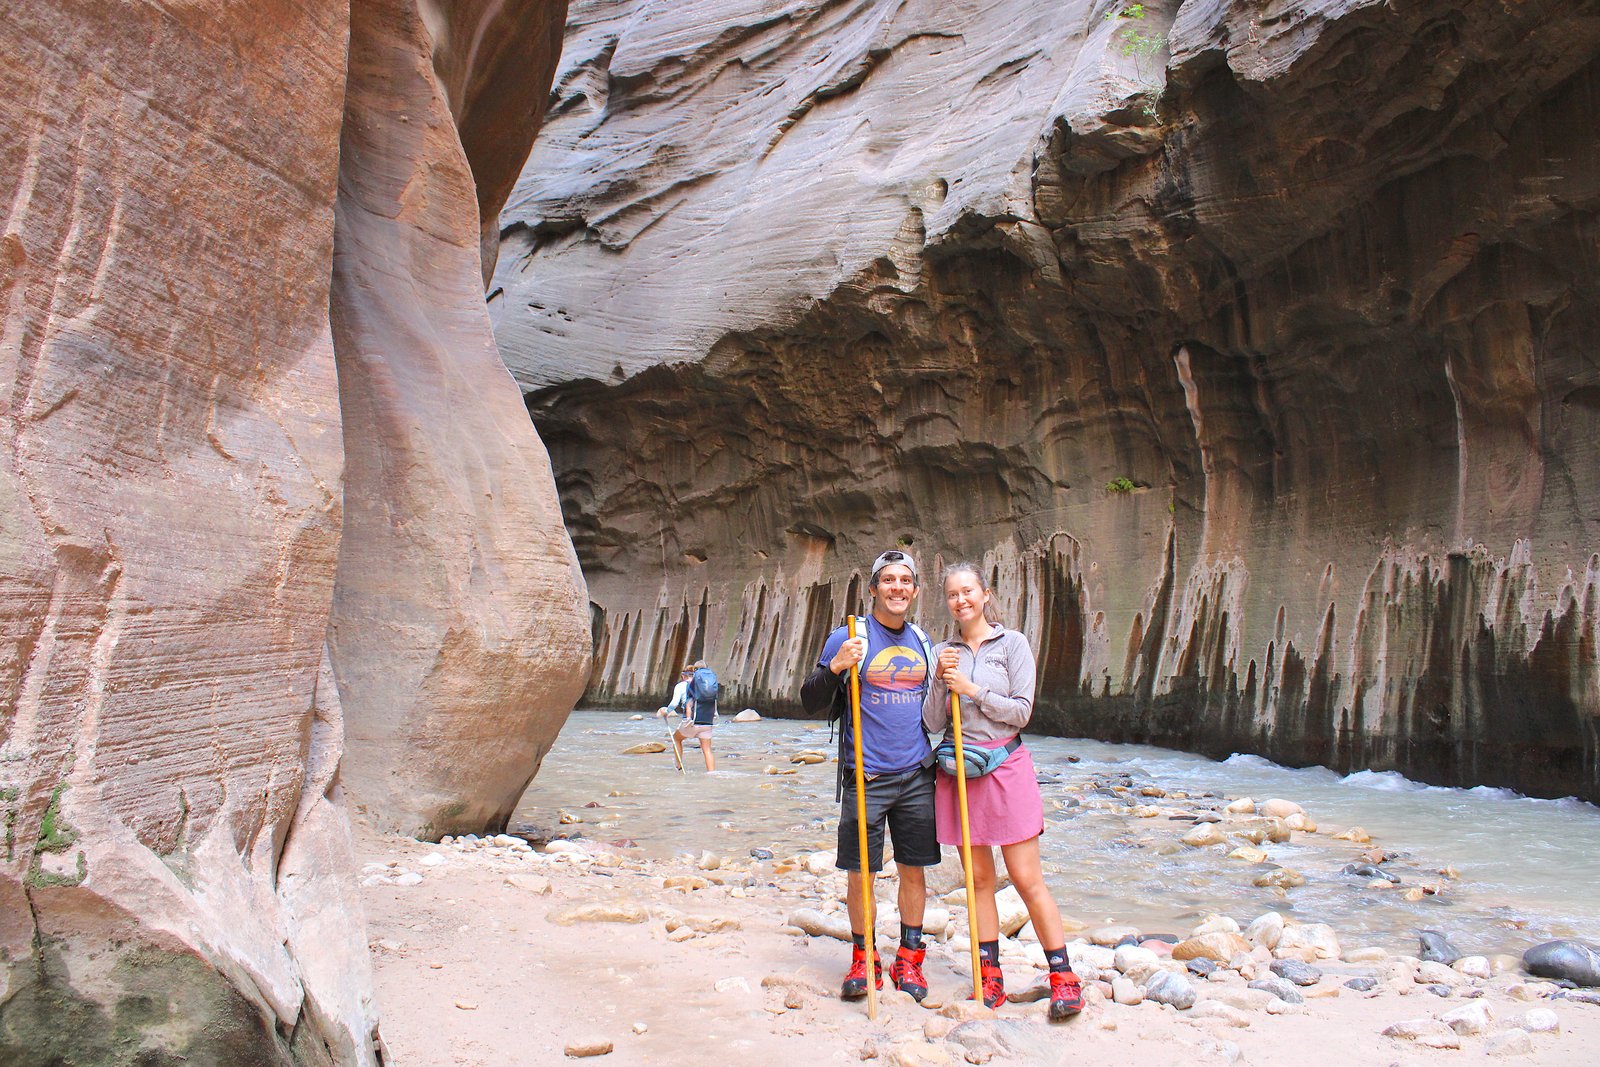
Hiking The Narrows is easily one of the most magical, surreal adventures you can experience in the American Southwest. Standing between thousand-foot vertical canyon walls with the Virgin River flowing around you is a memory that will stay with you long after your shoes finally dry.
By skipping the stress of permits, gearing up properly with sticky-soled boots and neoprene socks, keeping a close eye on the weather, and remembering that turning around is winning, you are more than ready to tackle your first trip. Take a deep breath, step off the Riverside Walk, and enjoy every unforgettable moment in the canyon.
Helpful Links & Resources
To help you plan the rest of your Zion National Park itinerary, check out these official resources:
- Zion National Park Official Website – Check current park alerts, entrance fees, and operating hours.
- National Weather Service Zion Forecast – Essential for checking the daily flash flood potential rating before you head out.
- Zion Canyon Shuttle Info – Review the latest shuttle schedules and seasonal rules.
- Check Current Virgin River Flow Rates – Monitor the official USGS real-time water flow (CFS) for the Virgin River near Springdale.
- Zion Outfitter – Located right outside the park’s south entrance, making it ultra-convenient to grab your gear and walk straight onto the park shuttle.
- Zion Adventure Company – One of the pioneer outfitters located on Lion Blvd in Springdale, offering full gear packages, dry bibs, and e-bike rentals.
- Zion Guru – Another fantastic local shop offering custom Narrows gear rentals, expert local advice, and convenient pick-up options.